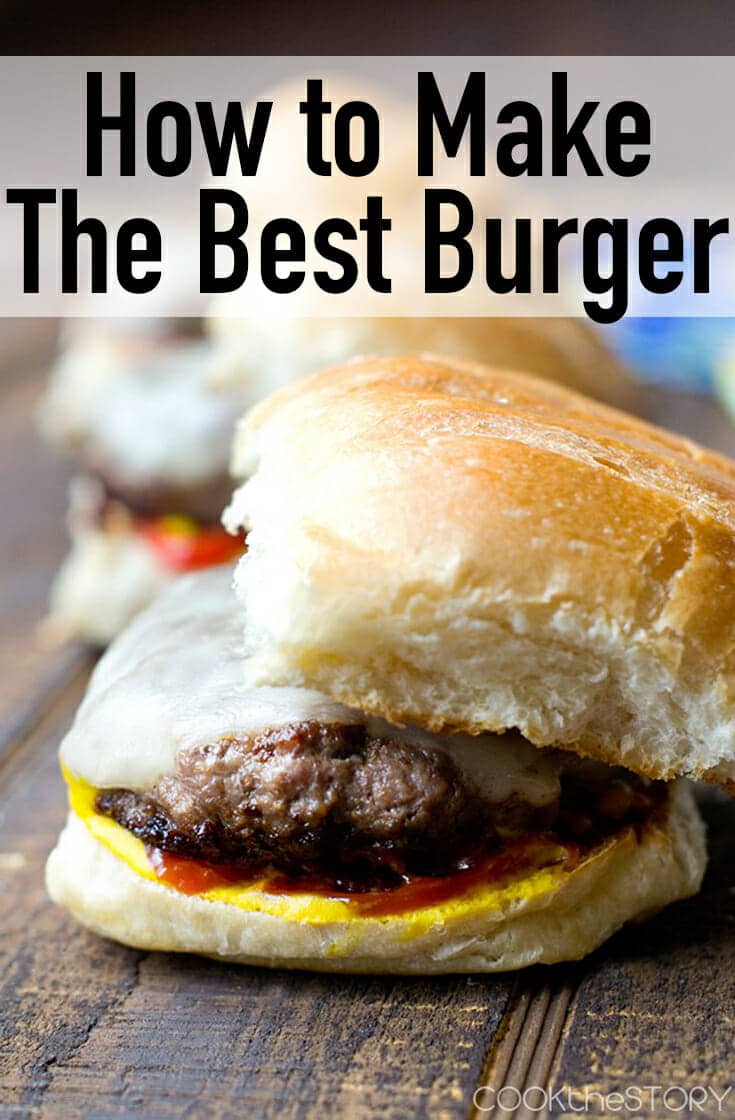
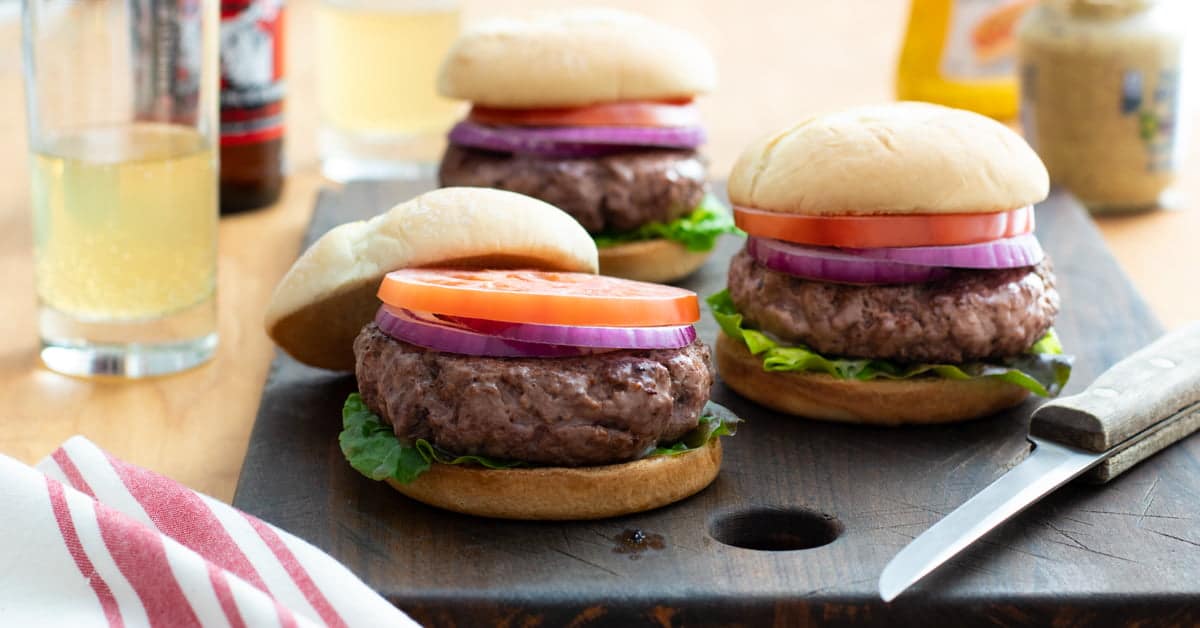
This is the best burger I’ve ever come across. It’s a homemade burger patty with meat and seasonings, no fillers. It really lets the meat flavor shine!
I make a lot of burgers in the summer. They’re so quick to put together and everybody loves them.
Most of the time, I keep things simple. I start with ground meat and add seasoning. That’s it. No egg. No breadcrumbs. Just meat and seasoning. I want to really taste the meat. That’s the best burger recipe to me.
Scroll down to read more about how it all comes together or click here to jump straight down to the recipe.

Video: How To Make These Delicious Burgers:
What Do You Need For The Best Burger?
Seasoning
Usually, for seasonings, I go with Lawry’s Seasoned Salt. There’s just a bit of extra flavor in there. Regular salt works well, too.
I always add black pepper, garlic powder, and onion powder. Not very much of any of it though. When you start to actually build your burger there are going to be lots of toppings going on — tomatoes, pickles, mustard, ketchup, onions, and lettuce. All kinds of things. If you want the flavor of the meat to really shine, don’t overpower it with too many seasonings at the early stages.
Meat
I tend to use a mixture of lean and fattier ground beef. Or lean ground beef mixed with ground pork. I sometimes use all lean beef if I want a healthier burger. Whatever kind of meat you use, the most important thing is to not mix or handle it too much. Work the seasoning through the meat very quickly using your hands and do not over mix. It will make the finished burger tough, not tender.
At this point, I always like to do a flavor test, just in case something is off. Take about a tablespoon of the beef mixture and flatten it into a tiny burger patty. Put it on a small plate in the microwave for 20 seconds. If it’s no longer pink on the outside or inside, it’s cooked. Give it a taste. It’s not going to taste as good as your final burger, but you can tell if there’s enough seasoning. If you feel the need to add a little bit more, add it to the meat mixture, but be careful not to stir it very much when mixing it in.
Do I Need To Add Egg To My Burger Mixture?
I’m a firm believer that the best hamburger recipe doesn’t include egg in the patty. The purpose of adding in an egg is to act as a binder to hold everything together. But because I really want to keep things simple and let the flavor of the beef shine, I also keep my ingredient list short.
If you like to add additional ingredients like diced onion or breadcrumbs to your burger patty mixture, that’s when you may need to add an egg (generally one egg yolk per pound of ground beef). Looking for the richness that an egg provides? Fry the eggs and add them on top instead.
Making The Burger Patties
Next, you shape your meat into patties. Divide the meat into the number of patties that you want. When I start with 2 pounds of ground beef, I make 6-8 patties. Before you start shaping patties, divide the meat up into the number of portions that you plan to have. Try to get the portions as even as you can. I sometimes even use a kitchen scale to make sure that they’re all the same.
Using your hands, take one portion of meat and form it into a big meatball. You want a nice tight compacted sphere. Once you have that, use your palms to evenly flatten it into a circle. Or you could use a burger press to get them to the exact size and shape you want every time. I like them about 4 inches in diameter and 3/4 inches thick. Try to make them a little bit thinner in the middle, even if you use a burger press. Why? As the patties cook they tend to bulge at the middle and you get an uneven surface, a burger that bulges in the middle. Thinning them at the middle when forming the patties will help counter this.
When you flatten the patties, they sometimes crack a bit along the edges. Just run the palm of your hand around to push the edges in a bit and smooth any cracks.
Arrange the patties in a single layer on a plate. If they don’t all fit in one layer, top the first ones with wax paper or parchment paper and then do another layer on top. Cook right away or refrigerate uncovered for up to two hours.
Cooking Your Best Burger
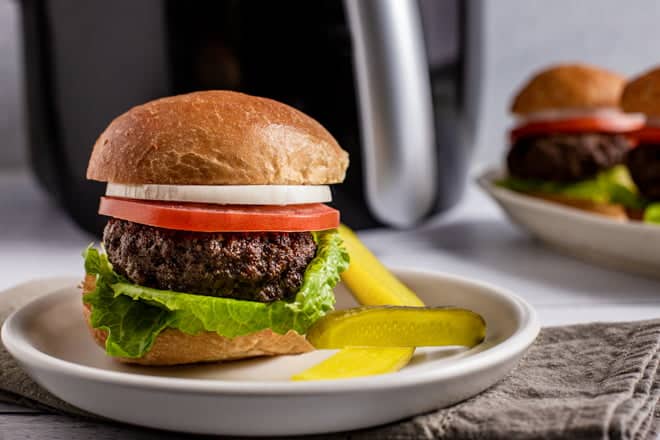
Burgers are great when grilled. If you don’t have a grill, my next favorite is a large flat nonstick frying pan or cast-iron skillet set over medium heat. You want it hot enough to sear the meat on the outside, but not to burn it before the interior cooks. I start by cooking my burgers for about 3-4 minutes on each side. This depends on the thickness and the temperature of course.
I typically go for a medium to medium-high heat. Cook on the first side not touching them at all until they get a good sear. Then flip and leave them for 2-6 more minutes (depending on how done you want it). I’ll admit that I often cut into one to see if it’s how I want them.
Tip: Use an instant read thermometer to check the temperature. You want the interior to be 160°F. That’s well done and is the safest when you’re working with ground meat. I know that many people like their burgers less done than that. If that’s you, you know what you like. Just know that it isn’t completely safe.
Completing Your Burger
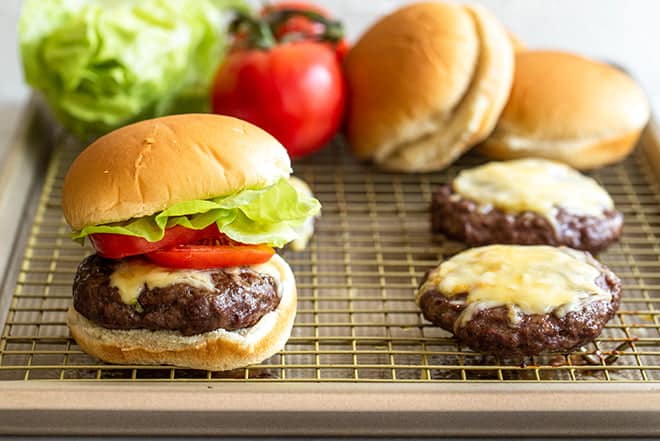
Cheese
If you’re cooking your burgers in a skillet, here’s a trick for melting the cheese very quickly. While your burgers are cooking, put on a kettle to boil. Once you’ve added the slice of cheese to the burgers and are ready for it to melt, drizzle 2-3 tablespoons of water directly onto the pan around the burgers. Cover with a lid. The steam from the hot water will melt the cheese in just a few seconds.
If you’re cooking your burgers on the grill, add the cheese when you flip the burgers for the final time. Then put down the cover so that it has time to melt before the burgers overcook.
Buns
Sesame seeds or not is up to you. Well, whatever bun you choose is up to you. I like something a bit more solid, less floppy than the hamburger buns sold next to the wonderbread. I get my buns at the bakery section of the grocery store.
What’s more important than what kind of bun though is what you do with it. For me, it’s critical that the bun be warm. The best is if it’s toasted (maybe with a bit of garlic butter spread onto it mmmmm). But if you can’t be bothered to toast it, that’s fine. Microwave it for 15 seconds per bun. Just get it warmed up a bit. It makes such a difference to the entire burger experience.
Condiments
The only thing left is the burger condiments. This is a very personal choice. I always go with fried onions, tomato, pickles, mayonnaise, lots of mustard, a tiny bit of ketchup. Though lately it’s been this killer Burger Sauce recipe I came up with or this great Sriracha Mayo.
Of course, you could go crazy with BBQ sauce, bacon, and onion rings. Or try sliced avocado and a zesty aioli. The great thing about this burger recipe is that it can be the base to whatever fixings you like.
I bet you know exactly what you like on your burger though, so I won’t give any further instructions here other than to say this. It’s best to get everything out and ready before you put the burgers on the grill. That way people can start getting their buns ready while the burgers cook. When the patties are done, they slide right into the buns and it’s time to eat.
More Burger Recipes
Want some variety past the standard ground beef hamburger? Try some of these other options!
Enjoy! – Christine xo
Podcast Episode On Making The Best Basic Burger
Listen to me explain briefly about how to make these burgers, with some great tips along the way, by clicking the play button below:
Listen to more Recipe of the Day episodes here.
Print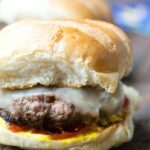
The Best Burger Recipe
- Prep Time: 10 minutes
- Cook Time: 10 minutes
- Total Time: 20 minutes
- Yield: 6 servings 1x
- Category: Entrée
- Method: Grilled
- Cuisine: American
DESCRIPTION
This is the best burger I’ve ever come across. It’s a homemade burger patty with meat and seasonings, no fillers. It really lets the meat flavor shine!
Ingredients
- 2 lbs. ground chuck (or use lean ground beef for a leaner burger, or a mixture of the two)
- 2 tsp. seasoning salt
- 1 tsp. garlic powder
- 1 tsp. onion powder
- 1/2 tsp. black pepper
Instructions
- In a large bowl combine beef, salt, garlic powder, onion powder, and black pepper just until combined. Do not over-mix or burgers will be tough.
- Divide meat mixture into 6 equal portions (you can do 8 instead if you want a smaller patty). Shape each into a tight ball. Use hands to flatten the ball into a disc. Make it thinner in the center. Smooth any cracks at the edges with the palm of your hand.
- Arrange patties on a large plate. If they don’t fit in a single layer use plastic wrap, parchment paper or wax paper to separate the layers. Cook immediately or cover and refrigerate until ready to cook (up to 12 hours).
- Heat skillet or grill to medium heat. Cook burgers on the first side until a nice dark sear appears, 3-4 minutes. Flip and cook on the second side until no longer pink inside (it will read 160°F on an instant-read thermometer), 2-6 minutes.
This post originally appeared in May 2015 and was revised and republished in July 2023.


Made this for me and Christine’s Turkey Burger recipe for my husband (who avoids red meat). Put all on the grill. We really enjoyed; we were both happy!
Love to hear that, Sharon! I also have recipes for chicken and shrimp burgers if you and your husband want to switch things up. So good!
I was making these all summer on the BBQ. Now that it’s -20 Celsius, I thought I’d try cooking the burgers in the air fryer. Just as amazing! 11 minutes in the Actifry and they were done. Thank you for sharing this awesome recipe!! So delicious!
You’re welcome, LG! Thanks for sharing your timing with us.
These were delicious! We have an egg allergy in the house, and I’ve never been brave enough to try making burgers without egg. Now I regret that I wasted all this time on awful frozen burgers from the store. We all loved these. Thank you a million times for sharing!! We’ll be making these all summer.
Wow! your burger recipes is the best and test yummy
So glad that you enjoyed, Michael!
Another great recipe to try, love these recipes
Thanks, Frank!
My grandma made them this way
Wonderful, Saundra!