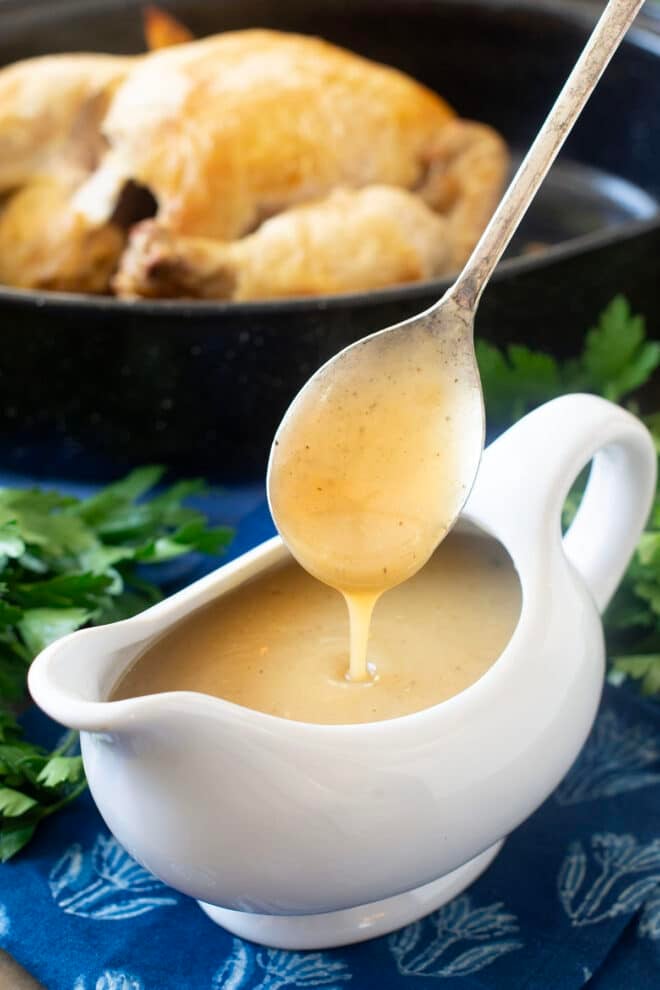
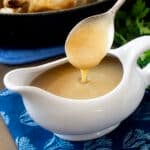
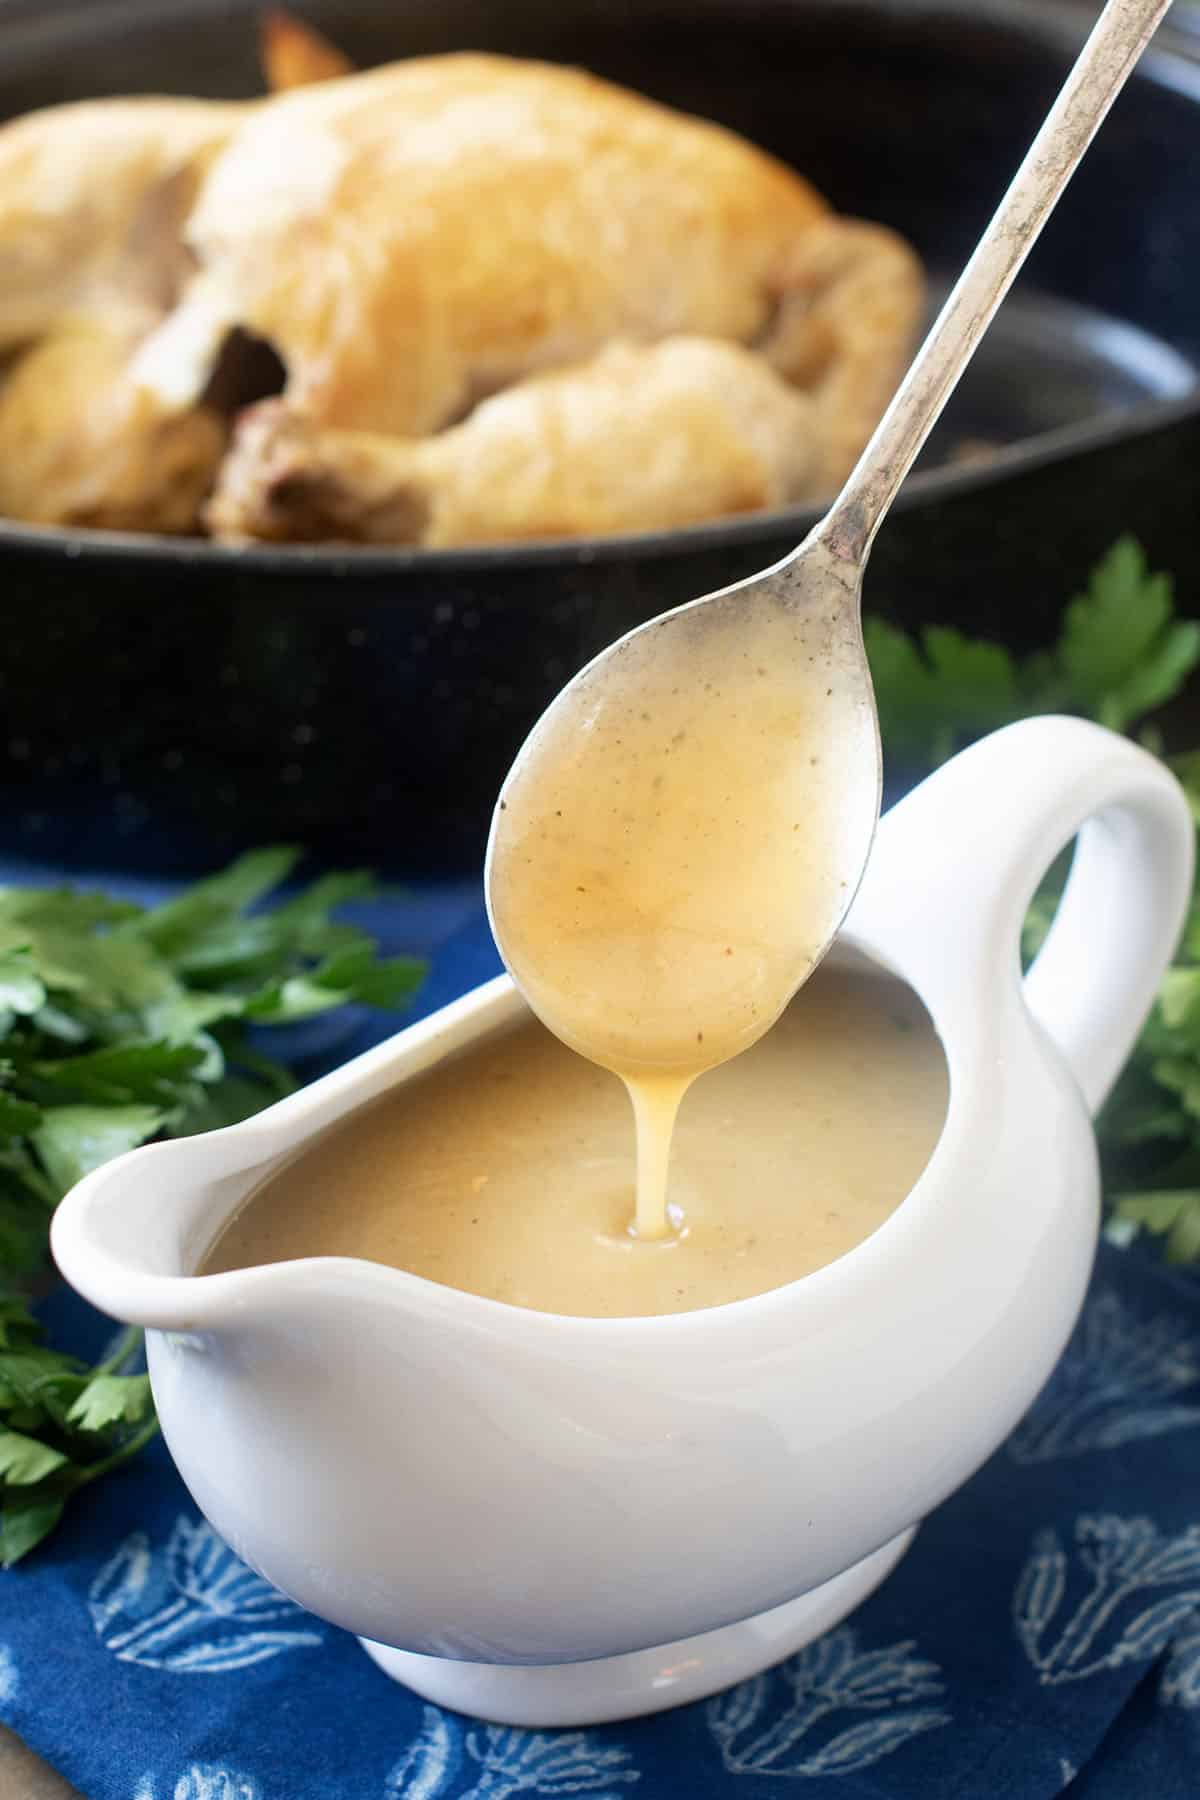
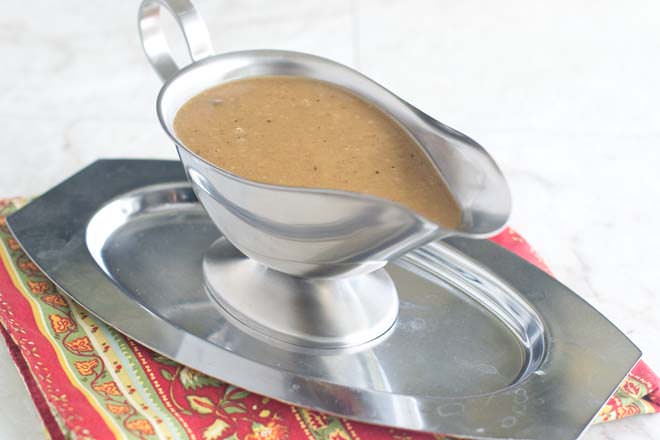
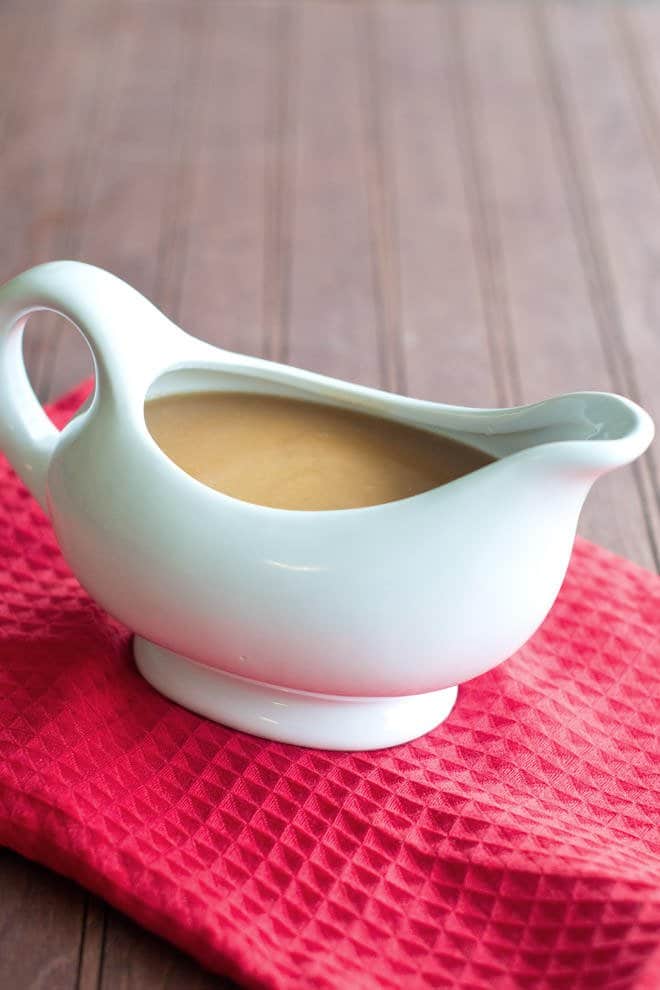
Learn how to make a flavorful homemade chicken gravy to complete your delicious roast chicken dinner.
I love to make Homemade Gravy, and I especially love it with Roast Chicken and Buttermilk Biscuits. I’ve made so many roasted chickens with chicken gravy over the years and I always just kind of improvised it. But recently I was asked how I make it, and so I wrote it all down and tested it. The result is detailed instructions to make the best chicken gravy you’ve ever had, perfect every single time.
Scroll down to read more about how it all comes together or click here to jump straight down to the recipe.
Video: Making Homemade Chicken Gravy
What Are Chicken Drippings?
Drippings are what is left in the roasting pan after cooking chicken or any kind of meat. This includes melted fat, the juices from the meat, and bits of meat that have fallen off. This extra liquid makes the most delicious start to a homemade gravy recipe.
If you don’t have enough pan drippings, or didn’t just roast a whole chicken, you can make up the difference with chicken broth for the liquid and butter for the fat. I’ll explain how below. And just note that if you want to make chicken gravy but don’t have any drippings at all, you can totally do it. I have a delicious recipe for Gravy Without Drippings over here.
How To Get The Best Drippings
Use Stock Or Broth When Roasting
First, make my delicious Roast Chicken recipe. You’ll notice in that recipe that you’re pouring some unsalted stock or broth into the roasting pan while the chicken cooks. Don’t worry about the chicken steaming because we use a technique to crisp up the skin at the end. The reason for putting the stock in the pan is twofold.
First, it’s to stop the drippings from burning. You see, quite often when you roast something for a long time and the drippings are falling to the hot pan, those drippings can get really dark and even burnt. That will lend a bitter taste to your drippings. By putting the stock in there, the drippings are protected and your flavor will be much better.
Second, the stock with those drippings falling into it will slowly evaporate and concentrate, and also they’ll caramelize on the sides of the pan. You’ll add a bit more stock if you notice this happening, so that the caramelized flavor ends up in the liquid and in your gravy.
Use A Gravy Separator
After you remove the chicken from the roasting pan, you’ll have a pan full of drippings (which are the drippings from the chicken mixed with the stock you added, all of which has been simmering in the roasting pan and concentrating). Use a rubber spatula to really scrape the sides and bottom of the pan to make sure that everything is in the liquid. You can add a bit more stock to the pan if needed.
Pour all of that into a gravy separator or measuring cup. The fat will rise to the top. We’re going to use some or all of that fat, but we want it to not be mixed with the liquid because they get added at different times.
The important things about a gravy separator are that 1) the fat rises to the top, and you can scoop out what you need; 2) the spout takes from the bottom of the measuring cup so when you start pouring, you’re just getting juices and none of the fat from the top; 3) there’s a plunger that goes in the spout for when you’re first adding the drippings to it. This plunger stops any liquid from entering the spout until you remove the plunger. What that means is that the fat is able to rise to the top of just the measuring cup portion and not also be at the top of the spout.

If you don’t have a gravy separator, that’s fine. You can use a regular measuring cup or a narrow container. You’ll let the fat rise to the top, scoop off what you need and use it, scoop away and discard the rest of the fat, and the use the liquid from underneath.
Add To Your Drippings, If Needed
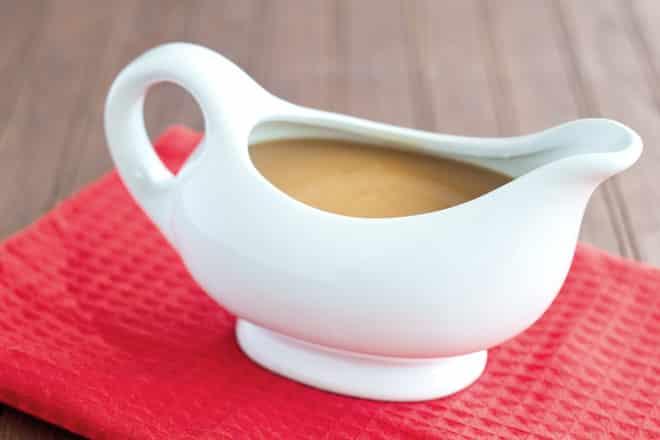
The recipe below makes 3 cups of gravy, which is a good amount for 6-8 people, depending on how much they like their gravy. To make that much, you need 3 cups of liquid drippings. If you have less than three cups of liquid under the chicken fat, add to that using unsalted chicken stock or broth, adding enough to make up the 3 cups.
Making The Chicken Gravy
Make a Roux
After you have your drippings out of the roasting pan, it’s time to make the roux. A roux is a paste made from fat (like butter or the fat in our drippings) and flour. You make a paste by whisking those two together. Then you slowly whisk in a liquid to thin it down. As this mixture heats up, the flour cooks and thickens the sauce. A roux like this is the basis for many creamy soups and sauces, like a classic Béchamel (French White Sauce), Cheese Sauce, and Cream of Mushroom Soup and Cream of Chicken Soup.
To make the roux for this chicken gravy, let the fat rise to the top of your drippings. Then spoon off 4 tablespoons of the fat and add that to a medium saucepan. Add 4 tablespoons of all-purpose flour and whisk to combine to create a paste. That’s your roux.
For my chicken gravy recipe, I don’t cook the roux for very long before adding the liquid. I just cook it over medium heat, while whisking continuously, for about a minute. If you want your gravy to be darker in color and have a slightly nutty flavor, you can cook the roux until it just starts to brown, 4-6 minutes. Whisk it continuously during that time. And note that cooking the roux like this makes it less good at thickening later, so your gravy might not thicken up as much as you’d like. That’s okay though. I have tips for you below for what to do if your gravy isn’t thick enough.
Add The Drippings
The trick here is to not create any flour lumps when you start adding the liquid. One way that lumps form is if the flour and liquid start cooking together before they’re smoothly incorporated. I therefore advise, especially if you’re new to making sauces like this, that you take the saucepan off of the heat at this point.
Then, drizzle in 1/4 cup of the liquid from under the fat and whisk. You can use 1/4 cup of white wine here, if you’d like, instead of the drippings. Once that small amount of liquid mixed with the roux and it’s all smooth, add another 1/4 cup of drippings and whisk. Keep repeating that until you’ve added 3 cups of liquid. Note that the more liquid you add, the easier it is to keep things smooth, so you can add more at a time as you go.

Heat Up, Thicken, And Season The Chicken Gravy
Next, put the pan over medium heat and stir often until it simmers. Let it simmer while you stir often for a few minutes until it thickens up. At this point, add in 1/4 teaspoon poultry seasoning (or dried thyme, sage, and rosemary), pepper, and garlic powder. But don’t add salt until just before serving because it will concentrate as water evaporates off. Salt it to taste at the end.
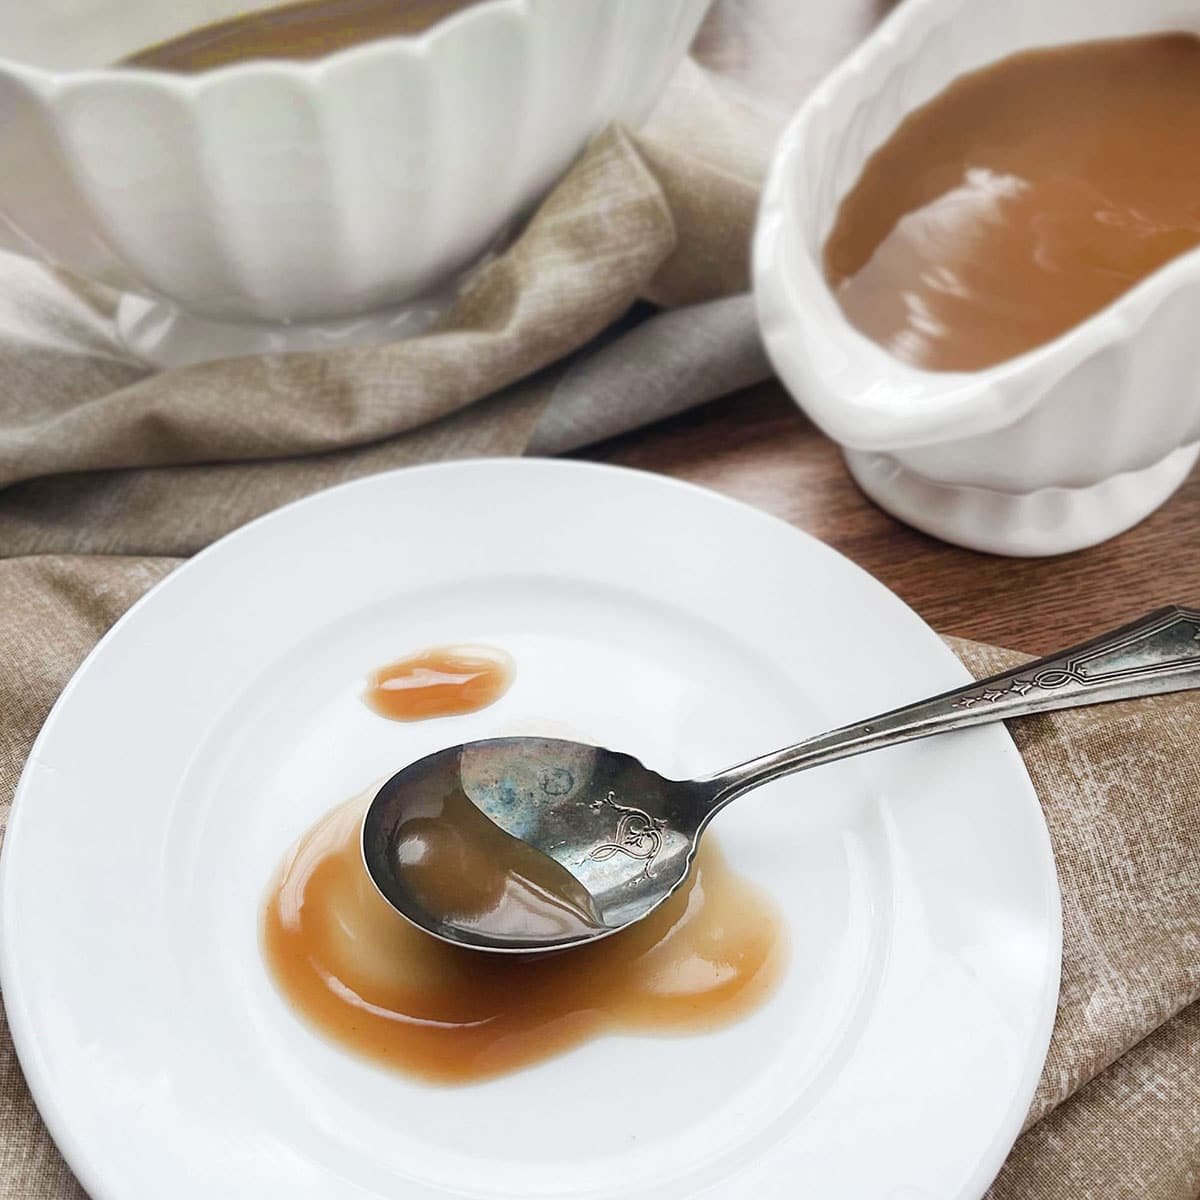
How To Make Gravy Thicker
This gravy recipe uses more than 1 tablespoon of flour per cup of liquid, and so it’s already fairly thick. But, if you cooked your roux a bit, or if you just like your gravy thicker than how it turned out, there are things you can do to thicken it up.
There are four easy ways to thicken up your chicken gravy:
- Keep simmering it so that water evaporates off and the gravy thickens. Note that this is why I advise that you not add salt to gravy until just before serving. If you end up having to reduce the gravy, you’ll concentrate the salt and it will be too salty.
- Mix together a tablespoon of cornstarch with 2 tablespoons of water and whisk that into the gravy. Heat it back up to a simmer and cook for a minute;
- Get a jar or container with a tight-fitting lid and add 2-4 tablespoons of flour and 1/4 to 1/2 cups of water or room-temperature stock. Put on the lid and shake until smooth. Pour some or all of that into the gravy, stir well, heat it to a simmer and cook for a minute.
- This is my favorite way to do it because it adds richness and doesn’t dilute the gravy flavor very much. Make a Beurre Manié like in the sauce for this Beef Tips and Rice recipe. To do so, knead together 2 tablespoons of softened butter with 2 tablespoons of all-purpose flour. Break it up into about 6 pieces and drop some or all of those into your gravy, bring it up to a simmer while stirring, and cook for 1 minute.
Before we move on, just a quick note about making the gravy thinner. If you want the gravy to be thinner, simply stir in more chicken stock or drippings.
Tips For Homemade Chicken Gravy
- Before you pour your drippings from the roasting pan into the gravy separator, add about 1/2 cup of chicken stock to the pan drippings and swirl it around. Then use a rubber spatula to scrape down the sides of the pan.
- There is often some flavorful caramelization on the sides from when the drippings were simmering in the oven and evaporating and leaving behind some caramelization. You also want to scrape up as much from the bottom of the roasting pan as possible.
- Also, after your chicken has rested on a plate, tip the juices from the plate into the gravy, and even try tipping the chicken around a bit because some juices will have settled inside and those are amazing. So much flavor that you don’t want to waste!
- Similarly, as you carve the chicken juices will escape. Use a rimmed cutting board and try to channel all of those juices into your gravy too.
More Gravy Recipes
Did you know I have a whole collection of gravies and sauces for you to make at home? Find the perfect recipe for any meal and check of some of my favorite gravies below:
- How to Make Homemade Ham Gravy
- Pork Gravy Recipe
- Instant Pot Gravy
- Cornstarch Gravy Recipe
- Homemade Onion Gravy
- Mushroom Gravy
- White Country Gravy
- Homemade Sausage Gravy
Podcast Episode About Making Chicken Gravy
Listen to me explain briefly about how to make this gravy, along with some other great tips, by clicking the play button below:
Chicken Gravy Recipe
- Prep Time: 5 minutes
- Cook Time: 10 minutes
- Total Time: 15 minutes
- Yield: 6 servings 1x
- Category: Sauce
- Method: Stovetop
- Cuisine: American
DESCRIPTION
Learn how to make a flavorful homemade chicken gravy to complete your delicious roast chicken dinner.
Ingredients
- 4 Tbsp. fat from chicken drippings
- 4 Tbsp. all-purpose flour
- 3 cups drippings (or chicken broth)
- 1/4 tsp. poultry seasoning
- 1/8 tsp. black pepper
- 1/4 tsp. garlic powder
- Salt, to taste
Instructions
- Remove your roast chicken from the roast pan and pour pan dripping into a gravy separator.
- Spoon off 4 tablespoons of the fat from the top of the chicken drippings. Add to a medium saucepan. (If you don’t have enough fat, use unsalted butter.)
- Add flour and whisk to combine to make your roux.
- Drizzle in 1/4 cup of the chicken drippings and whisk. Whisk in another half cup. Repeat until all drippings are used. You can use chicken stock or broth if you don’t have enough drippings from your roast chicken.
- Put pan over medium heat and stir often until simmering. Let simmer for a few minutes, then add your seasonings. Wait to add salt to taste until just before serving.
Love this recipe? I’d appreciate it if you could scroll down and add a *5 star rating* to help others know they’ll love it as well!


Leave a Reply