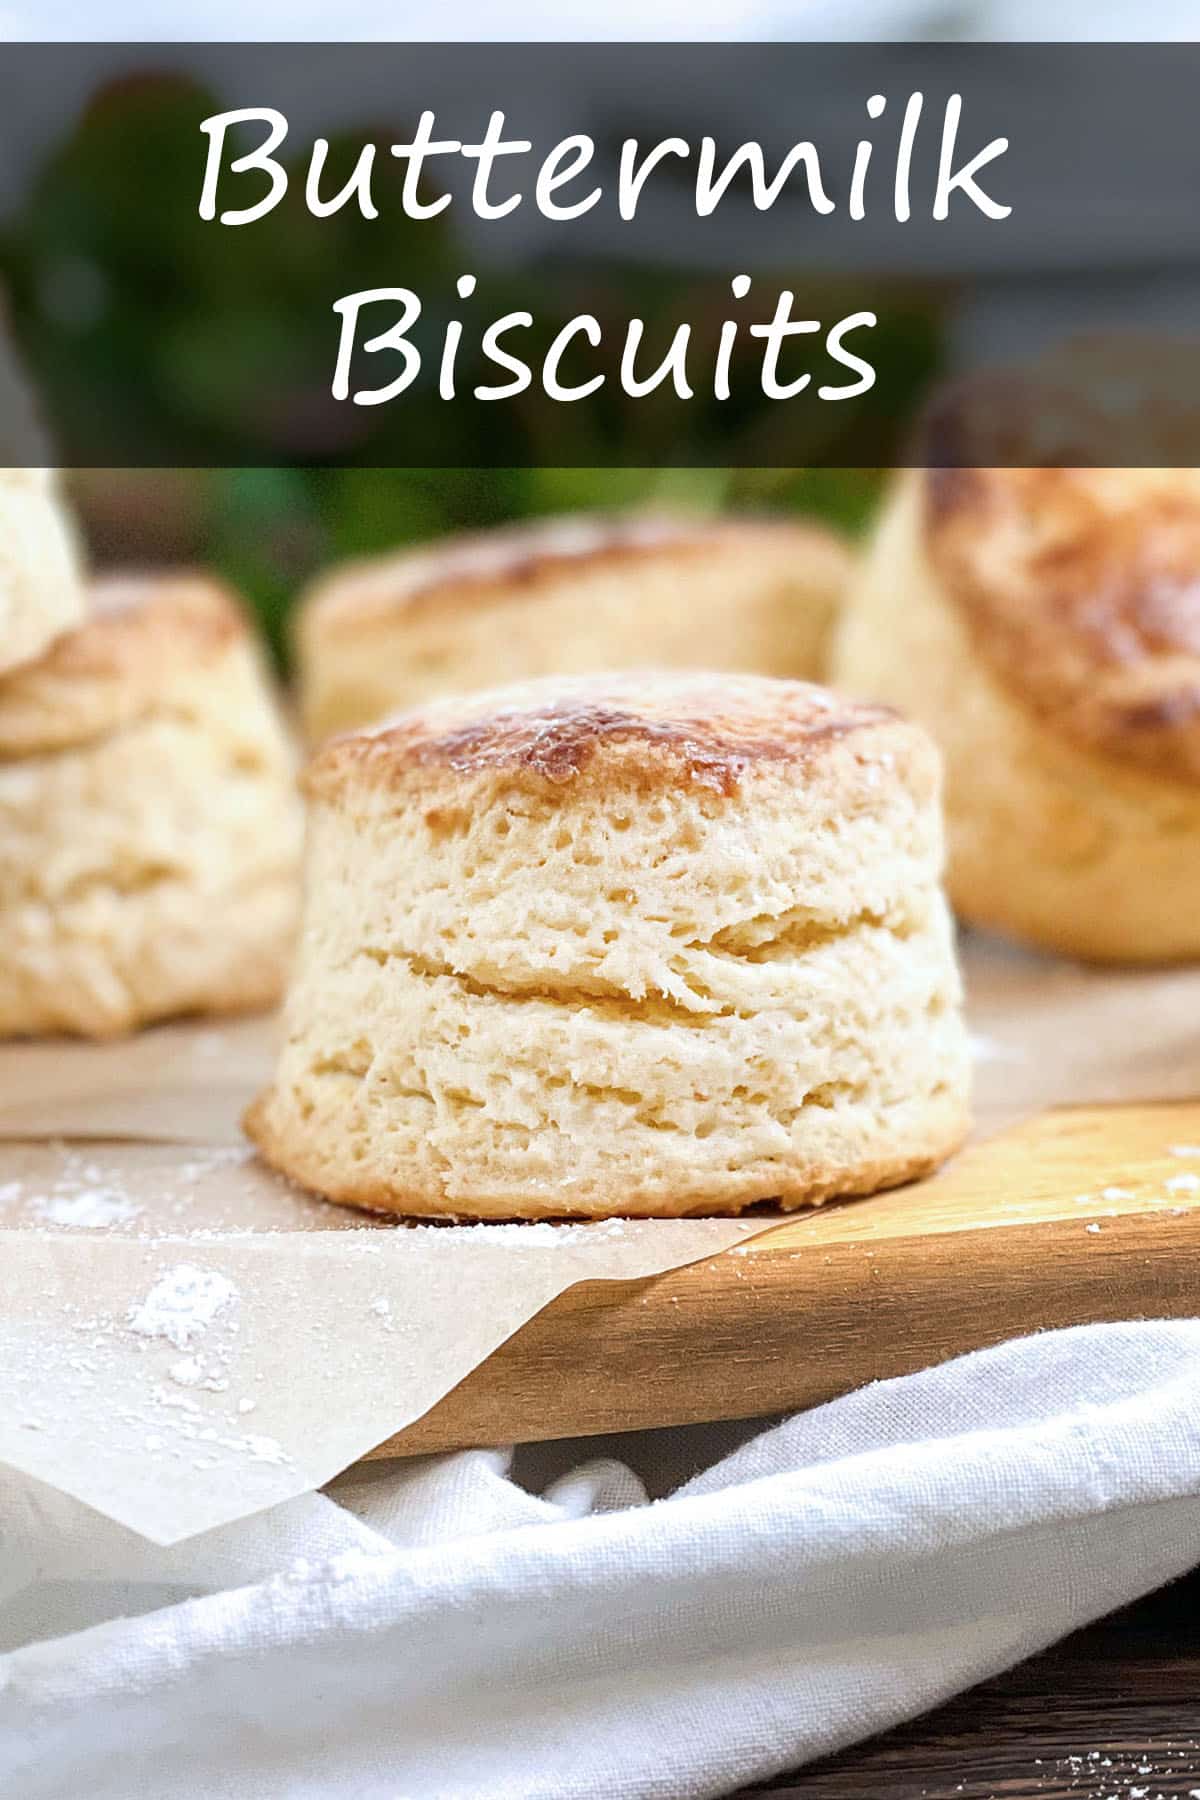
These buttermilk biscuits use a few special tricks to get them to rise higher than any other recipes we’ve tried.
Buttermilk biscuits have been a staple of Southern cooking for generations. These biscuits are made with a combination of flour, baking powder, salt, butter, and buttermilk. This mixture is called a “short dough”, named for its crumbly pieces with little gluten. The specific Biscuit Mixing Method used here produces a tender, fluffy biscuit perfect for smothering with Creamy Sausage Gravy or Hamburger Gravy, dipping in Chicken Noodle Soup, or simply spreading with butter and jam.
Scroll down to read more about how it all comes together or click here to jump straight down to the recipe.
- What Is The Biscuit Mixing Method?
- What Kind Of Flour Should Be Used For Buttermilk Biscuits?
- Baking Powder Or Baking Soda For Buttermilk Biscuits?
- What Kind Of Fat Should I Use?
- Why Is Buttermilk Important To Making Biscuits?
- How To Make The Highest Fluffiest Biscuits
- How To Create Sweet Or Savory Biscuits
- How To Serve Homemade Buttermilk Biscuits
- Podcast Episode: Making Fluffy Homemade Biscuits
- Homemade Buttermilk Biscuits Recipe

What Is The Biscuit Mixing Method?
The biscuit mixing method refers to a specific way and specific order in which the dry ingredients, the fat, and the liquid are combined. The most important step, cutting in the fat, is what gives buttermilk biscuits their flaky tops and fluffy crumb.
What Does Cutting In The Fat Mean?
Cutting In The Fat is a process where the fat (the butter, lard, shortening, or a combination of two or three of them) is made into smaller pieces while cutting or rubbing it into the flour. This cutting or rubbing coats the fat in the flour while distributing it throughout the dough. When the dough is heated in the oven, the flour-coated fat creates tiny pockets of steam. The steam rising adds extra leavening, which, together with the leavening effect of the baking powder, give the biscuits their fluffy texture.
Mixing To Make The Biscuit Tender
A biscuit’s tenderness comes from how the liquid is mixed into the flour and fat. It’s important not to overmix the dough when adding the liquid, which will develop gluten and cause the biscuit texture to become tough. Adding minimal liquid, and stopping the mixing process as soon as a scrappy dough is formed, will help keep the gluten development to a minimum, ensuring the biscuits are tender after coming out of the oven.
The biscuit mixing method can be done by hand, using a pastry cutter, two butter knives, or your fingers. It’s important that the fat remain cold though, so these methods aren’t my first choice, especially during warmer months when my hands and the air are pretty warm. If the butter becomes too soft, the water that it contains will mix with the flour, initiating the formation of more gluten, and thus a flatter biscuit.
Instead, I prefer using a food processor to create the dough. This reduces the mixing time down to just a few minutes. The shorter amount of time gives less time for the butter to start softening. Also, since it’s only a few pulses of the processor that are needed, you don’t generate heat from the friction of the blade. The ingredients end up well-combined and the butter remains cold. The food processor blade also helps keep the gluten strands as short as possible, by cutting them up. Short gluten means more tender biscuits.
What Kind Of Flour Should Be Used For Buttermilk Biscuits?
In the South, White Lily brand flour is most commonly used for biscuits, which is a brand of flour made from a soft, red, winter variety of wheat that contains a low percentage of protein. The lower protein makes a lighter biscuit. The brand is expensive and can be difficult to find in other regions, so you’ll often see cake flour or a combination of all-purpose and cake flour used in some biscuit recipes.
Self-rising flour is also a popular choice for advanced and beginner biscuit bakers alike because it contains leaveners, eliminating the need for baking powder. This isn’t my favorite option though because it doesn’t provide you with the exact ratio of leavener to flour, so you never truly know how much baking powder is in the mix.
I’ve found, like Alton Brown, and the gals over at The Kitchn, that good ol’ all-purpose flour does just fine. It’s available everywhere, relatively inexpensive, and makes a perfect buttermilk biscuit.
Baking Powder Or Baking Soda For Buttermilk Biscuits?
For tall, fluffy biscuits, two things matter: 1) how the fat is coated with flour to create those steam pockets we discussed above, and 2) the leavener, and I use only baking powder for my buttermilk biscuits recipe.
Why Are We Only Using Baking Powder Here?
You might be wondering why we don’t call for baking soda here in addition to the baking powder. You’ve likely seen this in other recipes, especially for drop biscuits, scones, and quick breads. Baking soda has a different effect than the one we want here though. It spreads ingredients during baking. For tall biscuits, we don’t want spread. Instead, we use baking powder alone, which causes them to puff, or lift, and not to spread.
What Kind Of Fat Should I Use?
Butter, lard, tallow, and shortening can all be used as fat options for buttermilk biscuits, each making subtle differences in the taste and texture of the finished product. Each also helps to prevent too much gluten from forming by “shortening” the gluten strands. Butter and lard are the most common traditional fats from the list, with vegetable shortening joining the mix after its introduction to the general public in the early 1900s.
Several modern-day recipes use a combination of fats, like butter and shortening, but whether I’m making savory or sweet biscuits, I prefer to use all butter for the flavor and texture.
Why Is Buttermilk Important To Making Biscuits?
Buttermilk is important to homemade biscuits for two reasons. First, the subtle tang it adds helps cut through the richness of the butter and flour. Second, buttermilk’s acidity combines with the acidity present in baking powder to activate the leavening even more than if you use an ingredient, like milk, which doesn’t have acidity. The acidity in the buttermilk is also helpful if your baking powder is older by giving that extra bit of acidic boost.
Need a buttermilk substitute? Combine 1 cup milk with 1 tablespoon of lemon juice or white vinegar. Let sit for about 5 minutes, then give it a stir and it’s ready for your recipe.
How To Make The Highest Fluffiest Biscuits
Homemade buttermilk biscuits couldn’t be simpler to make, especially in a food processor when you follow these steps:
- Mix the dry ingredients
- Cut in cold fat
- Add liquid
- Roll and cut shapes
- Bake
The Amount Of Liquid Matters
We’ve already discussed the first two steps. Now let’s dig into the others.
When it comes to adding the buttermilk, I can’t give you an exact amount. Depending on how “hydrated” your flour is (for instance, how humid your climate is), you may or may not need the entire one cup of buttermilk called for in this part of the recipe. To be sure the right amount is used, add the buttermilk one-quarter cup at a time, pulsing a few times between each addition.
After three-quarters of a cup of buttermilk has been added, stop and check the dough. It’s going to look dry and scraggly, but give it a squeeze. If it sticks together to form a ball in your hand, you won’t need to add the last bit of it. If the dough still feels a little dry, add the remaining part of that one cup, half at a time, and pulse a few more times.
Transfer the dough to a clean, dry work surface, like a countertop or large cutting board. Pull all of the dough pieces and crumbs together into a mass and then gently press everything together into a messy, thick disc.
Faux-Laminating The Dough For The Tallest Biscuits Ever
You may know that puff pastry, croissants, and strudel doughs use a process called lamination to get layers of butter between the dough. Just like we discussed above, butter layers lead to steam which aids in the lift and leavening of the dough. Don’t worry, I’m not about to tell you to use that kind of intense lamination process to make biscuits, but I am going to explain how we can do something simple that has a very similar effect.
When the dough was shaped into that initial disc shape, it started to create a few layers of that flour-coated fat that I described earlier. Every layer of flour and fat that you manage to create will kind of be as though you did a lamination layer. So, while a few layers are nice, a lot of layers are even better.
The Faux-Lamination Technique For The Tallest Biscuits: To easily make lots of flour-coated butter layers, cut the disc of dough into quarters. Stack the quarters on top of each other and gently press down until the stack is half the height. Repeat this process two additional times, then roll the dough to about a ¾-inch thick circle.
Here’s A Video Showing The Faux-Lamination Process:
Cutting The Biscuits Into Shapes
Using a biscuit cutter or round cookie cutter, cut as many biscuits as possible from the dough, leaving as little space as possible between each cut. Transfer the biscuits to a parchment-lined sheet pan and set that aside.
Pull the dough scraps together and roll them out again to a ¾-inch thick circle and cut the biscuit shapes. You should be able to get two or three additional biscuits from this second rolling. You can go in for a third, but at this point, the dough will be close to being overworked, so any biscuits will most likely be tough. That’s why you have to try to get the circles as close together as you can in the first round, so that you don’t have as many biscuits where the dough was over-worked.
I use a 3-inch round cutter, but if you don’t have a biscuit cutter or round cookie cutter, you can use the rim of an upside-down glass or clean tin can. Or, you can cut square biscuit shapes, which is one of my favorite ways to cut them because there are never any scraps left and no need to regroup and roll again.
Important Note: Whether using a biscuit cutter, cookie cutter, or knife, it’s important that you cut straight down without twisting or pulling. This allows the dough to spring back up after being cut, which is important for rising in the oven. Twisting and pulling can “seal” the cut, preventing the biscuit from rising as high as it otherwise could.
Refrigerate The Biscuits Before Baking
Lightly cover the biscuits with plastic wrap or a clean kitchen towel and place the sheet pan into the refrigerator for 20 minutes. This will give the scrappy dough more time to absorb the buttermilk and additional time for any gluten formation to relax, which makes for more tender biscuits.
Baking The Biscuits
Preheat the oven, and after the 20 minute in the fridge are up, pull the sheet pan out of the refrigerator. Discard the plastic wrap, and brush the tops of the biscuits lightly with buttermilk. This will help them get a golden color on top. You’ll only need about 1/4 cup of buttermilk total for all of the biscuit tops.
Place the sheet pan into the oven and set the time for 15 minutes. Check the biscuits, and if they’ve risen and are golden brown on top, they can come out of the oven. Otherwise, keep them in for another minute or two.
Let the biscuits rest for about 10 minutes before digging in. This gives you time to finish up your Creamy Bacon Gravy or Southern Tomato Gravy to pour on top. So good!
How To Create Sweet Or Savory Biscuits
One of the reasons I love this recipe is because of how easily adaptable it is.
To make sweet biscuits for strawberry shortcakes or similar desserts, add ¼ cup of granulated sugar to the dry ingredients.
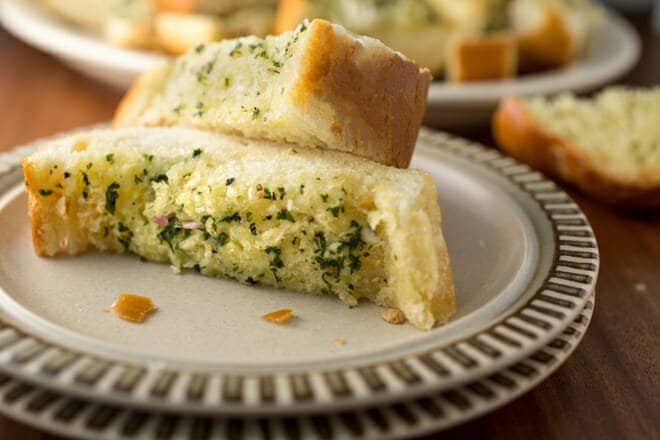
For savory biscuits, try adding a tablespoon of onion powder or a teaspoon of garlic powder, along with a teaspoon or two of dried herbs like thyme or oregano.
Whether sweet or savory, the key to adapting the base recipe is to use dry ingredients. So, for example, fresh parsley, garlic, or onion, will add too much moisture to the recipe and create gummy, dense biscuits. Similarly, you want to use a dry sweetener like sugar, and not honey or any other kind of liquid.
Hard cheeses, although they contain some moisture, will work well, too. Add about ¼ cup of grated Cheddar, Parmesan, or similar hard cheeses to the dry ingredients.
How To Serve Homemade Buttermilk Biscuits
The simplest way to serve buttermilk biscuits is warm with butter, jam, and honey. They can also be cut in half and used for breakfast or brunch sandwiches. Try pairing them with homemade breakfast sausage patties and Air Fryer Baked Eggs for the ultimate breakfast sandwich.
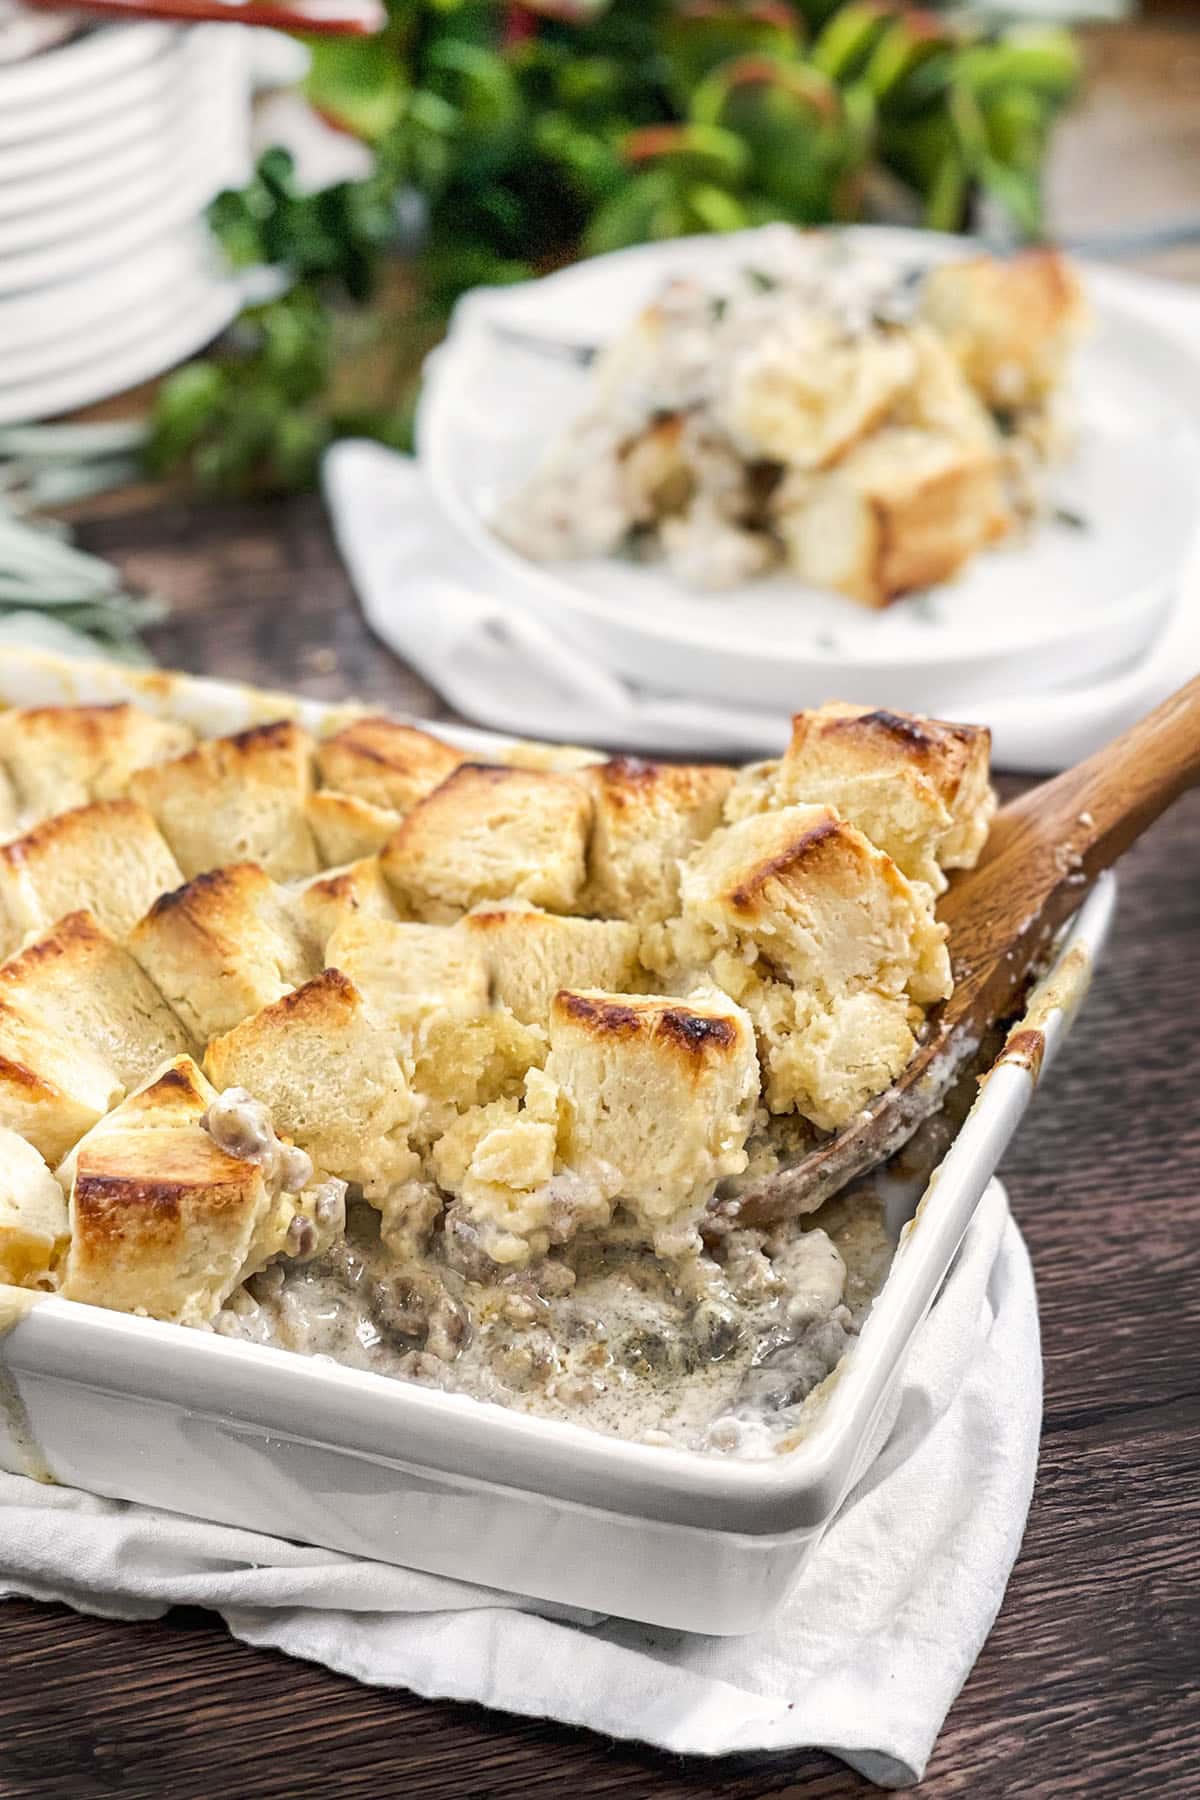
Instead of English muffins, the biscuits can be used for eggs benedict, and of course, traditional Biscuits and Gravy with sausage gravy or white country gravy.
Podcast Episode: Making Fluffy Homemade Biscuits
Listen to learn how to make this recipe, along with some great tips from Christine:
Listen to more Recipe of the Day episodes here.
Print
Homemade Buttermilk Biscuits Recipe
- Prep Time: 15 minutes
- Rest Time: 30 minutes
- Cook Time: 15 minutes
- Total Time: 1 hour
- Yield: 8 servings 1x
- Category: Side Dish
- Method: Baked
- Cuisine: American
DESCRIPTION
Fluffy, tender and light, mile-high buttermilk biscuits are simple to make in the food processor and perfect for breakfast, brunch, or lunch.
Ingredients
- 3 cups all-purpose flour
- 2 Tbsp. baking powder
- 1 tsp. salt
- 16 Tbsp. cold butter, cut into 1/4-inch pieces
- 1 and 1/4 cup cold buttermilk, divided
Instructions
- Line a sheet pan with parchment, set aside.
- In the base of a food processor fitted with the blade attachment add flour, baking powder, and salt. Cover and pulse 7 to 10 times to combine.
- Add half of the butter to the flour mixture. Pulse 10 to 15 times or until the butter and flour create coarse crumbs. Add remaining butter and pulse 7 to 10 times.
- Add 1/4 cup of the buttermilk. Pulse 2 to 3 times. Add another 1/4 cup and pulse again. Repeat one more time. Squeeze some of the dough in your hand. If it comes together into a ball, do not add the final 1/4 cup. If it seems dry and isn’t holding together, then add 2 tablespoons, pulse, test again. Add the final 2 tablespoons only if needed.
- Transfer dough and any crumbs to a clean, floured surface, then pull dough together into a mass.
- Using your hands, flatten dough into a 2-inch thick circle. Cut circle into quarters and stack quarters on top of each other. Press the stacked dough straight down so it is half the height it was. Repeat the cut/stack/flatten process two more times.
- Using a rolling pin, roll dough into a 3/4-inch thick circle; dust surface with flour as needed to prevent sticking.
- Using a round cookie or biscuit cutter, cut biscuits as close together as possible, pushing straight down (do not twist or wiggle the cutter). Transfer biscuits to prepared sheet pan.
- Gather dough scraps and repeat rolling/cutting process.
- Cover biscuits loosely with plastic wrap, refrigerate 20 minutes.
- Preheat oven to 450°F.
- Remove sheet pan from refrigerator, discard plastic wrap. Brush tops of biscuits with remaining ¼ cup of buttermilk.
- Place sheet pan in oven; bake 15 to 20 minutes or until tops are golden brown.
- Remove sheet pan from oven, let stand 10 minutes before serving.
Love this recipe? I’d appreciate it if you could scroll down and add a *5 star rating* to help others know they’ll love it as well!
Notes
- If dough is still very dry after adding buttermilk, add ¼ cup more.
- Different sized circle cutters will yield a different number of biscuits. For this recipe, I used a 3-inch cutter.
- If you do not have a round cookie cutter, a round glass turned upside down can be used, or biscuits can be cut in squares with a sharp knife.
This post originally appeared in April 2022 and was revised and republished in December 2023.


I love all the information and helpful tips you provided. This made for the best biscuits I’ve ever made from scratch! Thank you!
So glad to hear it, Victoria!