I’ve tested all the different ways to make garlic bread in the air fryer to find the best one. Now, I’m sharing the recipe with you. Get ready because it’s ready in minutes and full of buttery, garlicky flavor!
Garlic bread made in the air fryer is crunchy and toasty and covered with amazing cheesy garlic butter. It’s perfect for getting every drop of spaghetti sauce or soup from your dish. Bonus, it’s faster in the air fryer than in the oven too. Note though, I didn’t just put some butter on bread and toast it up. I actually tested a bunch of different methods to get THE BEST air fryer garlic bread possible!
Read more about why this is the best way to make air fryer garlic bread below or click here to head straight to the recipe.
- Ingredients
- Video: Making Air Fryer Garlic Bread
- The Garlic Butter
- Cutting The Bread For THE BEST Garlic Bread
- Do You Use Aluminum Foil For Air Fryer Garlic Bread?
- Difference Between Garlic Bread and Garlic Toast
- Temperature
- How Long To Cook Garlic Bread In The Air Fryer?
- Serve Garlic Bread With These Recipes
- Leftover Garlic Bread?
- More Dinner-Enhancing Recipes
- Podcast Episode On Air Frying Garlic Bread
- Air Fryer Garlic Bread Recipe
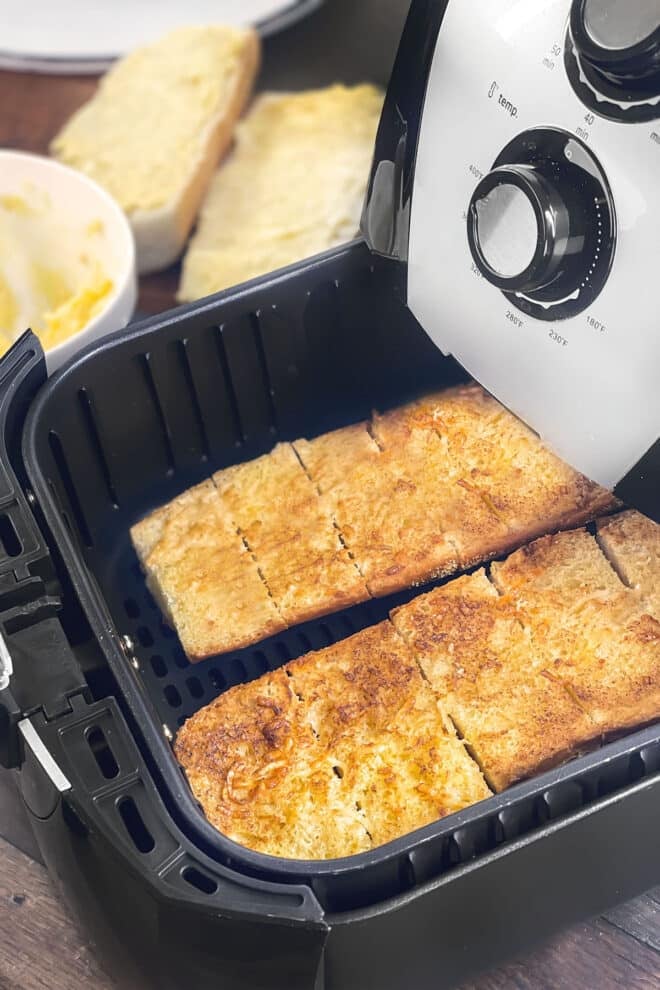
Ingredients
The ingredient list for this recipe is pretty short. You’ll want a fresh baguette or loaf of Italian bread. Mine was from the bakery section of my grocery store and about 16-inches long.
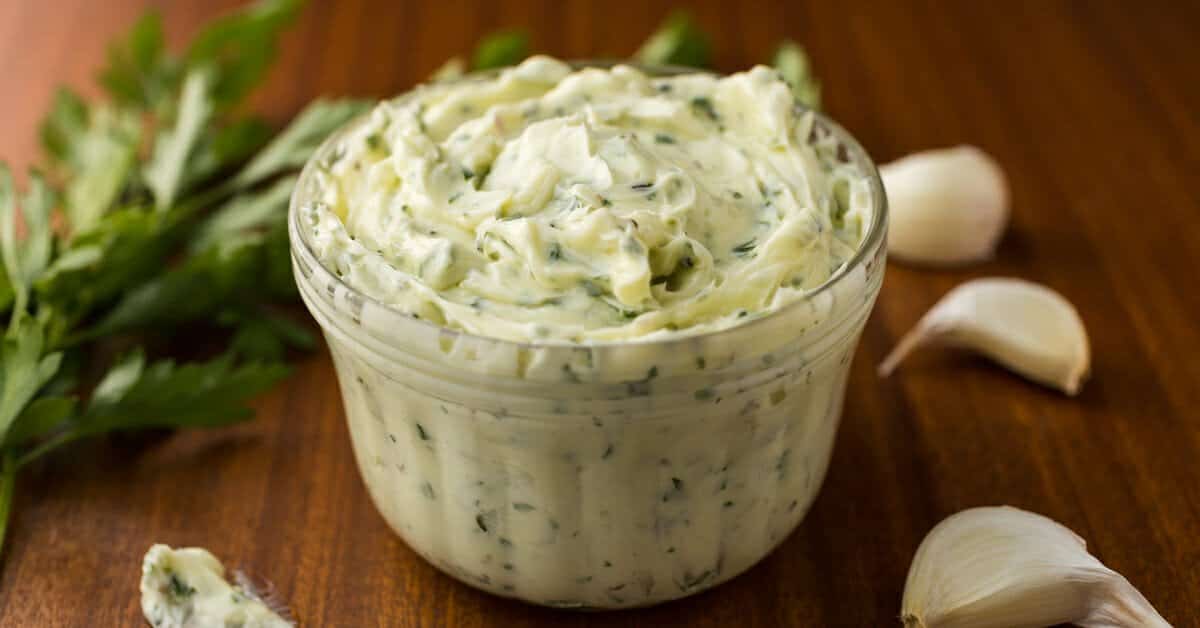
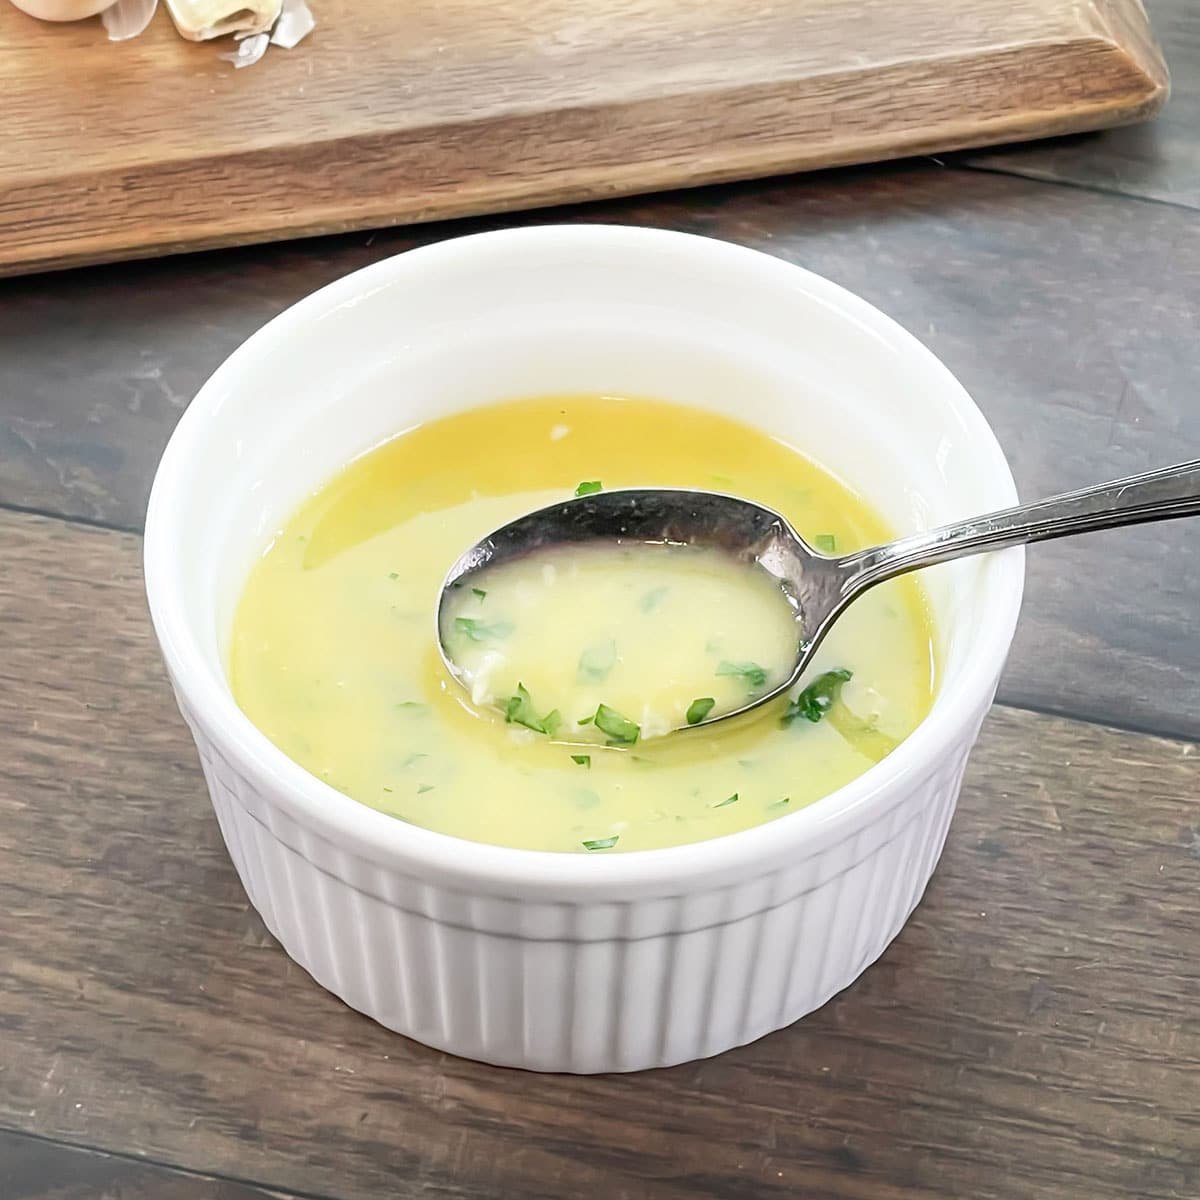
You’ll also need salted butter, minced garlic (of course!), and some freshly grated Parmesan cheese. Using salted butter eliminates the need for adding salt. The Parmesan cheese also adds a salty flavor. If you have some of my best-ever garlic butter already prepared, you can use that and just mix in the cheese, or make the garlic butter below.
Video: Making Air Fryer Garlic Bread
The Garlic Butter
I wanted to find the absolute best way to air fry garlic bread. After several delicious tests, I’ve got the best recipe for you. It starts with a delicious garlic butter.
Mix together your salted butter, garlic, and Parmesan cheese. You’ll want your butter to be softened so that it’s easier to combine. I think the cheese works better if it’s freshly grated because sometimes the prepared stuff sold in containers or bags doesn’t melt as well. Mixing the cheese in with the butter allows for even distribution and prevents the cheese from becoming too toasted.
Want to play around with the flavor a bit? Try my Garlic Bread with Lemon Zest for a tasty twist.
Cutting The Bread For THE BEST Garlic Bread
I experimented with various ways of cutting and slicing the bread before deciding on this one. I wanted the bread to fit into the air fryer and maximize the space in there, and I wanted to get as much nice toasting as possible, and also, get the garlic butter to end up in as many bites of bread as possible. I have achieved it, and I can’t wait for you to try it!
Cut off the ends of your bread loaf with a serrated knife. How much you need to trim depends on the size of your air fryer. You’ll trim the ends and then cut your loaf in half vertically so that each half can fit in there. Then, cut each half of loaf horizontally all the way through creating those planes of soft bread ready to be smeared with garlic butter. But don’t do it yet. There’s one more step.
Next you’ll want to cut parallel slits every two inches, but stopping before you cut through the bread completely so that the slices hold together, imagine slicing a Hasselback potato. Why are we doing this? There are two very good reasons. First, we’re essentially slicing the bread before buttering it, so that makes it less messy for serving later, and also this is before it gets all toasty and hot so that it’s easier to handle. You’ll easily be able to pull the slices apart at the table. Second, these downward cuts are going to allow the butter to melt right down into all those slices. There’s going to be garlic butter on every single bite!
Okay, so once you’ve got all your slicing done, it’s time to butter that bread. Use the back of a spoon or a butter knife to spread the garlic butter mixture over the horizontal plane of each piece. You don’t need to go in and get the butter down each Hasselback slice though – remember, it’s going to melt down into there, so this makes it pretty easy. Now it’s time to cook it, but first, you need to decide if you want to wrap it in foil first or not. Here are my thoughts on that:
Do You Use Aluminum Foil For Air Fryer Garlic Bread?
While I like my oven baked garlic bread to be wrapped in foil, I discovered that I liked it better without foil in the air fryer.
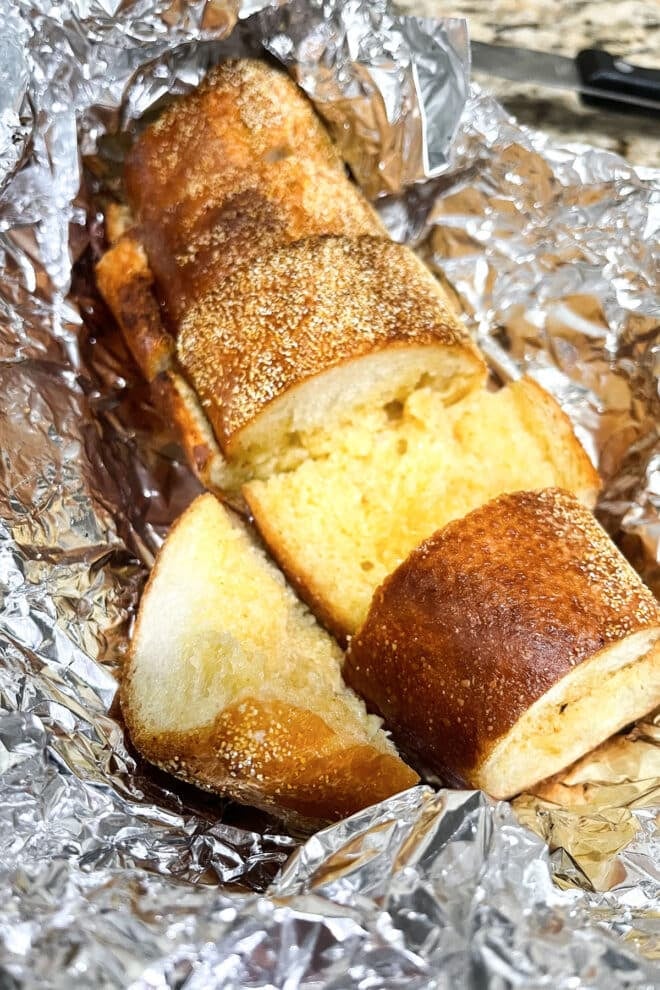
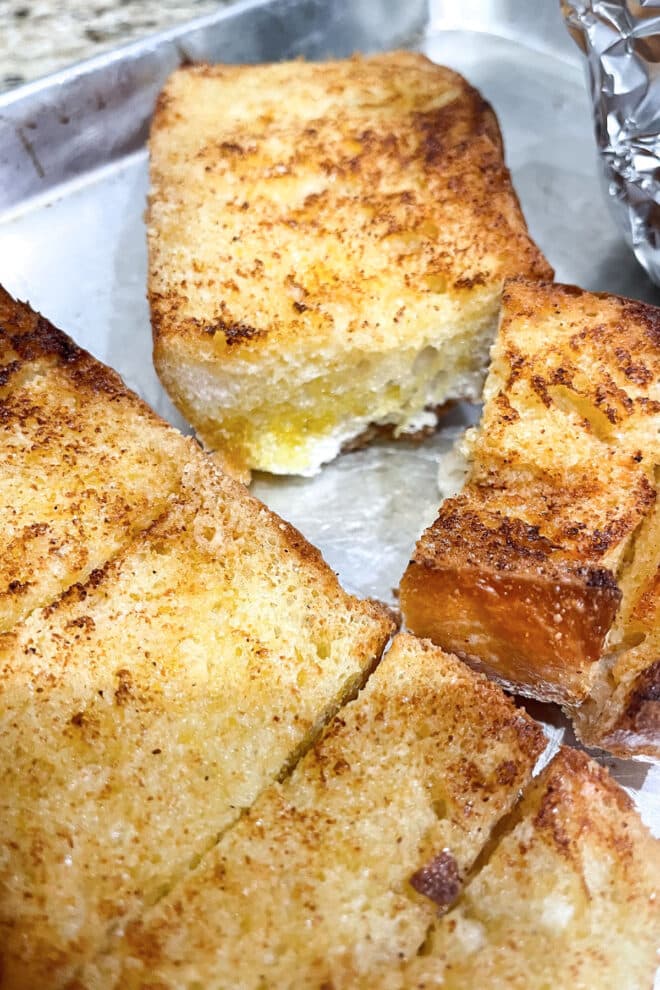
When I wrapped the buttered bread in aluminum foil it didn’t get toasty all over. I tried it both sliced Hasselback style and putting the buttered sides back to facing each other like I do for my oven version.
They were both good and the foil kept any buttery mess contained. However, only the exterior of the bread was toasted and the buttered side stayed soft.
You can see that in the pictures below where the softer bread version that used foil is on the left, and the version that didn’t is on the right and is browned everywhere. Note that it also took about 10 extra minutes to toast at all when wrapped up. So, if you want that softer bread middle, go ahead and wrap your loaves in foil and then cook them for an extra 10 minutes (15 minutes total).
Difference Between Garlic Bread and Garlic Toast
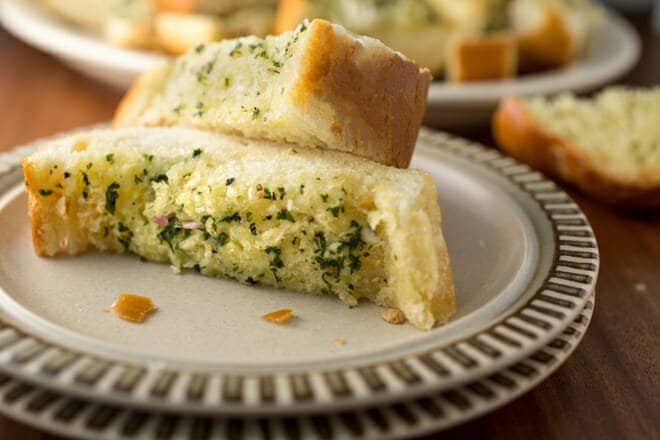
I’m just going to note here that some people, me included, differentiate between garlic bread and garlic toast based on toastiness. We would then call the loaf on the left Garlic Bread and the loaf on the right Garlic Toast. However, I’ve been told that for many people the difference is more about the type of bread used, such that Garlic Bread is a loaf like either of the two above, and garlic toast is more like thick-sliced bread that’s been toasted. After thinking about this a lot, I’ve mostly just decided that a loaf of bread covered in melted garlic butter is a good thing, no matter what you call it!
Temperature
Because we want that garlic bread to toast quickly, we’re using the highest temperature that most air fryers get to, 400°F. You don’t have to preheat the air fryer. Just get your buttered bread in there and start it up. And note, we’re not using any aluminum foil, which we’ll explain in a minute.
How Long To Cook Garlic Bread In The Air Fryer?
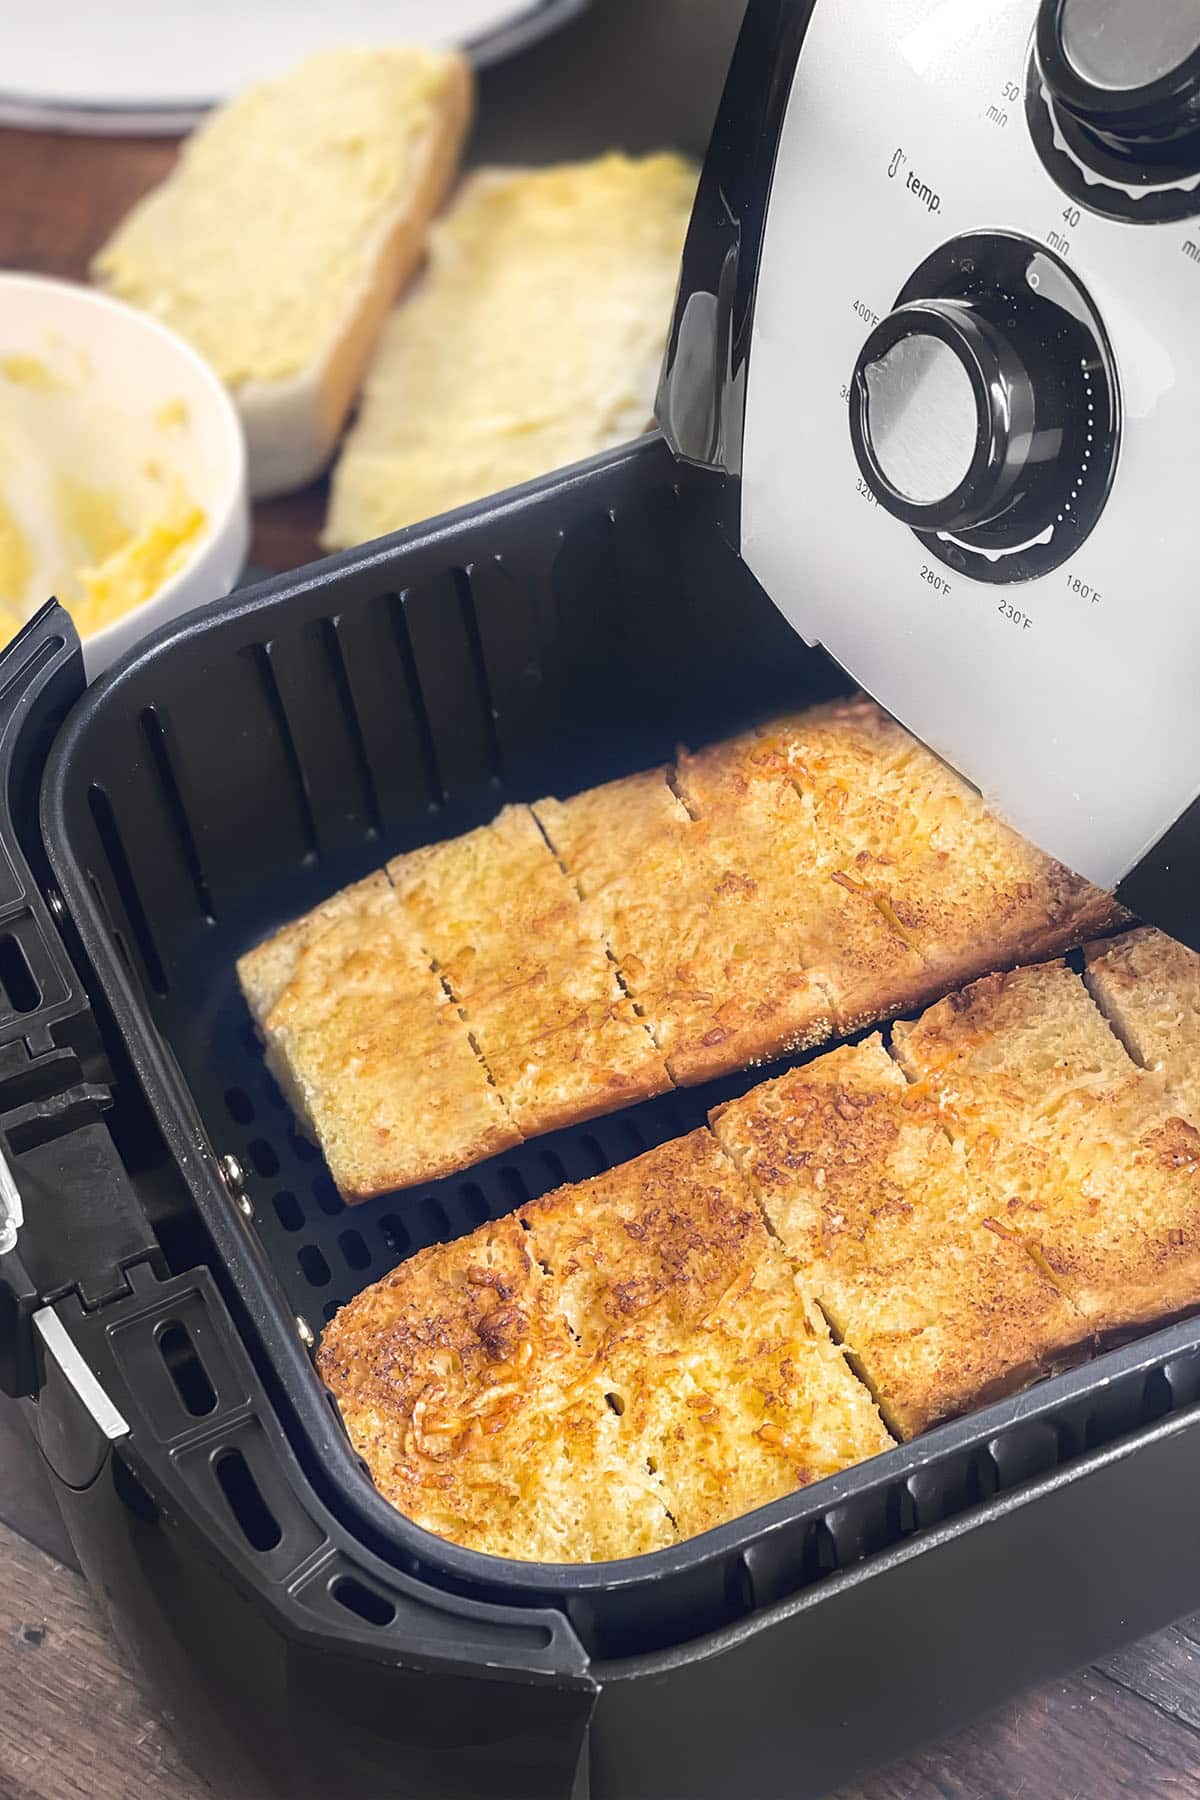
Place two pieces of the buttered bread, with the cut and buttered side up, into the air fryer. Bake for 5 minutes at 400°F and then repeat with remaining two pieces.
There may be some butter that drips into the bottom of your air fryer basket, but because of the short cook time I found it didn’t cause any smoke. Since this air fryer garlic bread recipe was my favorite version, it was worth this slight mess.
Note: If you’re wrapping your bread in foil, you’ll face two cut horizontal planes of bread to each other, wrap them together in foil, and then cook for 15 minutes.
Serve Garlic Bread With These Recipes
This air fryer garlic bread is delicious on it’s own or with tons of other dishes. In case you need a few ideas though, I suggest pairing with one of the following:
- Easy Lasagna Casserole
- Baked Ziti Recipe
- Chicken Pasta Bake
- Italian Wedding Soup
- Beefy Stuffed Shells
Leftover Garlic Bread?
I’ll be honest, the more likely problem in my house is fighting over the last slice of garlic bread, not figuring out how to store leftovers. In case you do have extra though, you can store it in a zip-top bag or airtight container in the fridge for a couple days. Warm it back up in the air fryer for a minute or two when you’re ready to enjoy.
More Dinner-Enhancing Recipes
Garlic bread is one of those things that you typically have with something else to make that something else even better. I think of these kinds of recipes as “dinner-enhancers.” Here are some more of my favorite dinner-enhancing recipes:
- Kalamata Tapenade
- Sun-Dried Tomato Tapenade
- Cheese Sauce
- Onion Gravy
- Classic Gravy
- Roasted Potatoes
- Pesto
Podcast Episode On Air Frying Garlic Bread
Listen to learn how to make this recipe, along with some great tips from Christine:
Listen to more Recipe of the Day episodes here.
Print
Air Fryer Garlic Bread Recipe
- Prep Time: 10 minutes
- Cook Time: 5 minutes
- Total Time: 15 minutes
- Yield: 6–8 servings 1x
- Category: Side Dish
- Method: Air Fryer
- Cuisine: American
DESCRIPTION
Complete your meal with Air Fryer Garlic Bread. It’s ready in minutes and full of buttery, garlicky flavor!
Ingredients
- 3/4 cup (1 and 1/2 stick) salted butter, softened
- 3 garlic cloves, minced, or 1 tsp. garlic powder
- 3 Tbsp. grated Parmesan cheese
- 1 unsliced loaf baguette or Italian bread (about 16-inches long)
Instructions
- In a medium bowl stir together butter, garlic, and cheese. Set aside.
- Using a serrated knife cut the heels off of the loaf of bread (about 2 inches from each end).
- Find the center of the loaf, cut loaf in half vertically, so that you have two sections of about 6-inches that can fit in your air fryer.
- Slice each half horizontally (like cutting a sub roll) to expose the soft inside of the loaf.
- Cut parallel slits, 2 inches apart, into each quarter of the loaf, stopping just before cutting through so that the slices stay connected at the bottom of the loaf, like a Hasselback potato.
- Using the back of a spoon, spread 3 tablespoons of the butter mixture onto the cut horizontal plane of each of your 4 loaf pieces. No need to spread the butter into the Hassleback slices.
- Place two pieces of the buttered loaf, cut side up, into the air fryer basket. Place basket into air fryer. Cook 5 minutes at 400°F.
- Remove bread from air fryer, set aside. Repeat with remaining pieces. Serve warm.
Love this recipe? I’d appreciate it if you could scroll down and add a *5 star rating* to help others know they’ll love it as well!






This garlic bread turned out so good I could have eaten all of it by myself! (But I did share with my family.) 😆
I’m sure they appreciated you sharing, Martha! :)
Delicious and easy. The Parmesan added a great flavor to the garlic butter.
I’m so glad you loved it, Jean!
These pictures are making me so hungry! Definitely making this soon.
Thank you, Rae! It’s so easy too.