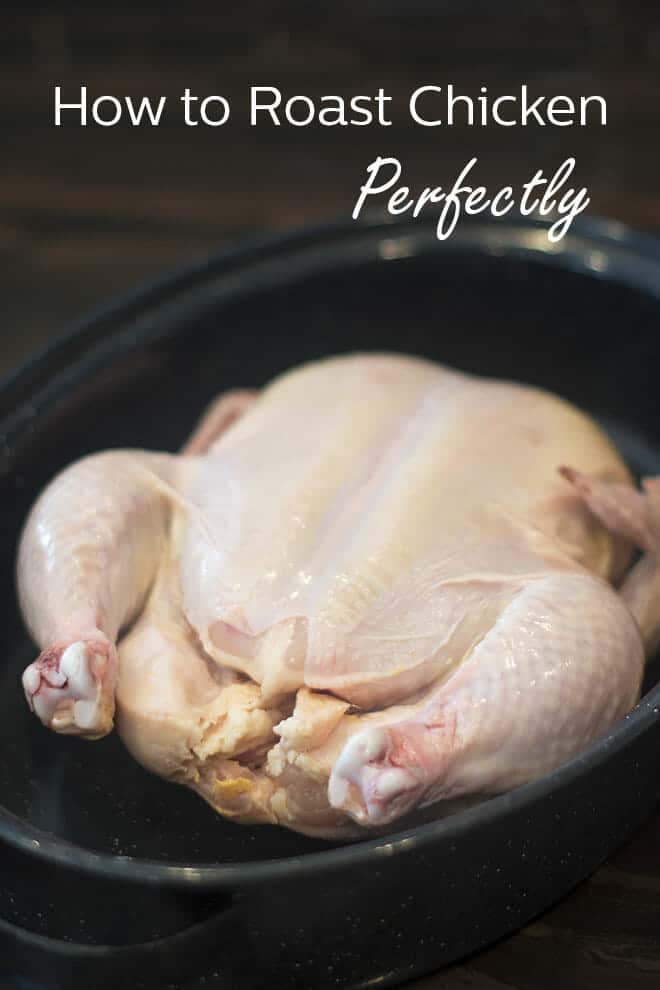
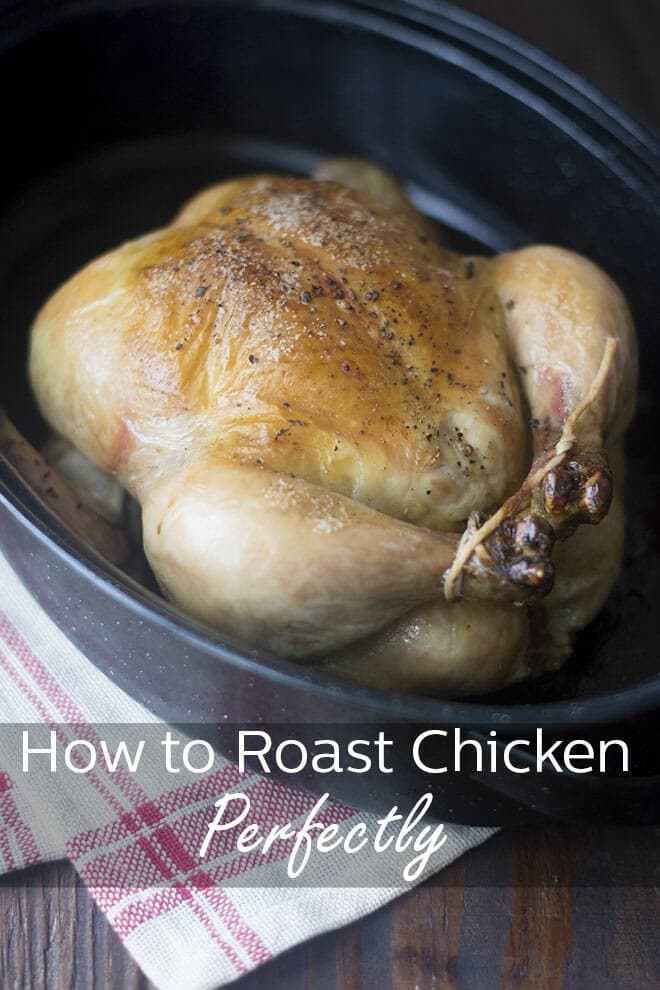
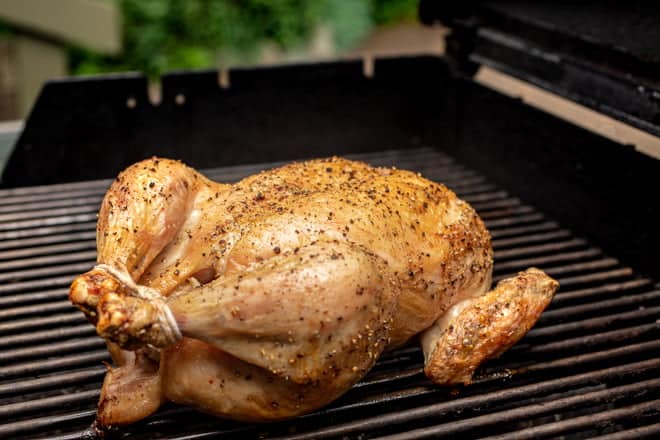
How to roast chicken so that it’s juicy and tender on the inside and crispy on the outside. This special technique works flawlessly every single time!
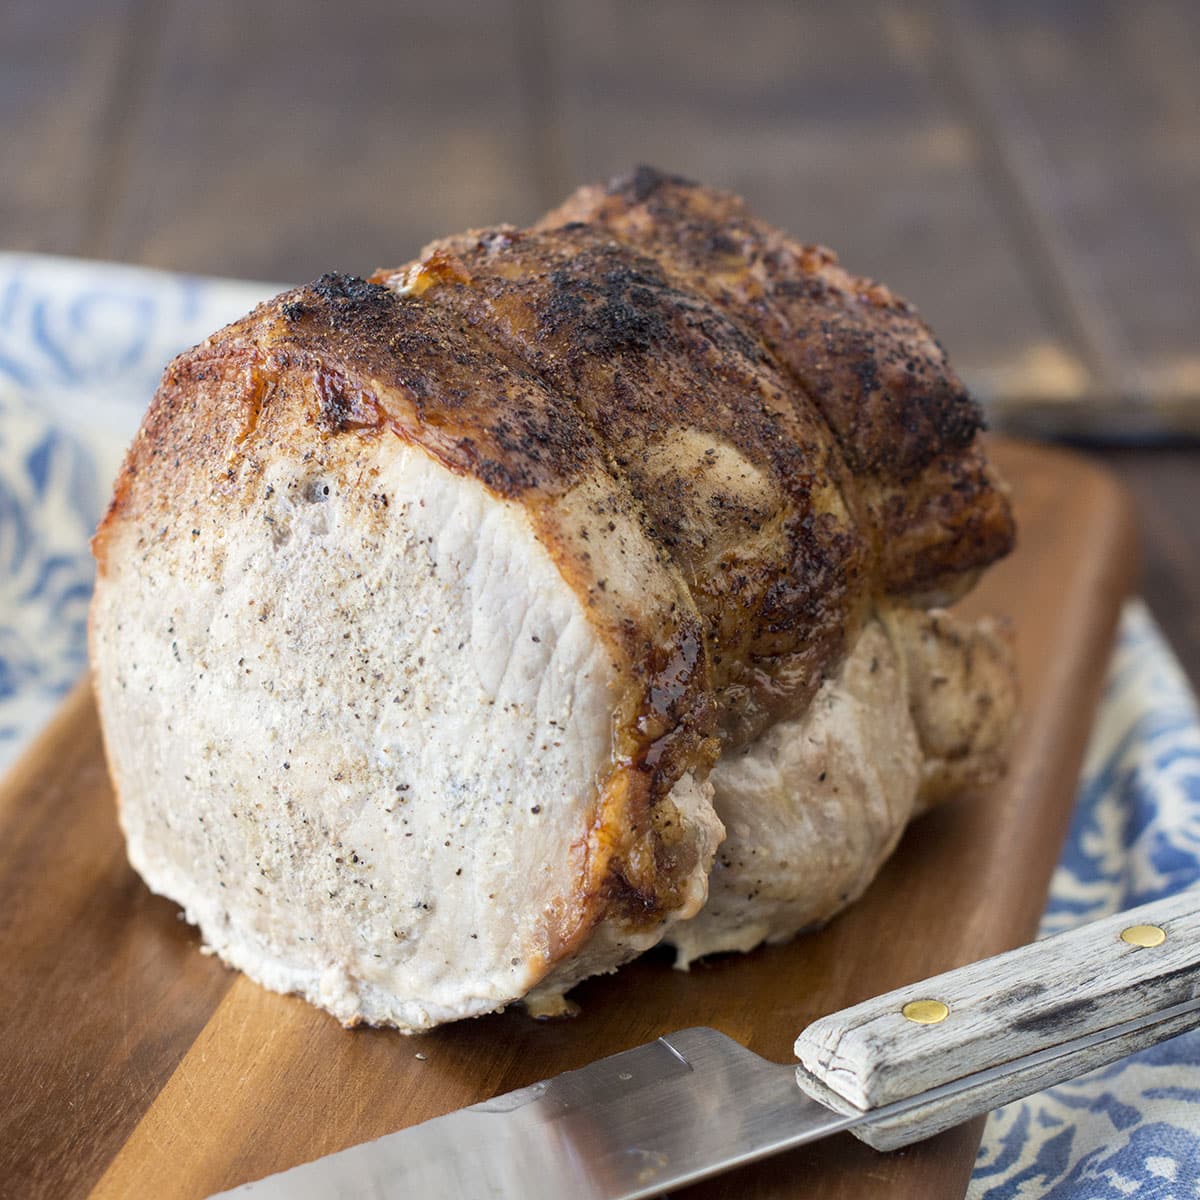
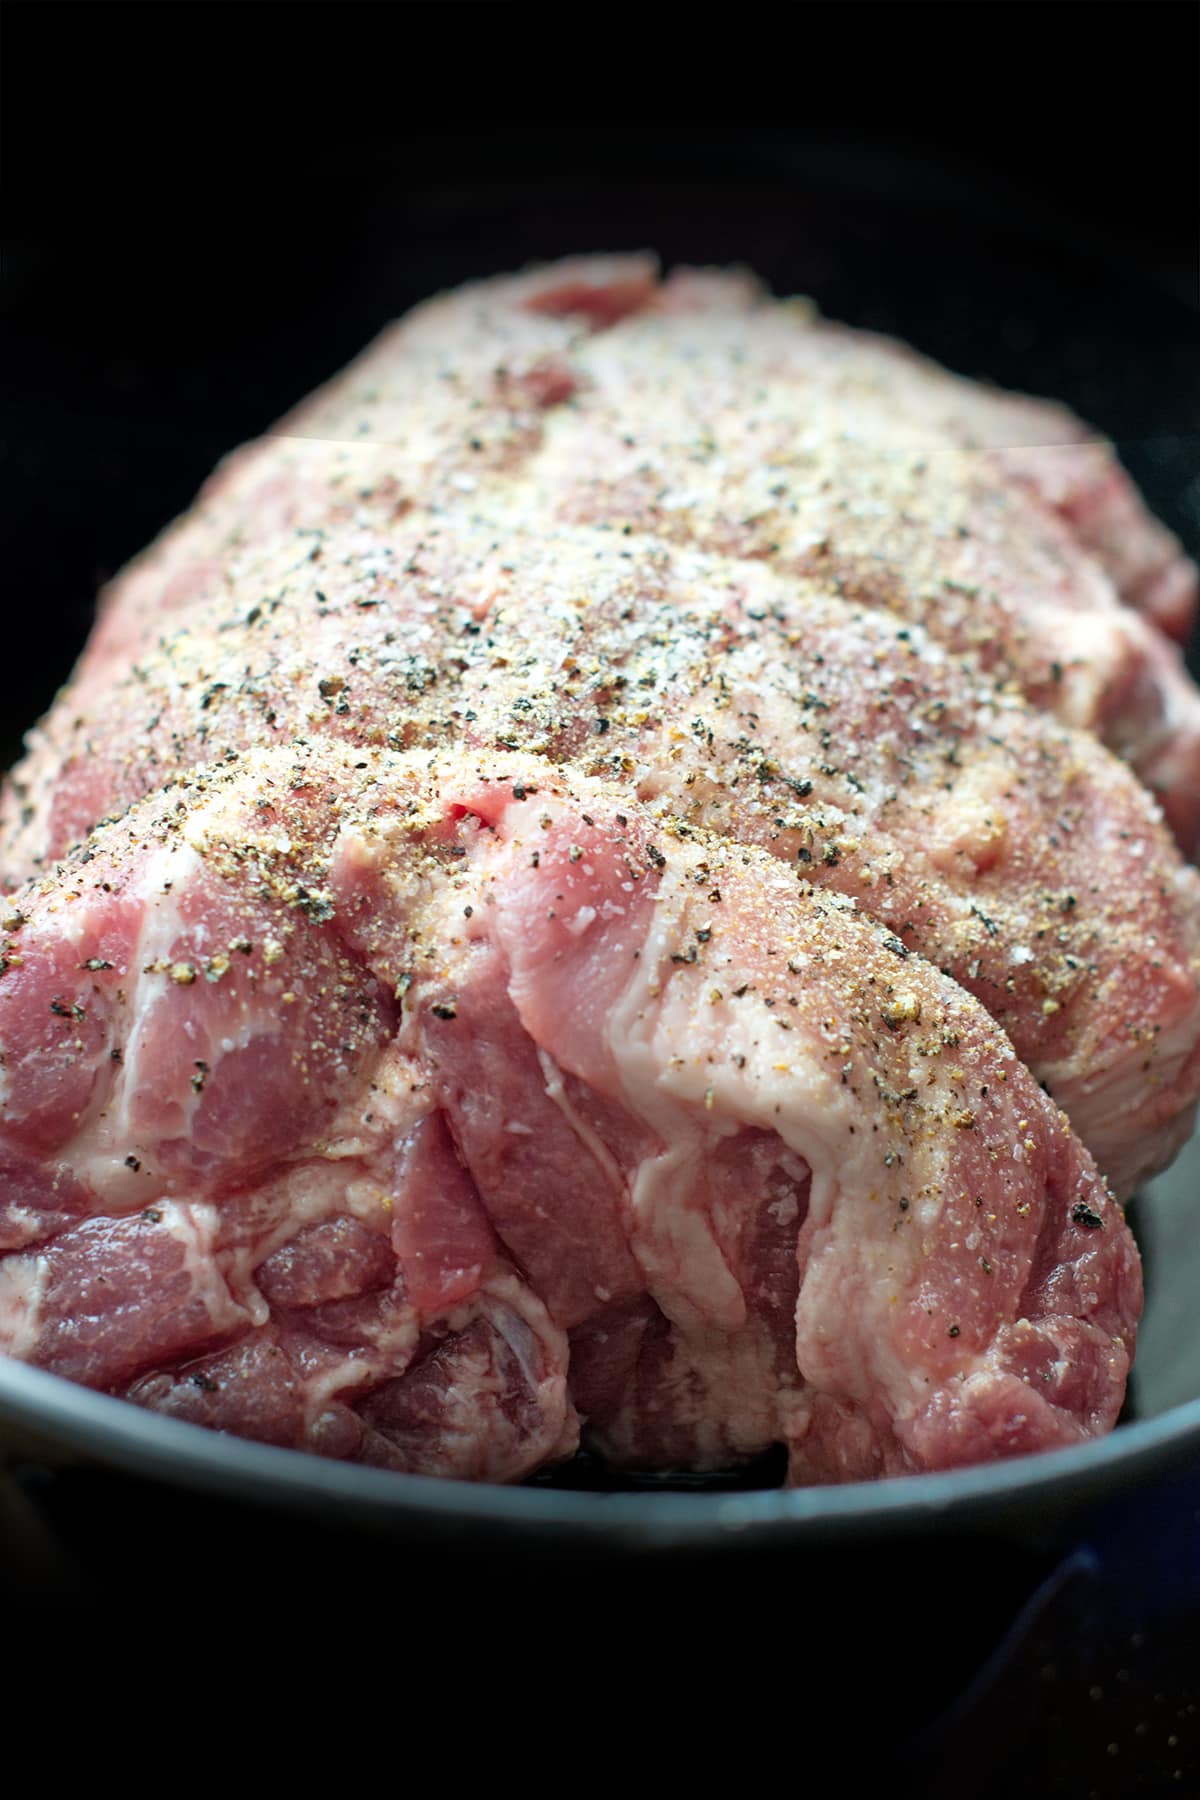
Last year I posted about how to roast pork and how to pork loin perfectly. Those posts were inspired by a post on SeriousEats.com about how to reverse sear beef prime rib. It was really cool how they slow cook the meat and then sear it with high heat at the end. That’s so completely the opposite of how I had always done it!
I tried the technique on roast beef and loved it. Then I tried it on pork butt and pork loin. I decided that it was a perfect system, resulting in that fantastic blend of juicy interior and crispy exterior every single time, without fail.
So, I wondered, “If it works so well for these meats, could it also work for chicken?” I am happy to report that, YES! It works perfectly!
Here’s A Video Showing How To Roast Chicken:
Here’s a detailed step by step written guide. A printable, shorter version of these instructions can be found at the end as well.
Getting Your Chicken Ready For Roasting
1. Take your chicken out of the fridge and remove the giblets from inside.
(You can discard the giblets or you can simmer them in a bit of water to make a broth. Alternatively, you can put them in the roasting pan with your chicken when you cook it. This will add extra flavor to the liquid in the bottom of the pan, which you will use to make gravy. If you choose to do this, stir them every now and then. After the chicken has finished cooking at 300°F, smoosh the giblets into the liquid a bit and then strain the liquid and use it for gravy).
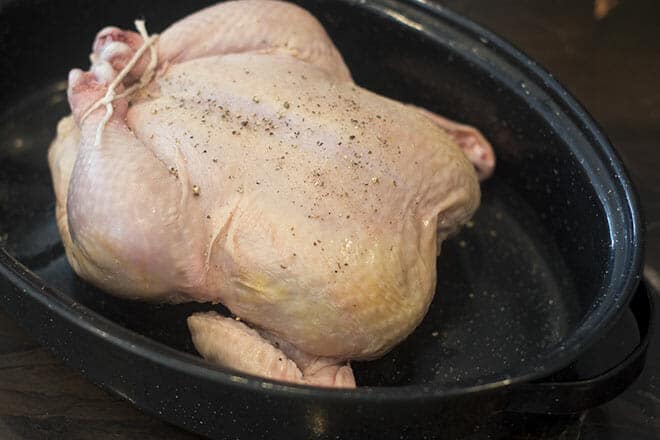
2. Once you have removed the giblets from the chicken, put the chicken into a roasting pan (a 15-inch oval roaster is the perfect size for an average chicken) and let it rest at room temperature for 30 minutes.
3. Preheat your oven to 300°F.
4. Truss the drumsticks by tying the end of one with a length of butcher’s twine.
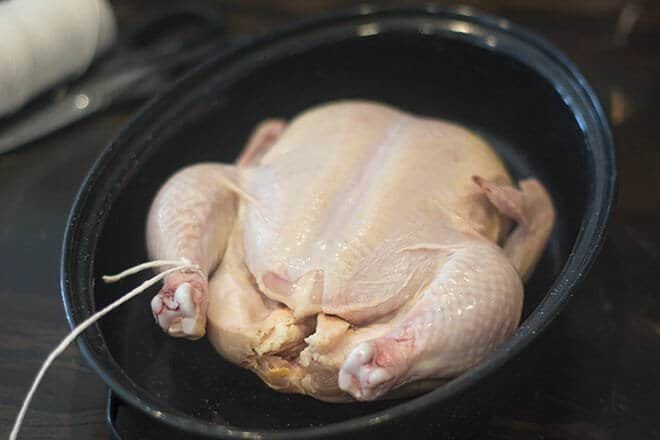
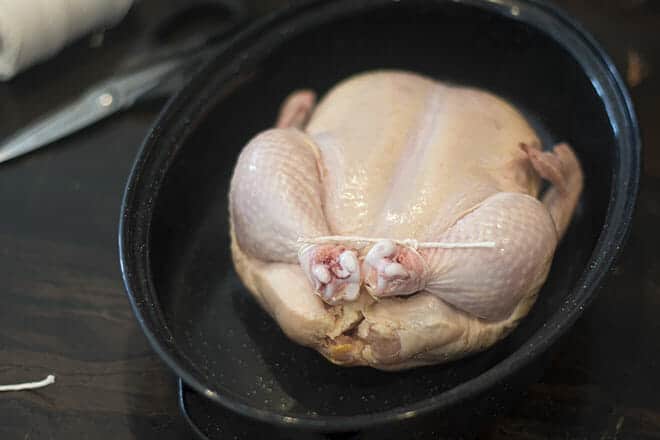
Wrap the end of the twine around the other drumstick end and tie them closely together.
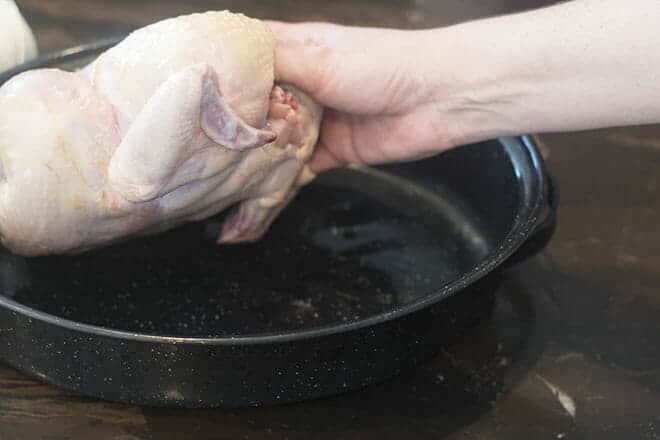
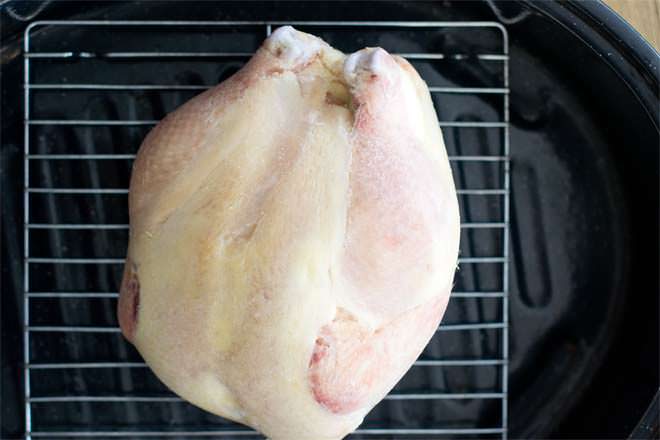
5. Tuck the wings underneath the chicken. This is so that the delicate, small wings don’t overcook. When they’re under the rest of the chicken, they’re more protected from the heat.
Grab a wing tip and and pull it backwards.
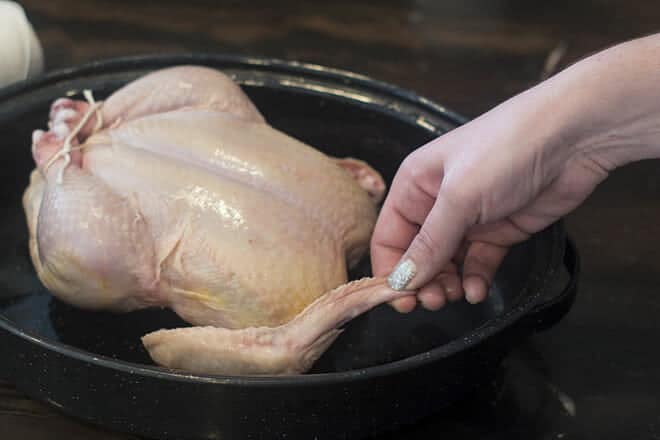
Then bend and tuck the wing under the chicken.
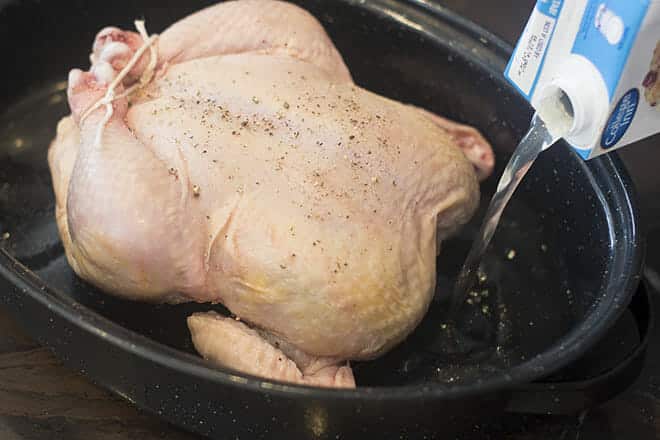
6. Season the top of the chicken with salt and pepper.
Tip: Measure out the salt and pepper into a small bowl and mix it up. This allows you to season directly from the bowl without worrying if your hands touch the chicken between rounds of seasoning. For a four-pound chicken, I recommend ¼ teaspoon of salt and 1/8 teaspoon of pepper.
7. Pour ½ inch of unsalted chicken stock or broth into the bottom of a roasting pan.
How To Cook The Chicken
8. Put the roaster containing the chicken into the pre-heated oven. Roast the chicken uncovered.
9. You want an internal temperature of 160°F. It will take between 25-30 minutes per pound to get there. Start checking the chicken’s temperature at 20 minutes per pound. So at 80 minutes for a 4 pound chicken use an instant read thermometer to test the temperature in both the middle of the breast and middle of the thigh, being careful not to touch the bone.
10. At any point, if much of the stock has evaporated add more.
Tip: Add enough liquid so that it goes back up the sides of the pan. You do this to dissolve any brownings left on the side from the previous broth round. All of this brown flavor will be essential for your gravy.
Resting The Chicken
11. Once the chicken has reached 160°F in the thigh and breast, let it rest for 30 minutes. Do not cover it during the resting time.
Tip: Take this time to start making your gravy using all of that brown liquid from the pan. I like to pour the liquid into a fat separator like this. Learn how to make perfect gravy from these chicken drippings over here.
12. Midway through the chicken resting, preheat your over to 500°F. Yes, really. That’s hot, I know. But it’s what you need to get that skin really crisp now that the meat is cooked through.
The Reverse Sear!
13. Place the chicken into a clean roasting pan or onto a baking sheet, then put it into the hot oven for 10-15 minutes until the skin is well browned and crisp.
14. Take it out of the oven.
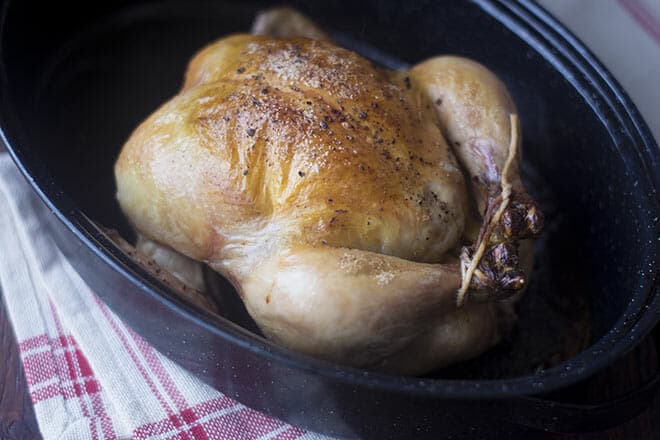
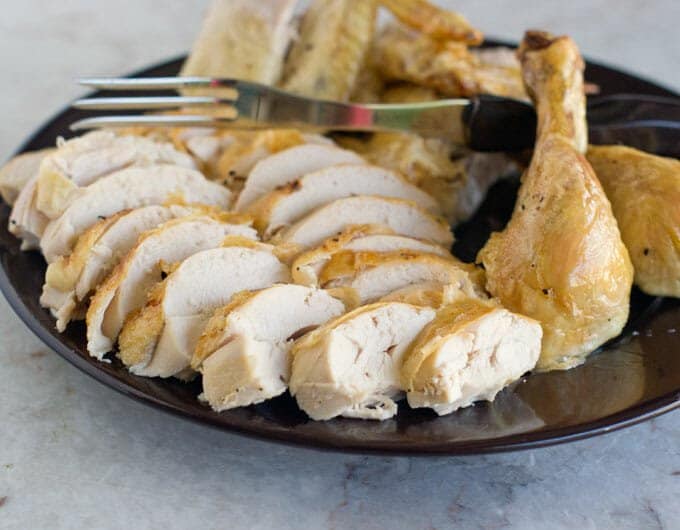
15. Carve and serve immediately. There is no need to let the chicken rest at this point since it already did the resting thing earlier. Here is how to carve a chicken.
Eat!
Who knew that you could roast chicken at a low temperature and then crisp the skin at the end? I really think you’re going to love this technique. That slow cooking yields such juicy meat and the high temperature at the end makes the skin so crisp. It’s amazing!
Complete your delicious roast chicken dinner with some Homemade Chicken Gravy. So good on the chicken and ideally a side of mashed potatoes.
Podcast Episode: Roasting Whole Chicken
Listen to me explain briefly about how to make this roast chicken, with some great tips along the way, by clicking the play button below:
Listen to more Recipe of the Day episodes here.
Print
How To Roast Chicken Perfectly
- Prep Time: 30 minutes
- Cook Time: 90 minutes
- Total Time: 2 hours
- Yield: 4 servings 1x
- Category: Entrée
- Method: Baked
- Cuisine: American
DESCRIPTION
How to roast chicken so that it’s juicy and tender on the inside and crispy on the outside. This special technique works flawlessly every single time!
Ingredients
- 1 (4-6 lb.) whole chicken
- Salt and pepper
- Unsalted chicken stock or broth
Instructions
- Take your chicken out of the fridge and remove the giblets from inside. Discard giblets or save for alternate use.
- Place chicken into roasting pan and let it rest at room temperature for 30 minutes.
- Preheat oven to 300°F.
- Truss the drumsticks tightly together with butcher’s twine.
- Tuck the wings underneath the chicken: Grab a wing tip and and pull it backwards then bend and tuck the wing under the chicken.
- Season the top of the chicken with salt and pepper. Approximately 1/4 teaspoon of salt and 1/8 teaspoon of pepper.
- Pour ½ inch of unsalted chicken stock or broth into the bottom of a roasting pan.
- Roast the chicken uncovered until internal temperature is 160°F. After an hour, if much of the stock has evaporated add more.
- Start checking the chicken temperature after 20 minutes per pound (so for a 4 pound turkey, check after 80 minutes). Test temperature in both breast and thigh being sure to not touch bone. Continue to check it every 10-15 minutes until it reaches 160°F. This will take between 25-30 minutes per pound. So, for a 4 pound chicken, it will take between 100 – 120 minutes.
- Take the chicken out once it reaches 160°F. Transfer to another pan or cutting board. Use juices to make gravy, if desired. Let chicken sit for 30 minutes. Do not cover it during the resting time.
- Preheat over to 500°F.
- Place the chicken into a clean, empty roasting pan or onto a baking sheet, then put it into the hot oven for 10-15 minutes until the skin is well browned and crisp.
- Take it out of the oven.
- Carve and serve immediately.
Love this recipe? I’d appreciate it if you could scroll down and add a *5 star rating* to help others know they’ll love it as well!
This post originally appeared in February 2018 and was revised and republished in March 2020.



Chicken came out perfect!
I didn’t know I could roast it at 300
Not worrying about covering it. Checking it for donness at 160 and letting it rest for 30 min then putting back in oven to brown at 500 wow! Sooo easy! This! Is my new way if doing chicken!
That’s great, Mary Joy! So happy it worked perfectly for you.
Thank you for the recipe! I am a firm believer in the reverse-seared method but have not tried it with chicken, yet. I look forward to using this recipe tonight.
I wonder if this will work with a stuffed (3 lb) chicken and how much additional time that would require? Any thoughts?
With the stuffing, either cook the stuffing separately, or cook until the bird and the stuffing reaches 165F, remove the stuffing from the chicken and cover it, let the chicken rest, and then brown the chicken. The stuffing could essentially go back into the bird after the bird has browned, or can be served separately. Enjoy, Drea!
Just wanted to let you know I am following your recipe exactly and my 4 pound chicken is not even CLOSE to 160 after 80 minutes (127 in breast). Dinner is not going to be served on time :(
Cynthia, I’m sorry you’re having a struggle here. The idea is that you start checking the chicken after 20 minutes per pound. It will likely take between 25-30 minutes per pound though. Larger chickens take less per pound than smaller ones do. I’m going to edit the instructions in the post to make this clearer. In general, with this method I don’t worry as much about how long the chicken takes to reach temperature because you have so much leeway in the resting time, and because you can make your side dishes (or finish them off) in the resting time.
we do not have in the Uk in domestic homes cookers of above 200*F so this is not ideal for us here.
Valerie, I’ve done a lot of cooking in the UK and I’m positive that your cookers do go up that high, at least most of them. The issue is probably more likely that your cooker is in Celsius and goes up to 200°C. 200°C is equivalent to 400 Fahrenheit (400°F), which is equivalent to gas mark 6. So you should be fine. Here is an oven temperature conversion chart with Celsius, Fahrenheit, and gas marks on it https://www.inspiredtaste.net/23326/oven-temperature-conversion/ Hope that helps!
I think it would brown better in a shallow pan or sheet pan. That would brown the legs and wings as well
Thanks for your feedback, J!
I come back to this recipe over and over when I want to roast a chicken — moist with crispy skin and good gravy! Takes the worry out of roasting a chicken and the fear of it being dry.
Susan, It means a lot to me that you not only made and liked the recipe but that you’ve come back to it again. Thank you so much for letting me know.