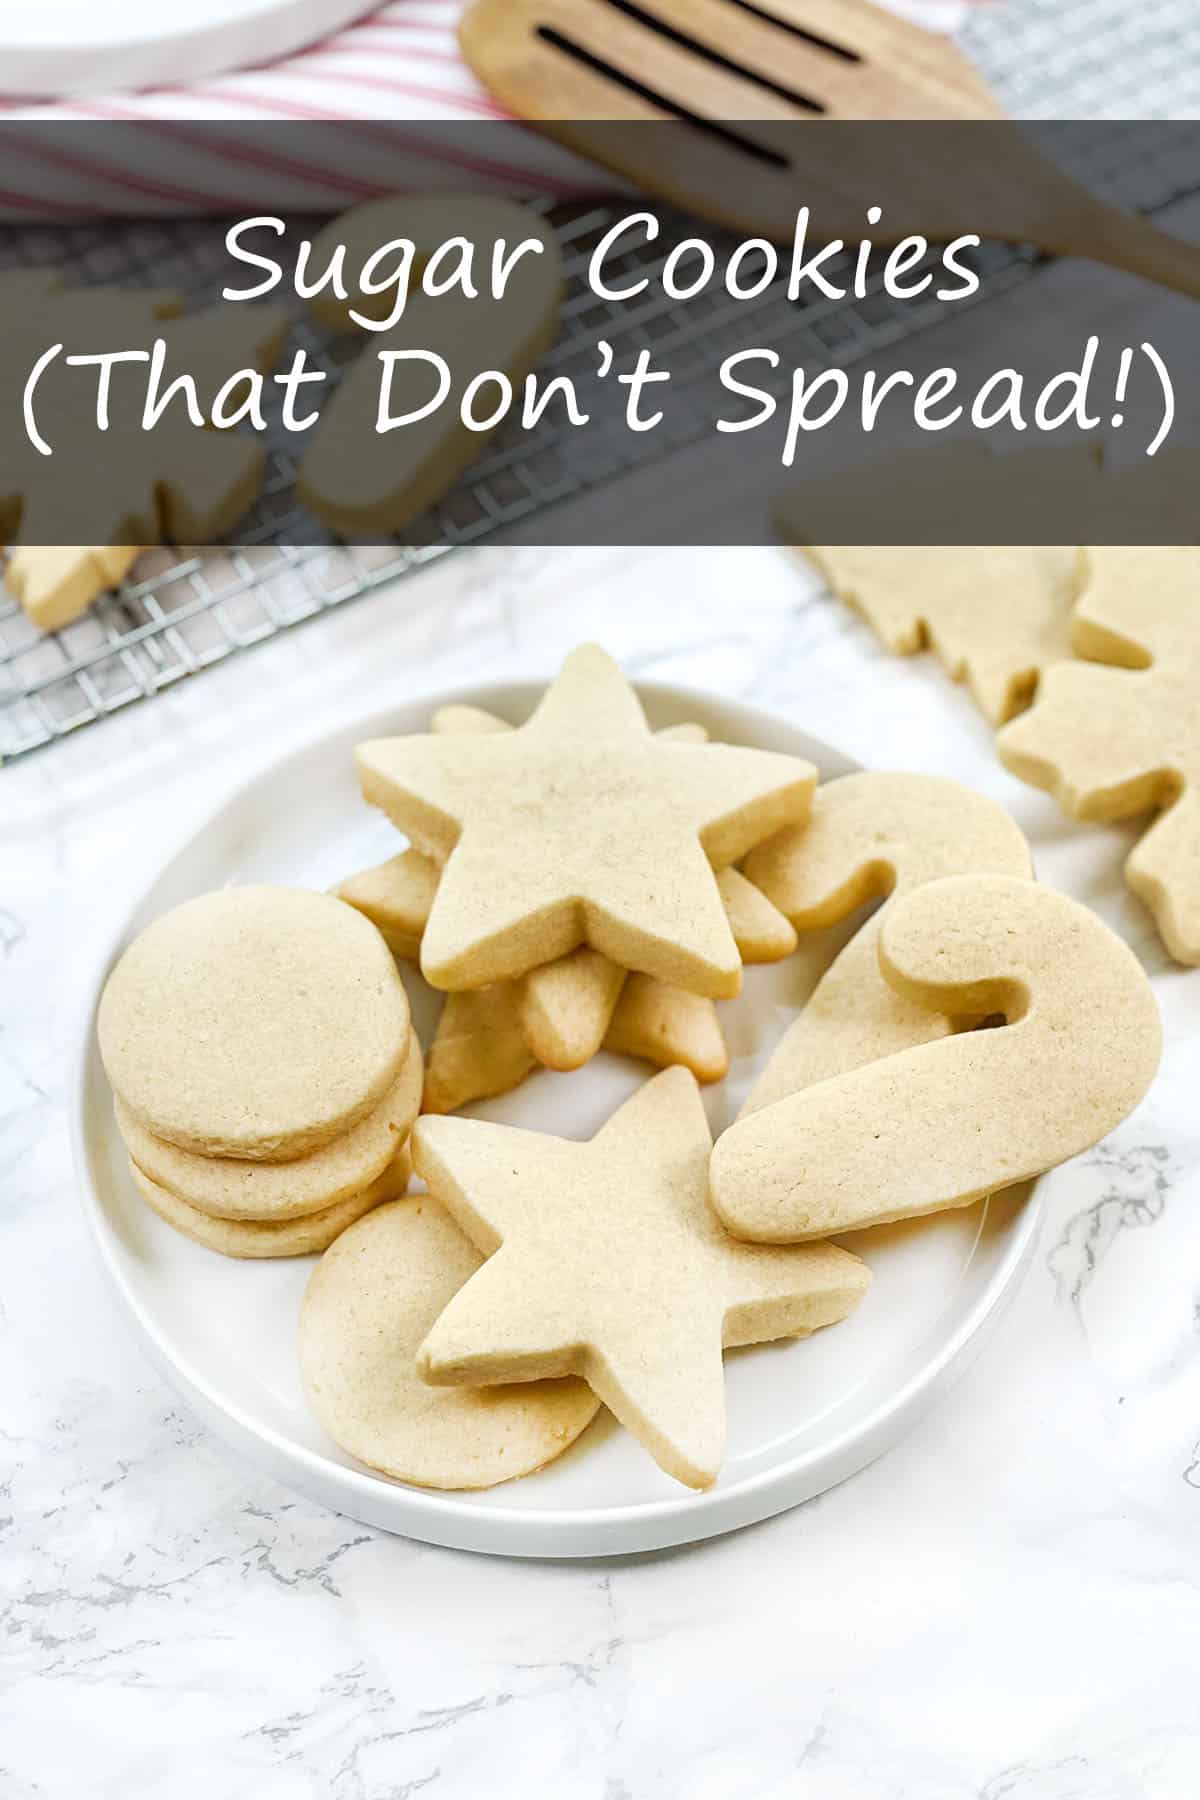
Use this no-spread sugar cookie recipe and never be disappointed again with cookies that end up looking totally different than the cookie cutter!
The secret to making sugar cookie dough that doesn’t spread in the oven is to start thinking about the dough as more of a hybrid shortbread dough, and less like a traditional cookie dough. In other words, leave out the leaveners to achieve sharp, clean-edged cookie shapes.
- Why Do Sugar Cookies Spread In The Oven?
- The Mixing Method Is Key For Perfect Cut-Outs
- Roll Dough Before Chilling For Stress-Free Cookies
- Keep The Sugar Cookie Dough Cold And The Oven Hot
- Best Practices For Perfect Cut-Out Sugar Cookies
- Decorating Your Cookies
- More Dessert Recipes
- Podcast Episode About Perfect Sugar Cookies
- Sugar Cookie Recipe (No-Spread!)

Why Do Sugar Cookies Spread In The Oven?
Sugar cookie dough can spread in the oven for a variety of reasons, and chemical leavening agents, like baking soda and baking powder, have a lot to do with it.
Baking soda and baking powder help lift and spread the cookie dough. For sliced or drop sugar cookies, which are round or more organically shaped, the lifting and spreading doesn’t make much of a difference. However, holiday cookie cutters can be intricate, and chemical leaveners can really mess with the shapes. Trying to make cut-out cookies with regular sugar cookie dough can turn trees into puffy triangles, reindeer into ovals, and Santa’s elves into abominable snowmen.
Leaveners aren’t the only culprit though. The mixing method, the dough temperature, and oven temperature play important roles, too.
The Mixing Method Is Key For Perfect Cut-Outs
Without leaveners, the sugar cookie dough still needs a little bit of lift so that the cookies have the crispy exterior and chewy interior of a traditional sugar cookie. To achieve this, creaming the butter and sugar to incorporate air into the mixture is crucial. Just two minutes in the stand mixer on high speed will incorporate the perfect amount of air.
Butter matters, too, in this case. Butter with the least amount of water (which will typically be the more expensive butters) will produce a better texture and flavor, along with edges that hold their shape. A little cornstarch also helps stabilize the dough by gelling some of the liquid.
To the creamed butter and sugar mixture, you’ll add one egg and the vanilla. Start the mixer on low so the liquid doesn’t splash out of the bowl, and slowly increase the speed to medium-high. It will take about 30 seconds for the egg and vanilla to become fully incorporated.
To ensure the salt and cornstarch are distributed evenly, I like to sift them with the flour before adding to the mixing bowl. With the mixer on low, slowly add the flour, and when the dough looks a little crumbly and like most of the flour has been absorbed, increase the speed to high and mix for exactly one minute. Any longer, and too much gluten will develop resulting in tough cookies.
Roll Dough Before Chilling For Stress-Free Cookies
Transfer the dough to a piece of parchment paper that’s been cut to fit the size of the sheet pan you’ll be using for the cookies; plop it right in the middle of the paper. Without handling it too much, form the dough into a rough rectangle and cover with a second piece of parchment (cut to the same size). You’re going to roll out the dough to a ¼-inch thickness while it’s sandwiched between the parchment, for mess-free rolling.
To do this, place the rolling pin on top of the parchment, right in the center of the dough, and roll from the center out, in one move. Return to the center and roll from the center, toward you, in one move.
Here’s the most important part of this motion: stop rolling BEFORE you reach the edge of the dough. Seriously, stop the rolling pin just before it rolls over the edge of the dough. This will ensure the dough stays ¼-inch thick ALL the way around. No more skimpy-edged cookies.
Repeat this motion, turning the parchment as needed, until the dough is ¼-inch thick.
Keep The Sugar Cookie Dough Cold And The Oven Hot
At this point, it’s important to keep the sugar cookie dough cold at all times. Slide the dough/parchment onto a sheet pan and refrigerate for a minimum of 2 hours. This allows the flour to hydrate, the cornstarch to bind some of the liquid, and the gluten to relax before baking.
When you’re ready to cut out shapes and bake, preheat the oven to 375°F, remove the sheet pan from the refrigerator, and peel the top piece of parchment off of the dough. Keep all of this away from the oven so it stays cold. Slide the bottom parchment and dough onto a flat surface, like the countertop or a large cutting board, and cut out your shapes using cookie cutters or a knife. The dough should be firm, but pliable.
Add a new piece of parchment to the same sheet pan and transfer the cut cookie shapes to the parchment-lined sheet pan. Place the sheet pan back into the refrigerator for 10 minutes, and then place the pan in the oven for nine- to 12 minutes.
A hot oven is crucial for baking, so do not keep the oven door open longer than needed, and do not peek at the cookies while baking.
While the first batch of cookies is baking, gather up the odds and ends of dough from cutting the first cookie shapes, and repeat the rolling/chilling/cutting process. Depending on the size of your cookie cutters, the recipe will yield about 15 medium-sized (3-inch) cookies from this batch of dough. Smaller cookies will yield more; larger cookies will yield less.
Best Practices For Perfect Cut-Out Sugar Cookies
The cookies are perfectly baked when they are light golden brown on the bottom; the tops will be very blonde and very flat, making the perfect canvas for your decorations or icing.
It’s tempting, but do not reuse the same sheet pan that just came out of the oven for another batch of cookies; the dough will melt on the warm pan before it hits the oven. Use a room temperature or chilled pan for each new set of cut-out cookies.
If you’re not a cookie-cutter person, instead of rolling the dough flat, roll the dough into a log shape, cover with plastic wrap, and chill for two hours. Slice ¼-inch thick rounds, like slice-and-bake cookies, and bake per recipe instructions. You can also freeze the log and cut off pieces anytime you need a cookie fix! You can also freeze the dough as a ball, or as sheets of dough.
I like to use a variety of cookie cutter sizes so that I can make the most of the leftover dough scraps. Bake similar sizes together so they’re done baking at the same time.
Decorating Your Cookies

You’ve got the perfect cookie recipe, now here’s the perfect icing for them. My royal icing recipe uses meringue powder instead of raw egg. It’s quick and easy, plus it sets up quickly so your designs don’t drip or smear. Don’t know how to decorate cookies? It’s not my special talent either, so I’ve got easy decorating tips for you, so they look special without a ton of stress.
Tag me on social when you make these cookies. I’d love to see how you’ve decorated them!
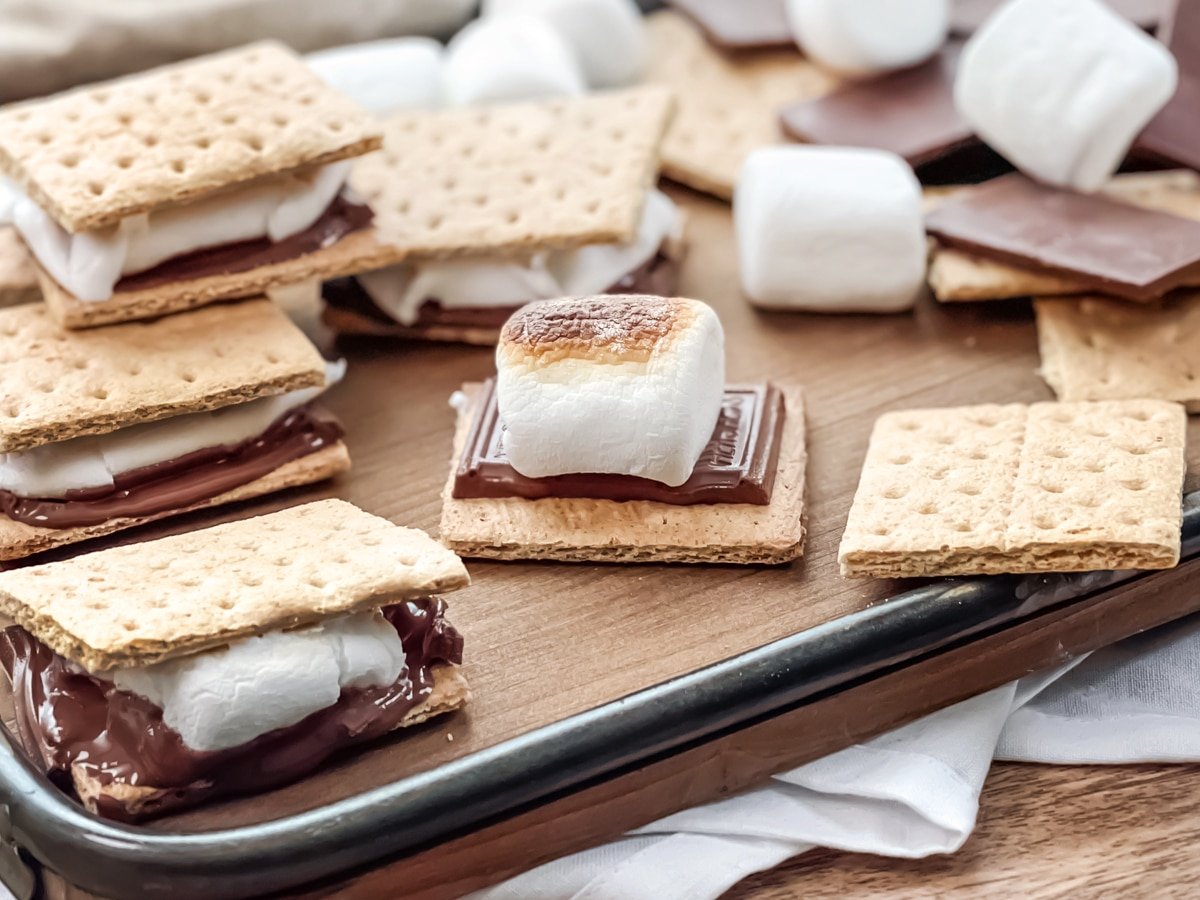
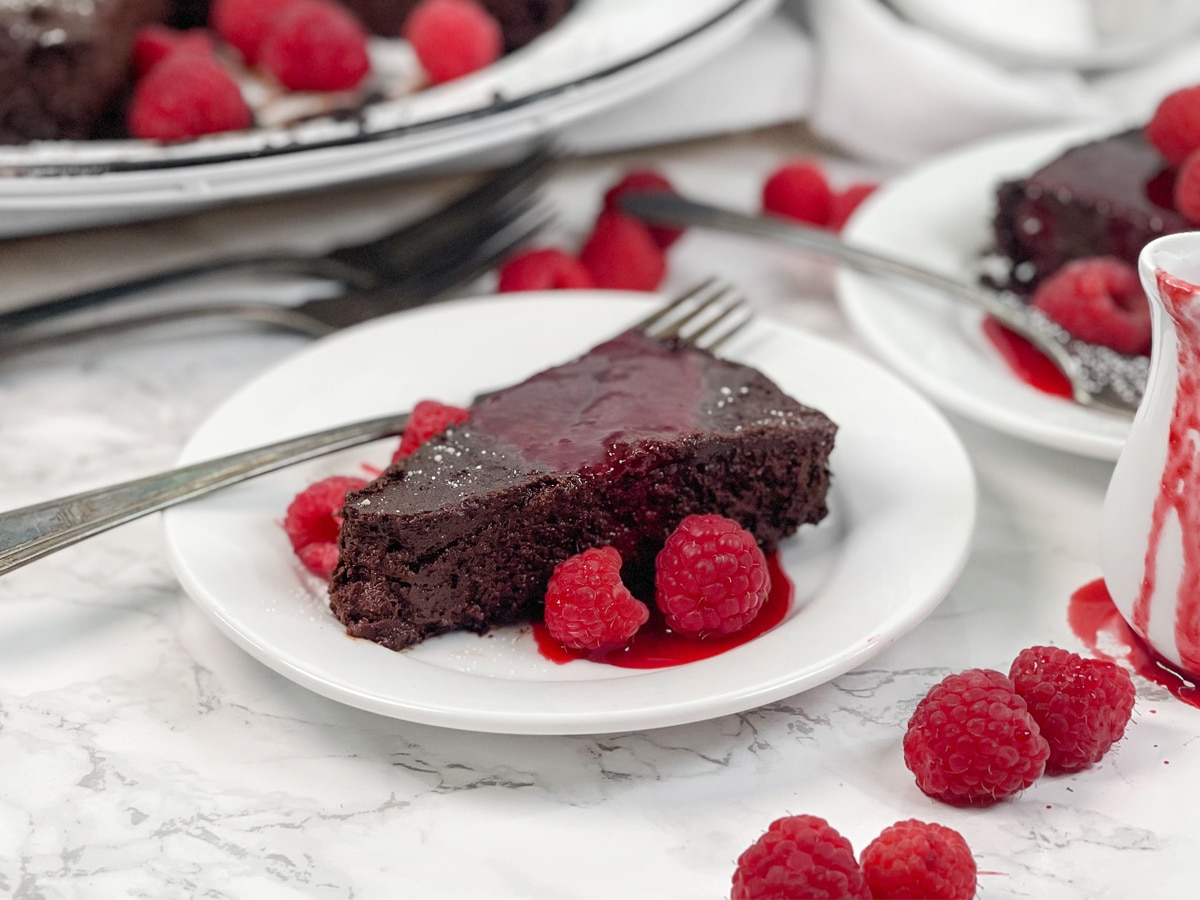
More Dessert Recipes
Love this recipe and craving something else sweet? Try one of these recipes.
Podcast Episode About Perfect Sugar Cookies
Listen to me explain briefly about how to make these cookies, along with some other tips, by clicking the play button below:
Listen to more Recipe of the Day episodes here.

Sugar Cookie Recipe (No-Spread!)
- Prep Time: 15 minutes
- Refrigerate: 2 hours
- Cook Time: 12 minutes
- Total Time: 2 hours 27 minutes
- Yield: 15 medium cookies 1x
- Category: Dessert
- Method: Baked
- Cuisine: American
DESCRIPTION
Use this no-spread sugar cookie recipe and never be disappointed again with cookies that end up looking totally different than the cookie cutter!
Ingredients
- 1 stick butter (1/2 cup)
- 3/4 cup white, granulated sugar
- 1 egg
- 1 tsp. vanilla extract
- 1/2 tsp. salt
- 1 and 3/4 cup all-purpose flour
- 2 tsp. cornstarch
Instructions
- Make the dough. Cut butter into ¼-inch pieces. Let stand 10 minutes to soften.
- In the bowl of a stand mixer fitted with paddle attachment, add butter and sugar. Beat on high speed until pale and fluffy, about 2 minutes, scraping down sides of bowl as needed.
- With mixer on low, add egg and vanilla; increase mixer speed to medium-high and beat until egg is well incorporated.
- Sift together flour, salt, and cornstarch. With mixer on low, slowly add flour mixture to bowl. When crumbly, increase speed to high, beat 1 minute.
- Transfer dough to the middle of a piece of parchment cut to the size of sheet pan. Place a second sheet of the same sized parchment over the dough; slightly flatten dough. Using a rolling pin, roll dough to ¼-inch thick.
- Transfer parchment with dough to a sheet pan. Refrigerate 2 hours.
- Make the cookies. Preheat oven to 375° F.
- Remove sheet pan from refrigerator; remove top parchment paper. Transfer bottom parchment with dough to flat surface.
- Cut desired shapes from dough. Remove excess; set aside. Add new parchment to same sheet pan. Place cookie shapes on parchment-lined sheet pan, 1-inch apart.
- Place pan in oven. Bake 9-12 minutes, or until cookies are lightly browned on bottom.
- Remove pan from oven. Immediately transfer cookies to cooling rack.
Love this recipe? I’d appreciate it if you could scroll down and add a *5 star rating* to help others know they’ll love it as well!
Notes
Allow cookies to cool completely before adding icing or decorations.


I love this recipe. They taste great and freeze beautifully. Lately I’ve been having some cookies look wrinkly (almost like a layer of air is trapped at the top and cracks?) when I re-roll the cookies. Any advice for re-rolls?
Thank you, May! That can sometimes happen with multiple re-rolls. The only advice I can give is to try to re-roll as few times as possible and not overwork the cookie dough.
Thanks for the great recipe. I bought intricate cutters to make cookies for my volunteer fire department’s 20 year anniversary. These came out so nice with clean lines! They taste great too!
That’s wonderful, Catherine! Thank you for sharing and happy 20 years to the fire department!
Can you freeze the unbaked, cut cookies? If so – bake from frozen or thaw?
Thanks!
Meg, I haven’t actually tried it but given how this recipe works, here is what I suspect.
Cutting the shapes and then freezing them is going to be the most convenient method, with the best results (over, for instance, freezing the dough in balls or discs). Freeze the cut cookies on a sheet pan lined with wax paper or parchment. Once they’re frozen, transfer them to a ziptop freezer bag or container, seal and freeze for up to 2 months. Then, when you want to bake them, put them on a parchment-lined sheet pan and let them thaw in the fridge. Once thawed, take the pan out of the fridge and let it all rest at room temperature for 10 minutes, and then bake them as instructed in the recipe. I can’t wait to find out how this works for you, and I’m going to try it too!
Delicious recipe and they don’t spread after cutting them! Excellent!
So happy you enjoyed them, Sherri!