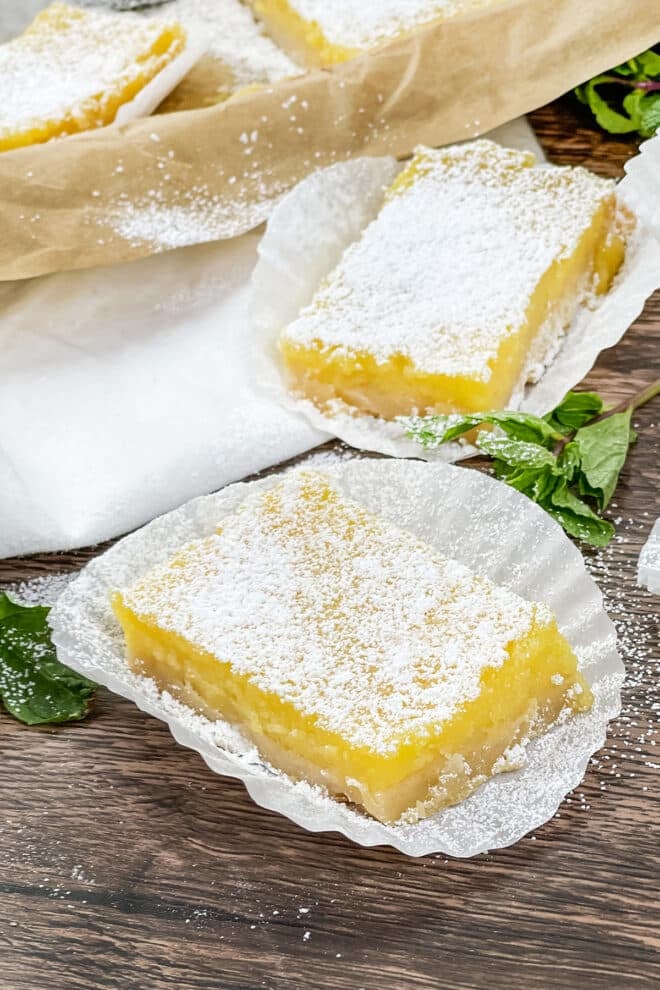
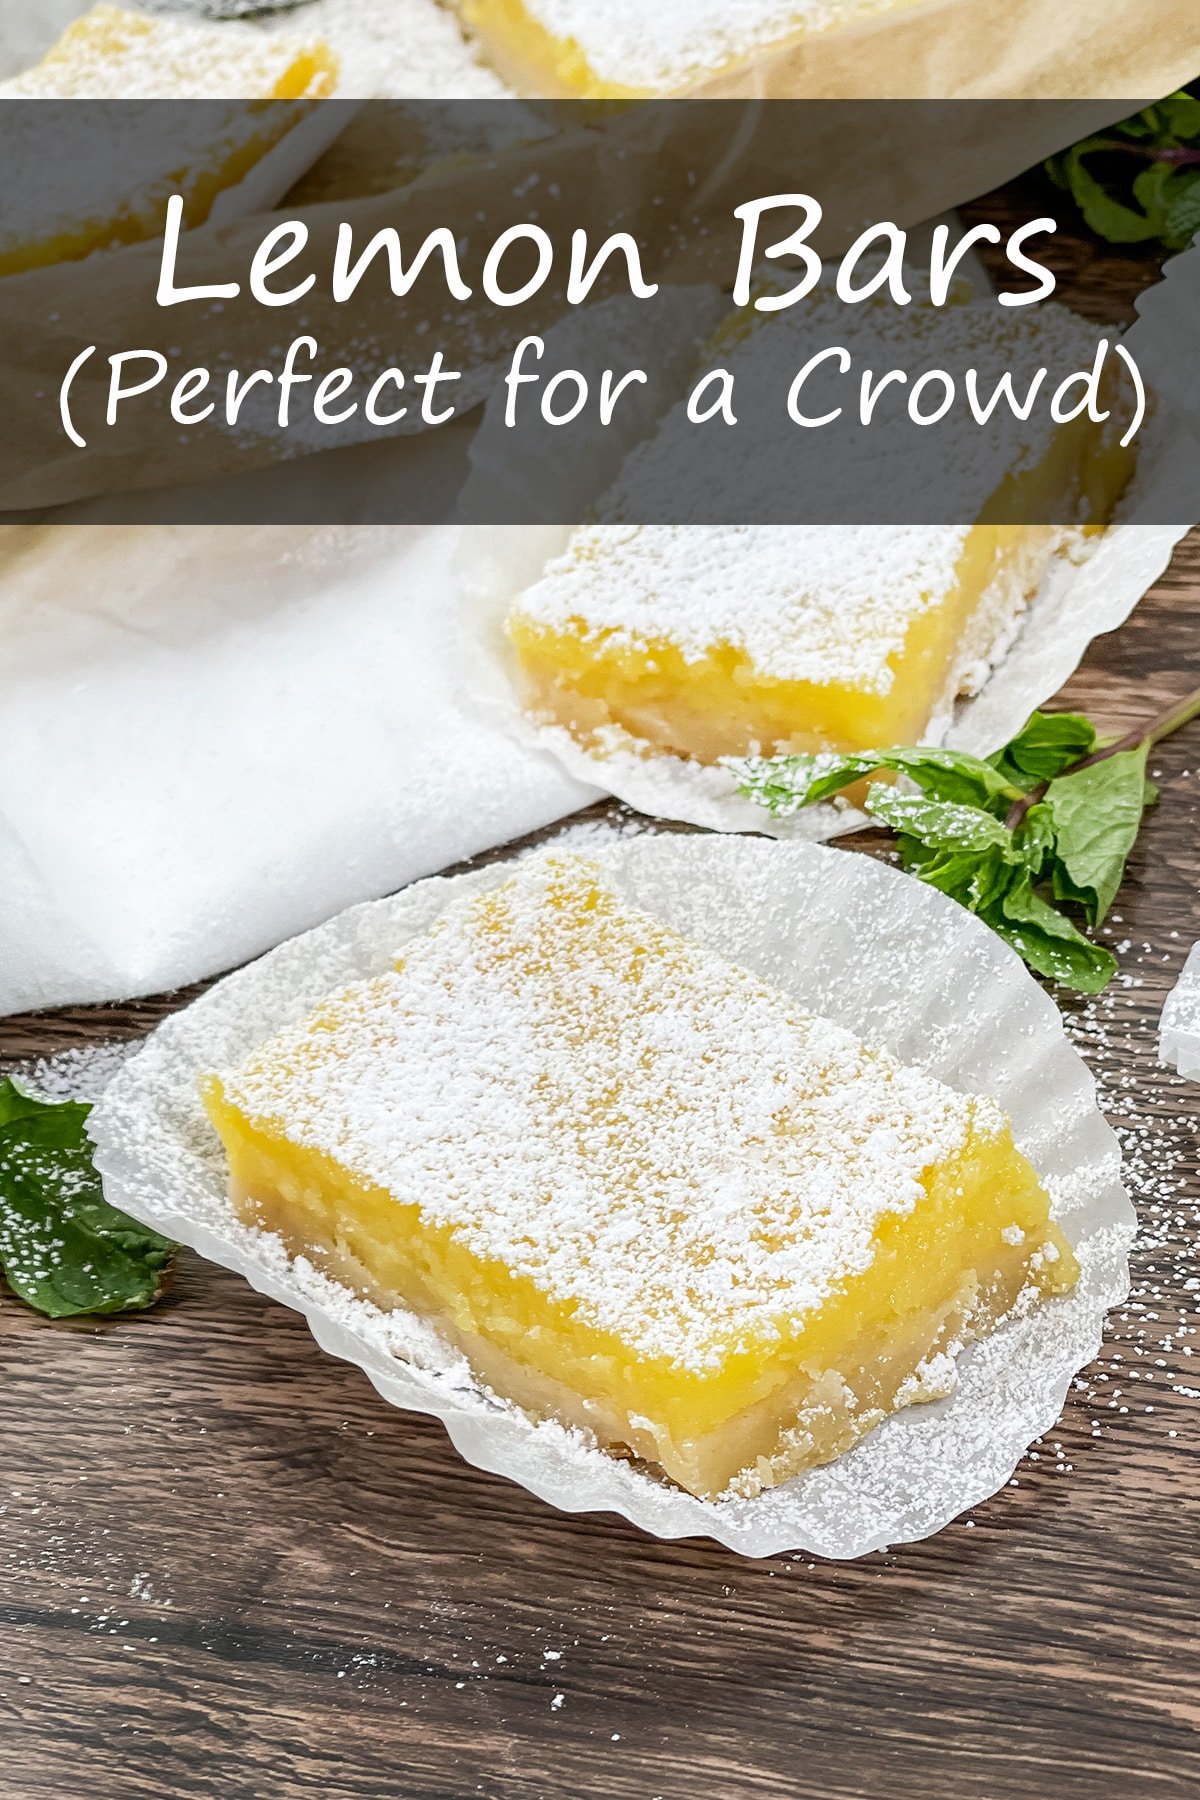
These lemon bars have a buttery shortbread crust with a velvety smooth, sweet-tart lemon filling, and will literally feed a crowd.
These lemon bars have a buttery, lemon shortbread-like crust, and a lusciously thick, lemony filling that tastes sunny, bright, and tart. All without being too sour or too sweet. The bars hold their shape with a perfect ratio of shortbread crust to filling, and you’ll literally be able to feed a crowd without having to double the recipe or bake in batches.
Other lemon bar recipes that claim to “feed a crowd” simply don’t work well because after doubling or tripling the recipe, the ratios never quite fit a standard pan. My recipe, however, doesn’t require any extra math, ratios, or the need to bake in several small batches. It’s baked in one pan and is perfect for potlucks, picnics, and large gatherings. As written it yields about 39 (2×3-inch) bars, or about 58 (2×2-inch) bars.
Don’t think you have a pan large enough for this? If you have a standard 13×18-inch sheet pan, you certainly do!
How To Make A Shortbread Crust For Lemon Bars
Lemon bars have two main components: the crust and the filling. Both are made and cooked separately and then baked together to create the bars.
Lightly spray a 13×18-inch sheet pan with olive oil or cooking spray and line the sheet pan with parchment paper so that the paper slightly overlaps on all sides. Spray a little bit where the paper overlaps on the tray, too, to keep everything from sliding around. Set that aside and make the shortbread crust.
With the blade attachment fitted into the bowl of your food processor, add the flour, sugar, butter, salt, vanilla, zest, and lemon juice. Cover and pulse until the ingredients start to form a moist, crumbly dough that looks like clumps of cookie dough, with very little dry crumbs left. Pour the crumbles of dough onto the prepared sheet pan and spread them out as evenly as you can. Break up any large clumps and making sure there is dough covering the entire pan, including the corners.
Using your fingers, gently press the dough into place. There will be some gaps in the dough at this point, and that’s okay. To help spread everything evenly, place another sheet of parchment paper over the dough, and using the back of a flat-bottom measuring cup, drinking cup, or small pan, lightly press down on the dough from the center and slide across the pan to the edges. This acts like a rolling pin to push the dough to the edges of the pan and fill in large gaps. Any additional small holes and cracks are okay—these will fill themselves in as the dough bakes.
Because the dough has been worked a bit, it needs to rest in the refrigerator which will keep it tender while baking. Place the sheet pan into the refrigerator for 20 minutes, and just before it’s ready to come out, preheat the oven to 400°F. Transfer the pan from the refrigerator directly to the hot oven, and bake for 20 minutes. While the shortbread crust is baking, make the lemon bar filling.
Do Lemon Bars Use Lemon Curd Or Lemon Custard?
The difference between lemon curd and lemon custard fillings is how they are thickened. A lemon curd is thickened with whole eggs, egg yolks, or a combination of the two, and typically contains quite a bit of lemon juice. A lemon custard uses a thickening agent, like cornstarch or flour, with less eggs and less juice.
Lots of lemon bar recipes use a traditional lemon curd filling, which offers a bold lemony flavor, but doesn’t always hold its shape well unless kept cold. The curd never fully sets into something easily sliceable at room temperature. Lemon bars with a lemon custard filling are sliceable at room temperature, but often lack that bright citrusy note that a curd offers.
My lemon bars are kind of a hybrid of the two fillings! With eggs, a thickening agent (all-purpose flour in this case), and a substantial amount of lemon juice to keep the flavor perky and tart, resulting in the perfect, sliceable, lemony bar.
How To Make The Filling
To make the lemon bar filling, add the eggs, yolks, melted butter, lemon juice, sugar, flour, and salt to the same food processor bowl you used for the crust. No need to clean it before using! Most of the same ingredients used for the crust are being used for the filling.
Blend everything until smooth, and then transfer the lemon mixture to a medium, non-reactive saucepan. That means a pan that does not react with the acidic ingredients that are being cooked, in this case, lemon juice. A stainless steel or ceramic saucepan is best to use.
Heat the lemon mixture over medium heat while whisking frequently, which means you can whisk for a bit, stop for a few seconds, and start whisking again. It’s important not to let the mixture sit still for more than 20 seconds at a time though, or it will stick to the bottom of the pan and scorch.
Bring the mixture to a boil while whisking constantly; as it comes to a boil, the mixture will start to thicken. You’ll also see lumps starting to form, which is normal. Continue whisking vigorously to keep the filling as smooth as possible. It will take about 15 minutes for the filling to fully thicken; you’ll know it’s ready when it coats the back of a spoon. Strain the lemon mixture into a bowl using a fine mesh sieve to break up any remaining lumps.
Completing Your Lemon Bars For A Crowd
By now, the shortbread crust should be ready to come out of the oven. Reduce the oven temperature, and then pour the filling directly onto the warm cookie crust. Spread the filling out as smoothly and evenly as possible. Any marks left in the filling from the spatula will show on the finished bars. Place the pan back into the oven for another 20 minutes.
When the bars have finished baking, remove the pan from the oven. Let it sit at room temperature for about 30 minutes, and then refrigerate for two hours to set the filling. After the two hour chill time, the bars will be ready for slicing into any size.
Just before serving, sprinkle the lemon bars with powdered sugar, and if you’d like to get a little fancy, place each bar into a flattened cupcake liner. Then all that’s left is to dig in and enjoy!
Can I Reduce This Recipe?
Absolutely! Don’t have a big crowd to feed? This lemon bar recipe works perfectly as a half batch.
Just cut all the ingredient amounts in half and bake in a quarter sheet pan (9 ½ x 13-in.). A standard 9×13-inch pan also works, the lemon bars will just be a little thicker.
Can I Freeze Lemon Bars?
Unfortunately, no. In my testing, freezing the bars for later did not work. While the bars still tasted bright and lemony, the microscopic ice crystals that form during freezing made the shortbread crust soft and soggy after thawing. Because of the egg custard on top, there’s no easy way to re-crisp the cookie crust.
Print
Lemon Bars (For A Crowd!)
- Prep Time: 20 minutes
- Rest Time: 2 hours 20 minutes
- Cook Time: 55 minutes
- Total Time: 3 hours 35 minutes
- Yield: 39 bars 1x
- Category: Dessert
- Method: Baked
- Cuisine: American
DESCRIPTION
These lemon bars have a buttery, lemony shortbread crust with a velvety smooth, sweet-tart lemon filling, and will literally feed a crowd.
Optionally, dust with powdered sugar before serving.
Ingredients
For The Crust:
- 4 cups all-purpose flour
- 1 and 1/2 cup granulated sugar
- 16 Tbsp. cold butter (2 sticks)
- 1 and 1/2 tsp. salt
- 1 Tbsp. vanilla extract
- Zest and juice of two lemons
For The Filling:
- 9 whole eggs
- 3 egg yolks
- 16 Tbsp. butter, melted (2 sticks)
- 1 and 1/2 cups fresh lemon juice (about 10 lemons)
- 2 and 1/2 cups granulated sugar
- 1/2 cup flour
- 2 tsp. salt
Instructions
- Lightly grease a 13×18-in. sheet pan. Line sheet pan with parchment paper so that it slightly overlaps all sides; grease parchment as needed to prevent pieces from sliding.
- Make the crust. In the bowl of a food processor with blade attachment add flour, sugar, butter, salt, vanilla, zest, and lemon juice. Pulse until ingredients are well incorporated and form a moist, crumbly dough.
- Transfer dough to parchment-lined sheet pan, spread dough crumbles in an even layer. Using your hands, lightly press dough into place.* Refrigerate pan, uncovered, 20 minutes.
- Preheat oven to 400°F. Transfer sheet pan from refrigerator to oven. Bake 20 minutes. Remove pan from oven; set aside. Reduce oven temperature to 350°F.
- Make the filling. In the same food processor bowl (no need to clean in between uses) add eggs, yolks, butter, lemon juice, sugar, flour, and salt. Blend on high speed until smooth. Transfer mixture to a medium, non-reactive saucepan.
- Heat lemon mixture over medium heat, whisking frequently, until the mixture becomes fluid. Bring to boiling, whisking constantly until lemon mixture is thick and coats the back of a spoon, about 15 minutes. Using a fine mesh sieve, strain lemon mixture into a bowl to break up any lumps.
- Pour strained lemon mixture on top of warm crust. Using the back of a spoon or spatula, spread lemon mixture evenly over crust. Place pan in oven. Bake 20 minutes.
- Remove pan from oven; let stand 30 minutes. Transfer pan to refrigerator; let cool 2 hours before slicing.
Notes
*To help evenly spread the dough, place a sheet of parchment paper over dough, and using the back of a flat-bottom measuring cup, drinking cup, or small pan, lightly press down on the dough from the center, across the pan to the edges. This acts like a rolling pin to push the dough to the edges of the pan.


After these have been in the refrigerator, can you put them out for a while. We want to make them for a wedding and it will most likely be very warm outside during dessert time, thank you.
Unfortunately, with it being warm outside I would worry about them sitting out. While they are likely safe to eat after sitting out up to a couple hours, the filling will likely become a bit melty making them less gorgeous and messier to eat. Could they be kept in containers in coolers until dessert time?