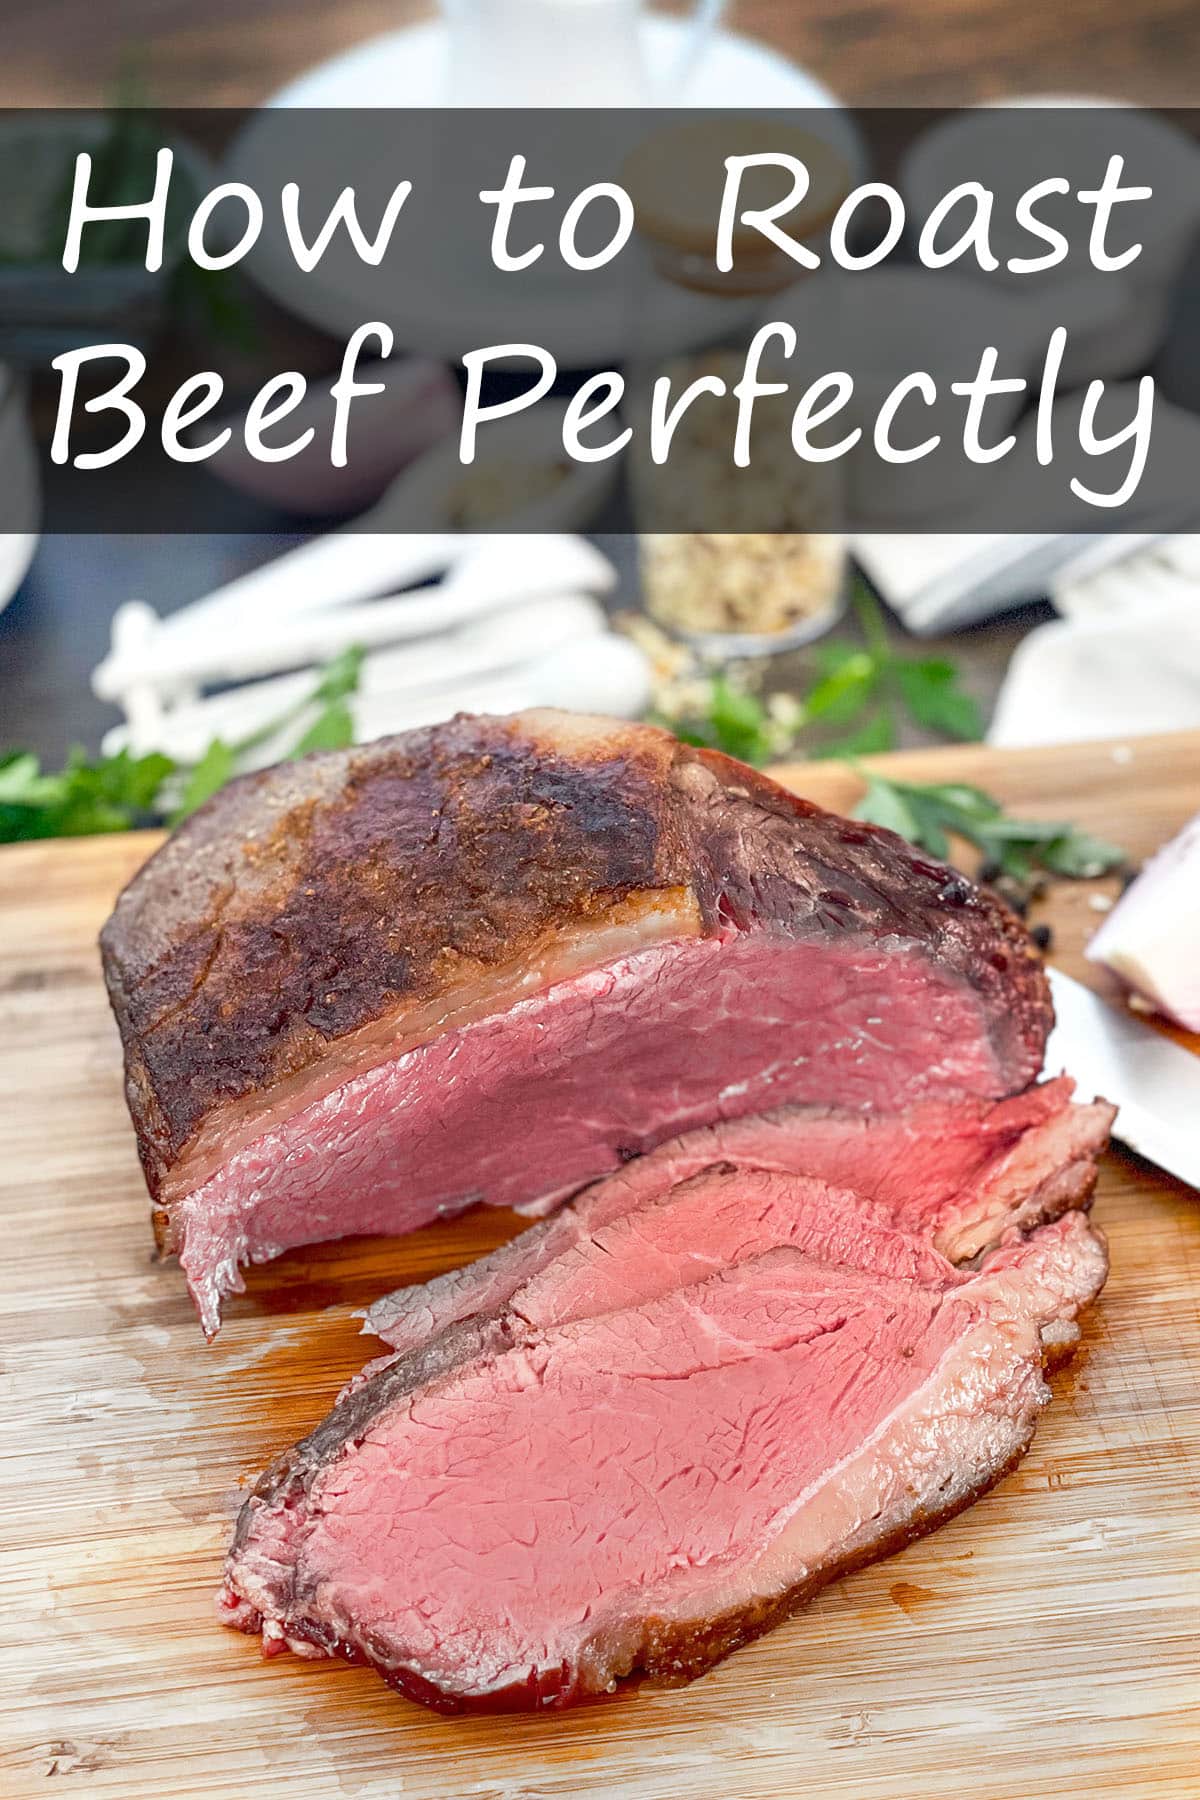
Get the tips you need for perfectly tender roast beef. It’s all about the cut of beef and the reverse sear.
If you remember your mom’s weeknight roast beef being tough and chewy, it may have been the cut and not the way she cooked it.
I tested three of the most common roast beef cuts you’ll find in a typical grocery store to find out which one is your best bet. To ensure they were evenly and perfectly cooked, I used the reverse sear method, like I use for my much loved Roast Pork.
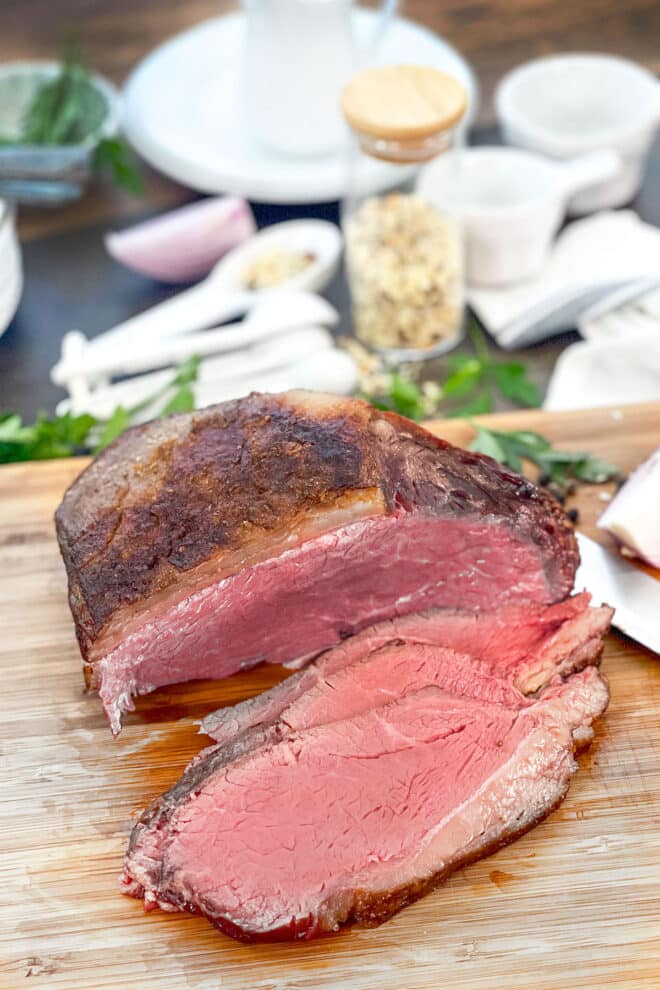
What Cut Of Beef Should I Use?
Here are the three cuts that I tested, all of which were available at my grocery store.
Eye of Round Roast
Eye of round looks most like a typical “roast beef” and comes from rear leg area of the cow. This muscle gets a lot of movement, so this cut of beef is lean and tough. It requires low and slow cooking or moist heat to become tender.
However I found that even with a low and slow bake in the oven and slicing against the grain after searing, it was still tough, even when thinly sliced. This cut of beef is best for braising, using our Pot Roast Method, and then slicing or shaving. It can also be chilled and sliced thin for roast beef sandwiches.
Bottom Round Roast
The bottom round comes from the upper portion of the rear legs, around the hip and rump area. This part of the leg muscle contains large, interconnective tissues, which make this cut look similar to a chuck roast when sliced.
I tested this with a 24-hour wet brine, and tested a second roast with a 24-hour dry (salt) brine. Even after brining for 24 hours, this cut of meat was still very tough and chewy after a low and slow bake in the oven. Like the top round, the bottom round is best for moist cooking, like braising or pressure cooking in the Instant Pot.
Rump Roast
Even without a wet or dry brine, the rump roast is going to be your most affordable option (without getting into the hefty rib roasts or tenderloins) for a tender roast beef. This cut comes from the same area as the bottom round but experiences less use and has more fat.
A quick salt rub just before cooking is really all it needs. Of course, it will also accept any aromatics you introduce, like herbs, onions, garlic, and seasonings. The rump roast isn’t without its faults though. While it’s much more tender than an eye or bottom round, it still needs to be sliced thin before serving.
Best practices: It’s so important that the roast be at room temperature before cooking, which will ensure that it cooks evenly throughout at the low temperature. Otherwise, the middle will be much rarer than the rest of the roast. At room temperature, it’s easier for the oven temperature to reach the middle and cook everything evenly.
How To Reverse Sear Roast Beef
For a perfectly tender and affordable roast beef, start with a three to four pound rump roast. It’s important that the roast is room temperature before cooking, which will help the roast cook more evenly. Remove the roast from the refrigerator about two hours before cooking to allow it to come to room temperature. Raw foods like this can safely be out of refrigeration for up to four hours.
Place the oven rack in very middle position and preheat the oven to 220°F.
Place beef roast on the center of a 13×18-inch sheet pan fitted with a cooling rack. If you don’t have a rack that will fit, it’s perfectly fine to place the roast directly onto the pan. The rack just helps the air circulate and helps heat penetrate the roast more evenly.
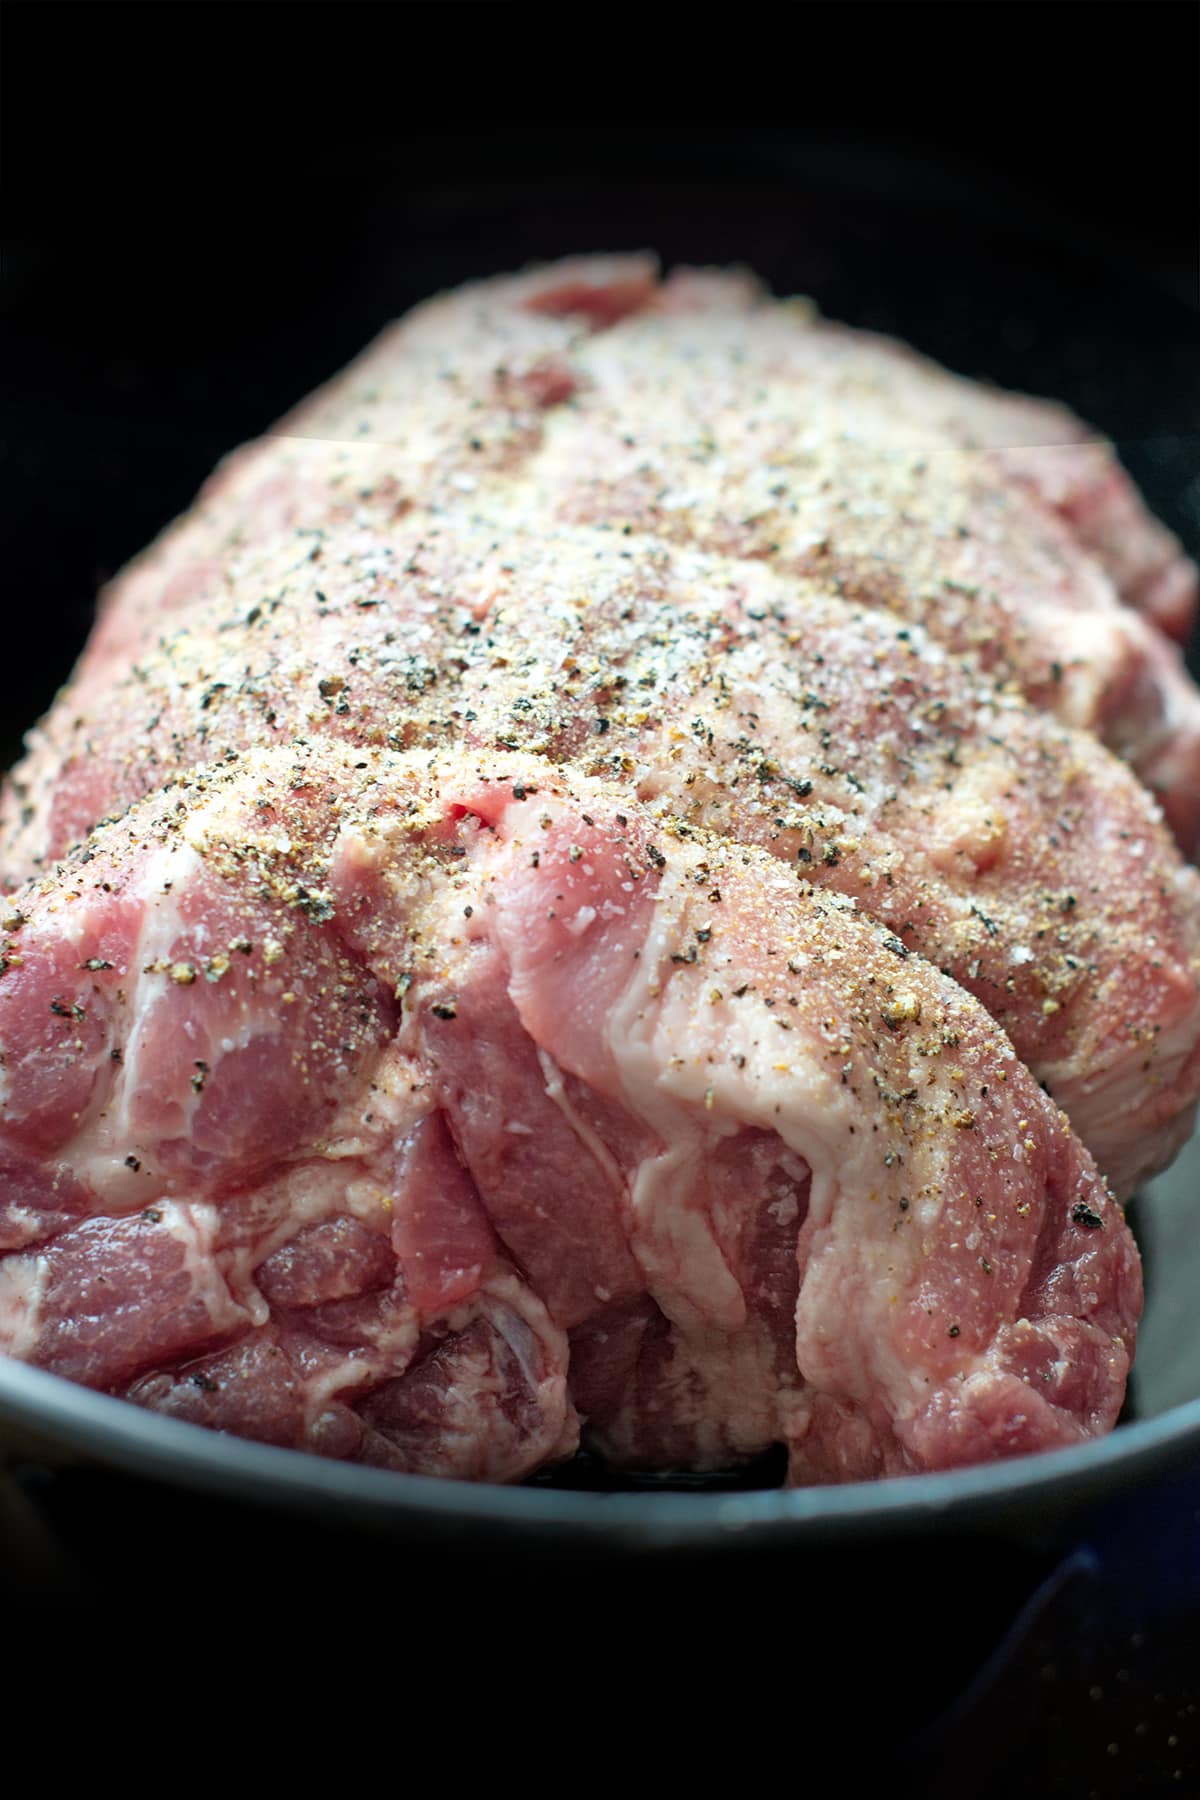
Pat roast dry with paper towels, and rub it all over with the salt.
Place the sheet pan in oven and bake about 85 minutes or until internal temperature of the roast reaches 110°F for rare, 120°F for medium-rare, 135°F for medium, or 145°F for well. I like to use an oven-safe probe thermometer that can be inserted into the roast before it goes into the oven and has a digital reader that stays on the counter to keep track of the internal temperature of the beef while it cooks. You can use a regular meat thermometer, just be sure to start checking before the cook time is up, as the size and thickness of roasts vary.
Once the roast reaches the desired temperature, remove the roasting pan from the oven and set that aside. Then, in a medium skillet heat the olive oil over medium-high heat until it’s shimmering. Add the roast to the pan and sear it on all sides, which will take less than a minute on each side.
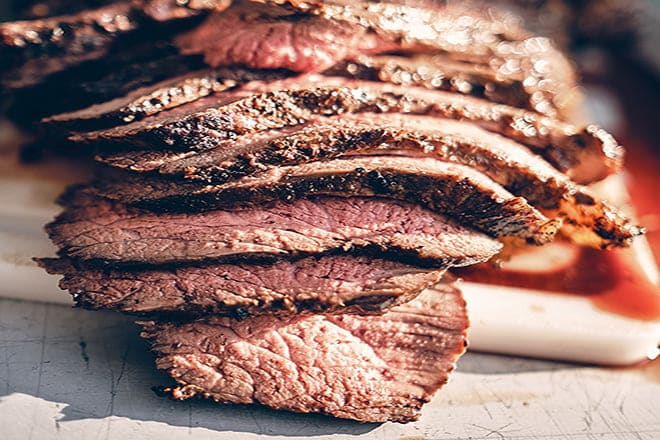
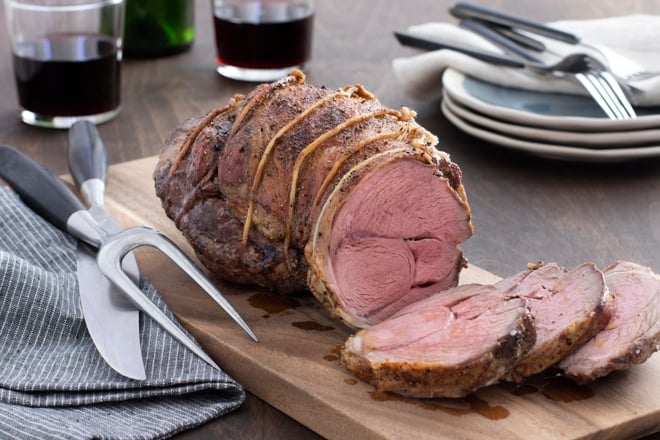
Transfer the roast to cutting board and allow it to rest for about 15 minutes, which is the perfect amount of time to make a salad or finish your side dishes. Slice the roast into ¼-inch thick or thinner pieces for serving.
Reverse Sear Using The Oven
Since originally developing and testing the below recipe, which has you sear the roast on the stove, I have started to do this differently. I now usually use the oven. Here’s how to do it.
What you’ll do is take the roast out of the oven as instructed in the below recipe. Then, leave it on the pan it was on and tent it with foil and let it rest for 20 minutes. Ff you want to use the brownings on the pan to make gravy while the roast rests, then transfer the roast to a different baking sheet, but a rack isn’t necessary.
Towards the end of that 20 minutes of resting time, crank up the heat of your oven to 500F. Once it reaches that temperature, put the roast into the oven until it gets nice and crispy on the outside, about 10 minutes. Then you’ll slice it and serve it immediately because it has already rested. Enjoy!
More Roast Dinner Recipes
- Classic Roast Beef Recipe
- Slow Cooker Beef Roast
- Perfect Roast Lamb Recipe
- Whole Roasted Chicken
- Pork Butt Roast
Podcast Episode: Making Reverse Sear Roast Beef
Listen to me explain briefly about how to make this reverse sear roast beef, along with some other great tips, by clicking the play button below:
Listen to more Recipe of the Day episodes here.
Print
Reverse Sear Roast Beef Recipe
- Prep Time: 5 minutes
- Rest Time: 15 minutes
- Cook Time: 1 hour 35 minutes
- Total Time: 1 hour 55 minutes
- Yield: 4–6 servings 1x
- Category: Entrée
- Method: Reverse Sear
- Cuisine: American
DESCRIPTION
Use the reverse sear method for perfect roast beef and serve with your favorite sides.
Ingredients
- 1 Tbsp. salt
- 1 (3 – 4 lb.) beef rump roast, room temperature
- 2 Tbsp. olive oil
Instructions
- Place oven rack in middle position. Preheat oven to 220°F.
- Place beef roast on the center of a 13×18-inch sheet pan fitted with a cooling rack. Pat roast dry with paper towels, rub with salt.
- Place sheet pan in oven. Bake about 85 minutes or until internal temperature reaches 110°F for rare, 120°F for medium-rare, 135°F for medium, or 145°F for well.*
- Remove pan from oven.**
- In a medium skillet heat olive oil over medium-high heat until shimmering. Add roast, sear well on all sides.
- Remove pan from heat. Transfer roast to cutting board and let rest 15 minutes. Slice thinly.
Notes
*Internal cooking temperatures are not the final serving temperature. Carryover cooking and searing will increase the internal temperature to reach the desired doneness.
**Since originally developing and testing this recipe, I have started to do this differently. I don’t want to change the recipe above though because I know that a lot of people use this method and I don’t want to change the instructions that they’re using. And so, I’m putting my new method here. What you’ll do is take the roast out of the oven as instructed. Then, leave it on the pan it was on and tent it with foil and let it rest for 20 minutes (if you want to use the brownings on the pan to make gravy while the roast rests, then transfer the roast to a different baking sheet, but a rack isn’t necessary). Towards the end of that 20 minutes of resting time, crank up the heat of your oven to 500F. Once it reaches that temperature, put the roast into the oven until it gets nice and crispy on the outside, about 10 minutes. Then you will slice it and serve it immediately because it has already rested. Enjoy!



Leave a Reply