If you want to make a roast beef the way your mom or grandmother used to do it, this is the recipe. You start by searing the roast in a hot pan, and then finish it in the oven. It’s juicy and tender, and an absolute classic!
Roast beef is such a delicious treat for a special meal. It can seem daunting to cook it though because it’s not something we get to do very often. I have learned how to do this though from my mom, who has catered an insane number of roast beef dinners. I’ve adapted her methods for myself and other home cooks and now I have it all here for you, in easy to follow steps.
This beef is prepared with a dry-brine to give extra flavor and tenderness. It is then cooked in a 3-step process that ensures juicy meat. Finally, the roast rests before carving. I’ve got all the information for you below. Don’t worry, you’re in good hands. This is going to be the best roast beef you’ve ever made!
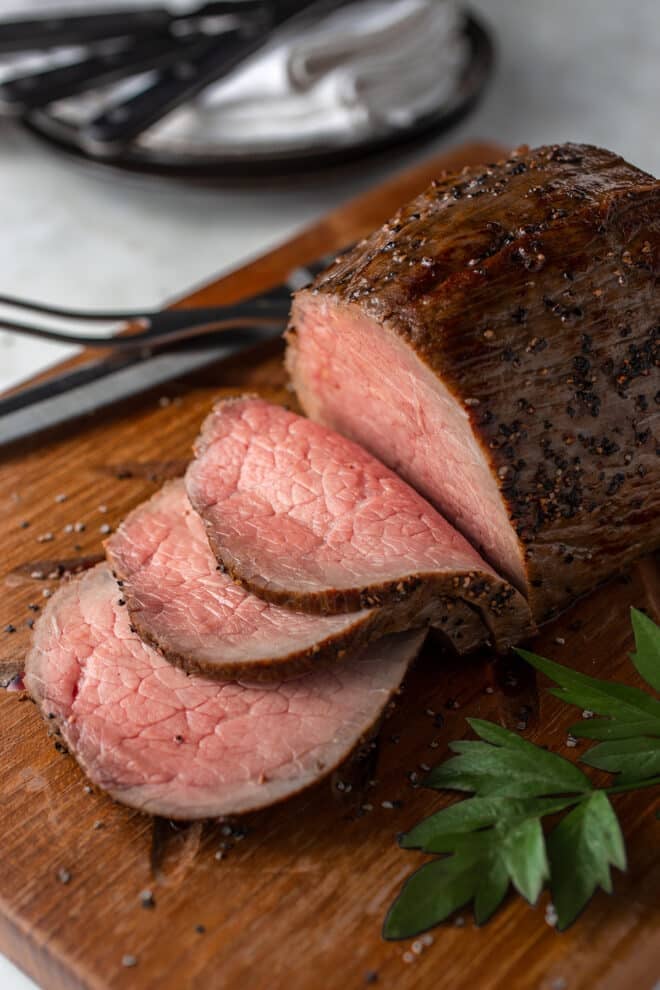
Types Of Beef For Roasting
These are the cuts of beef that are most often at my grocery store and that I have opinions about. To see a larger list of cuts and ways to cook them, head over here.
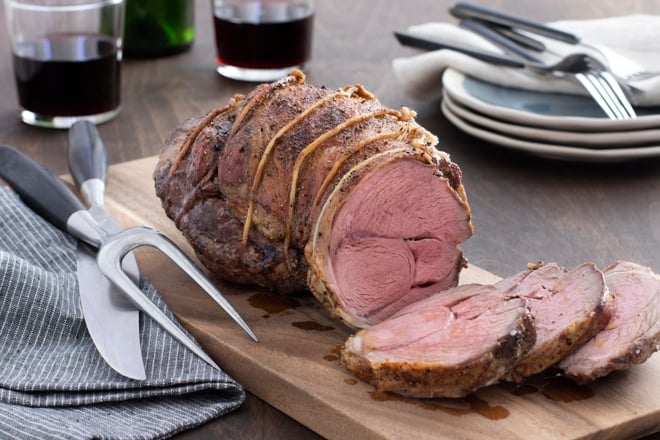
Prime rib (also called Standing Rib Roast or just Rib Roast) is probably the best cut for roasting. It’s well-marbled and tender. However, it’s quite expensive. Whether you like your roast more rare or more well-done, the method outlined here works very well for a prime rib. And often, a prime rib roast is large enough that you can get some more well-done slices from the outside and rarer slices from the middle, easily pleasing everyone at the table.
Beef Tenderloin (also called a filet or filet of beef) is actually the same cut as the filet mignon steak is, except it hasn’t yet been cut into steak portions. It’s therefore long and thin. This cut is also on the expensive side. The tenderloin is quite lean and is therefore best cooked on the rarer side. You wouldn’t want to go beyond medium for this one. If you keep it below medium, it will be very tender. Since it is thin and cylindrical, it tends to end up being very evenly cooked, so you won’t end up with different temperatures to please different palates.
Rump Roast is the only other cut that I would typically roast using the below method. It’s similar to the Bottom Round listed below, but it tends to have more marbling and is therefore better suited to roasting than any of the cuts listed below. Rump is similar to the prime rib in that you can get slices that are of differing doneness, with those closer to the edge being more well-done, but, like the tenderloin, you won’t want to cook this roast past medium at its center because it isn’t as moist as the prime.
Bottom Round Roast is very similar to the rump roast but it tends to have less fat and is on the drier side. I recommend using a braise like in this a pot roast recipe for this cut. Have a top round roast? Try this London broil recipe instead.
Eye of Round looks like a typical roast that you’d like to roast, however, my experience has been that it turns out on the dry side. I therefore prefer to braise this one as a pot roast rather than roasting using the below method.
What Size Roast Do You Need?
If you have a boneless roast, you should estimate about 1/3 to 1/2 pound per person, depending on how many sides you’re having and whether there will be appetizers. The only cut above that ever has a bone is the prime rib. You’ll typically need 1 bone of roast for two people, which is around 3/4 to a full pound per person. But, if you’re having sides and appetizers, then 1/2 to 3/4 pound is going to be sufficient. Note that these weights are taken before cooking the roast.
Dry-Brining Beef
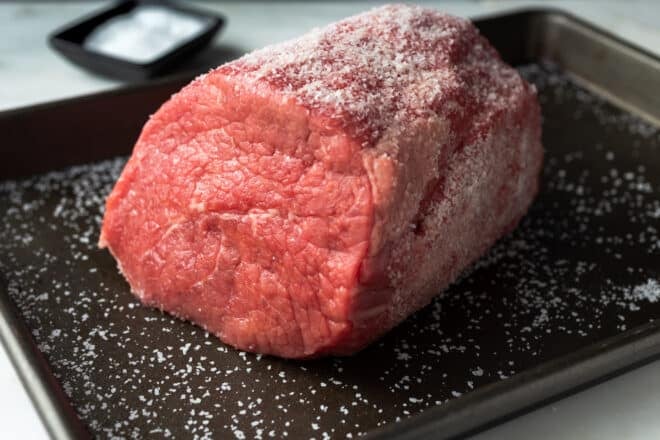
We’ll start by applying salt to the roast and letting it rest in the fridge for quite a while so the salt can penetrate. This is called dry-brining and is done for three purposes. The first is to add flavor. By leaving the salted roast in the refrigerator for several hours, the salt is able to penetrate more deeply, seasoning beyond the exterior. The second reason is that, like wet-brining, the introduction of salt deeply into the meat helps break down the proteins to create that tender texture we’re after. Finally, salting the beef and leaving it uncovered in the fridge helps to dry the exterior, which leads to a crisper crust. Learn more about dry brining here.
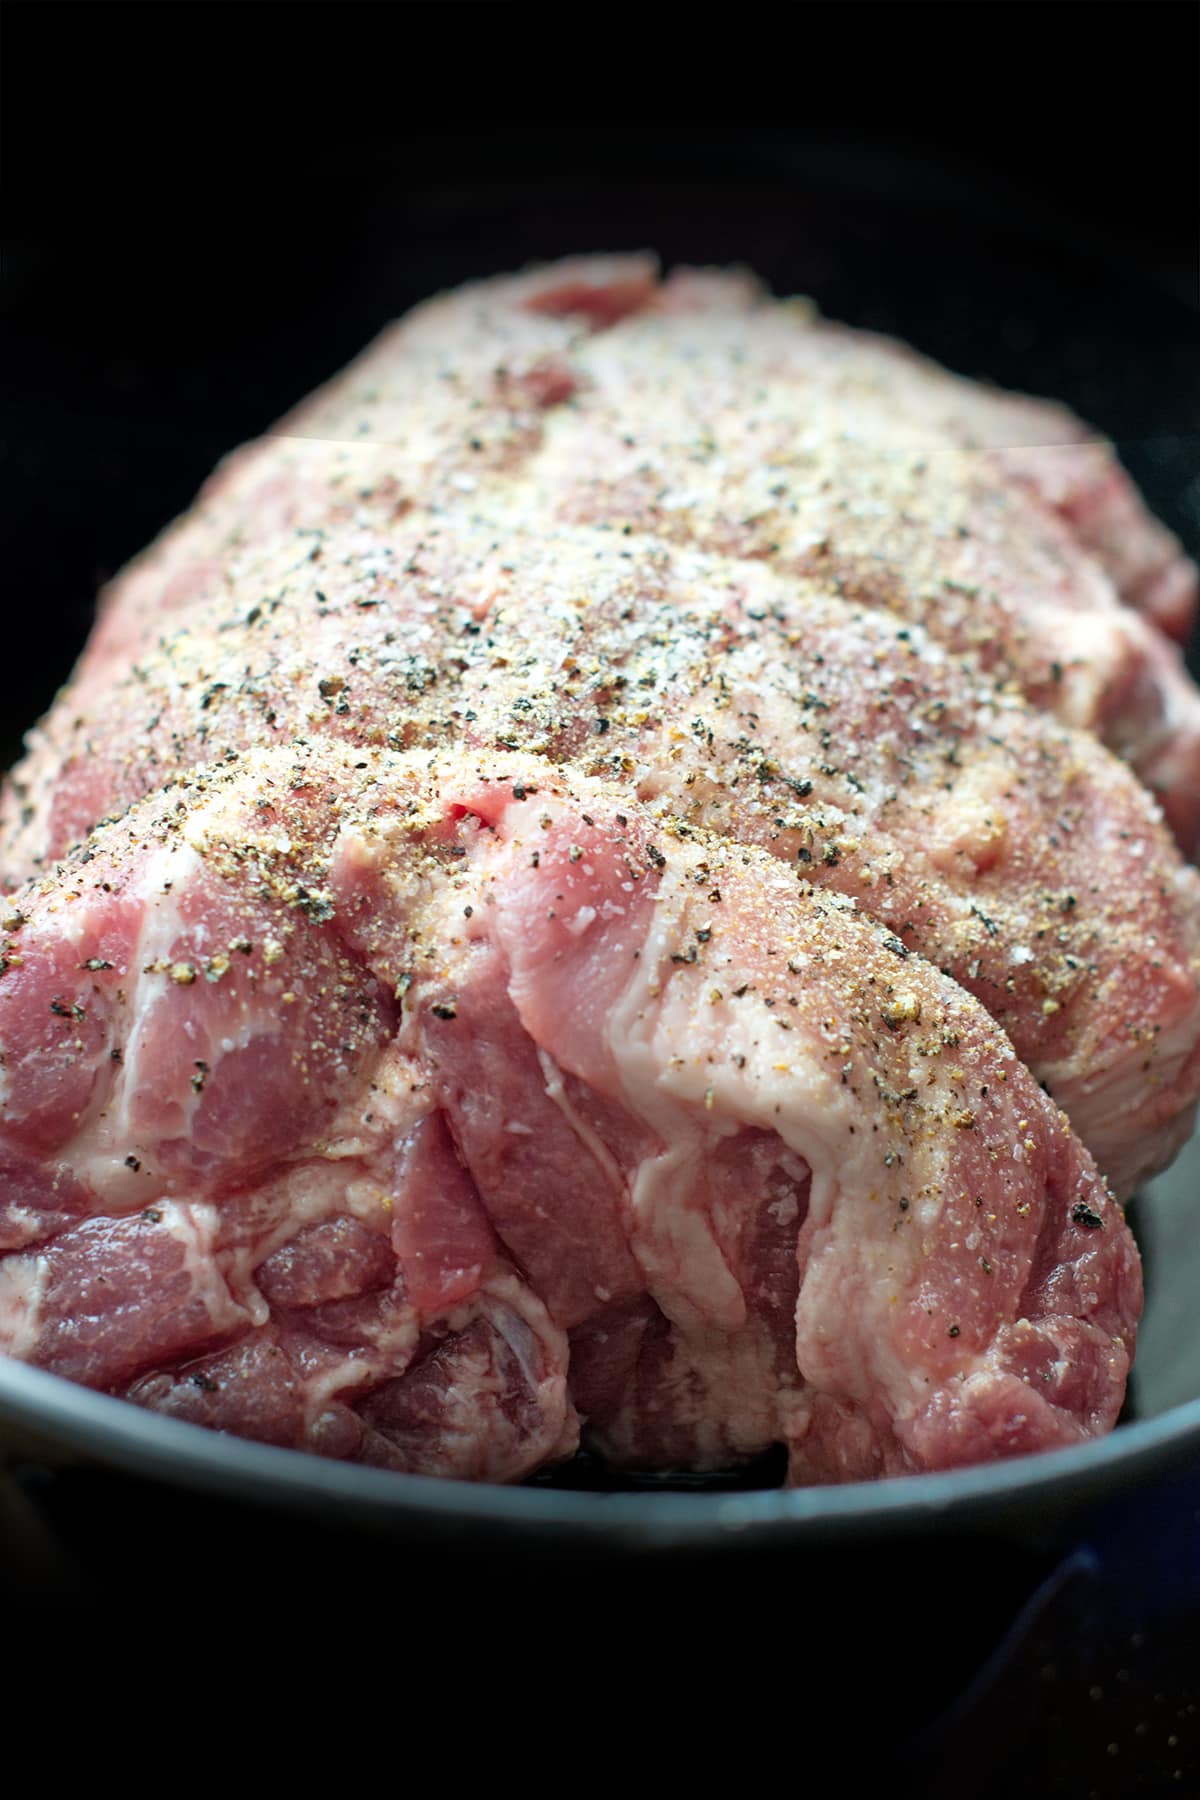
Arrange an oven-safe rack on a baking sheet or shallow roasting pan. Set that aside a moment. Sprinkle your roast all over with kosher salt. Transfer it to the rack on the pan. Without covering it with anything, transfer the roast on the rack on the pan into the refrigerator. Leave it there for 24 hours. If you don’t have 24 hours, you can do as little as 6 hours, but the longer time is recommended.
Searing Before Cooking
The next step to a classic roast beef is to sear the meat on all sides. This creates a beautifully browned exterior. It also adds flavor and texture to the roast. It’s best to allow the roast to sit at room temperature for at least 45 minutes before you proceed.
Then, preheat your oven to 350F first so that it’s ready when you are. Get a large oven-safe skillet or cast-iron pan and heat it on the stove over medium-high heat. Tub the roast all over with some cooking oil. I like something with a slightly higher smoking point, like grape seed oil or vegetable oil, but olive oil is fine too. Season it with black pepper, if you’d like. But don’t add any salt. It has already been salted enough. You don’t need to wipe off or rinse off the salt either. Just add the pepper and oil and then you cans ear it.
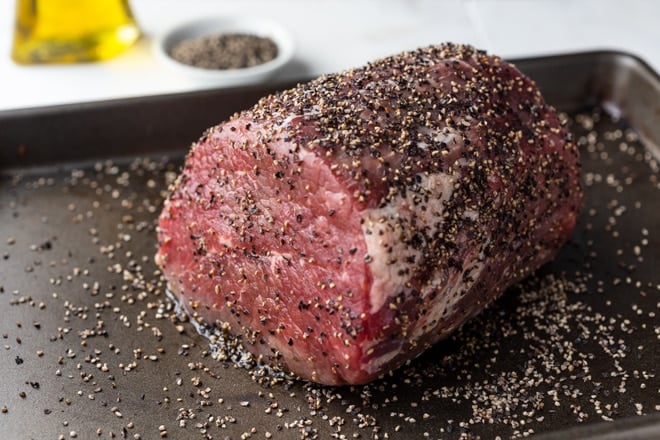
Put the roast into the hot skillet and let it cook undisturbed until really dark underneath, about 4-7 minutes. If you’re trying to test if your roast is browned and it is stuck to the pan, wait another minute. Often the meat will release better once it has cooked for longer. Once it is brown, turn it and brown the other side. Repeat, turning and cooking to brown the roast until it is browned all the way around.
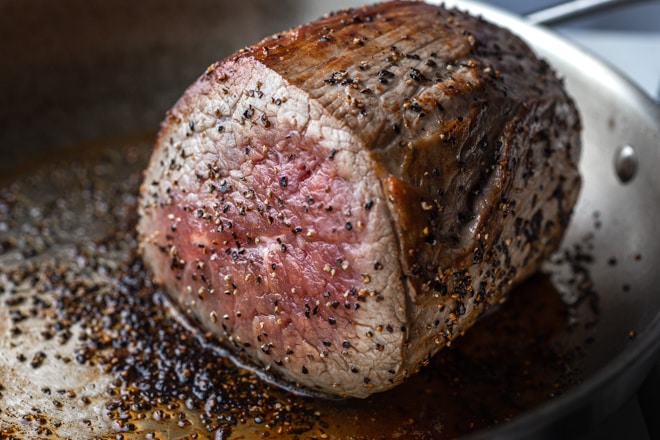
Roasting Step 1: In The 350F Oven
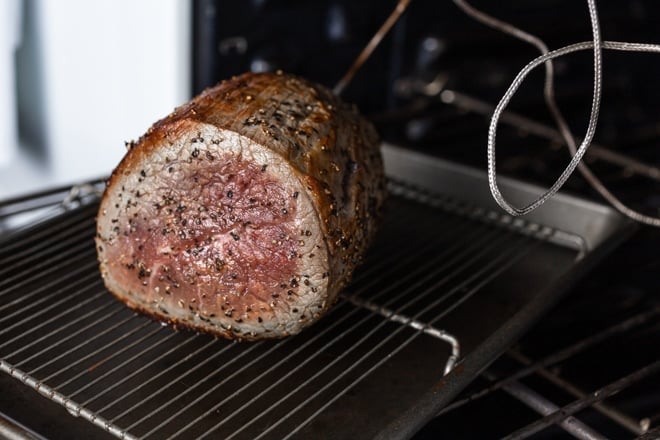
The oven is where the magic happens thanks to a little bit of science. Here’s the science part. During cooking, enzymes are activated. These enzymes break down the connective tissues and tenderize the meat. BUT, this process stops when the meat reaches 122F. So, the goal is to keep the meat at 122F for as long as possible. Lucky for us, it is pretty easy to accomplish.
What you’re going to do is to cooking the roast in the oven at 350F for the first part of roasting. Then, when the roast reaches the internal temperature of 115F, you’ll turn the oven off until the meat’s internal temperature reaches the desired temperature. This ensures that the meat will be tender and juicy. And yes, it is safe.
It is ideal if you have a probe thermometer that stays in the meat and has a separate part outside of the oven that gives you the readings. That way, you don’t have to open the oven to test the temperature. Every time you open the oven, heat escapes, making your cooking times less easy to predict. This is the thermometer that I own. It’s inexpensive and does the job.
After you’ve seared the roast, leave it in the skillet you seared it in, insert the probe, and then put the skillet into the oven. If your skillet isn’t oven-safe, you can instead transfer the roast back to the oven-safe rack and pan that you used for dry-brining the roast beef.
Below is a chart showing how long to roast the roasts in the 350F oven before turning it off. The chart is approximate though. Due to size and shape, the pan used, how well your oven holds heat, etc., it is best to go by what is on your thermometer. See the section below about how to make the timing work for you.
Approximately How Long To Roast The Beef To 115F With The Oven At 350F:
| Type of Roast | Pounds | Rare | Med-Rare | Medium | Med-Well | Well Done |
| Prime or Rump Roast | 3-6 | 15-20 minutes per lb. | 18-23 minutes per lb. | 20-25 minutes per lb. | 22-27 minutes per lb. | 24-29 minutes per lb. |
| Prime or Rump Roast | 6-8 | 12-17 minutes per lb. | 14-19 minutes per lb. | 16-21 minutes per lb. | 18-23 minutes per lb. | 23-28 minutes per lb. |
| Tenderloin | 2-3 | 25-30 minutes total | 25-30 minutes total | 25-30 minutes total | 30-35 minutes total | 35-40 minutes total |
| Tenderloin | 4-5 | 25-30 minutes total | 25-30 minutes total | 28-33 minutes total | 32-37 minutes total | 37-42 minutes total |
Roasting Step 2: With Oven Off
Once the roast reaches 115F and you’ve turned the oven off, then you will leave it in there with the door closed until the temperature is how you like it. It’s going to take between 5-12 minutes per pound for it to get to the correct temperature.
When To Take The Roast Out Of The Oven
| Desired Doneness: | Remove From Oven At: | Final Temperature After Resting: |
| Rare: | 120°F | 124-128°F |
| Medium Rare: | 130°F | 134-138°F |
| Medium: | 140°F | 144-148°F |
| Medium-Well: | 145°F | 149-153°F |
| Well Done: | 155°F | 159-163°F |
Resting and Carving
The final steps are resting and carving. Resting is an important step because it allows the juices in the meat to cool down a little bit so that they aren’t simmering and boiling in there. Once the juices have calmed down, they settle into the meat and are less likely to run out when you start carving. The more juices you can keep in the meat, the juicier it will be when you eat it. You’ll rest a tenderloin and smaller roasts for 10-15 minutes. Any longer and it will start to cool off. Larger roasts should rest for at least 15 minutes and as long as 30 minutes.
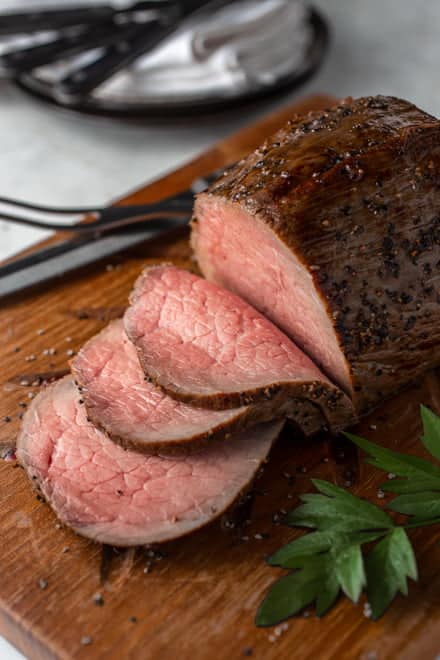
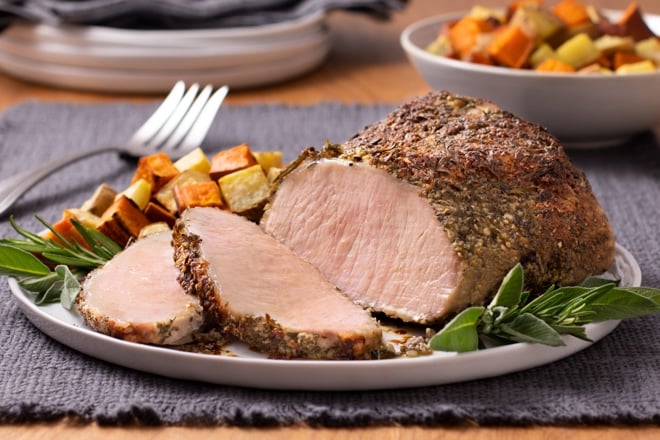
Carving should be the very last step of your meal preparation. Once everything else is done and is alraedy at the table, then you carve. The goal is to take the meat to the table and have everyone start passing the food around immediately. So, wait until everything else is done before you carve. To carve the beef, use a large sharp knife and make slices that are no more than 1/4 of an inch.
Getting The Timing Right
I’ve heard from many people over the years that the trickiest thing about doing a roast is planning on when to serve it. I completely understand, and me giving you approximate times above doesn’t help. However, it is completely possible to make this work, and make it not be stressful too. The way to do that is first, to set expectations; second, do a lot of make-aheads or things that stay warm easily for sides; and third, make the resting time work for you.
For setting expectations, when you are telling people what time you’ll be eating, make it more vague. Tell them, “Dinner will be served between 5:00-6:30.” And be sure to put out light snacks in case it does go to the 6:30 mark and people are munchy. Then, you want to aim for the resting of your roast to be finished at about 5:45, midway through that time. If you were off on either end, you’re then covered by leeway.
The second trick is to do make-aheads and sides that can stay warm easily. This make-ahead gravy is perfect because you can do it the day before, then just add the nice drippings from your roast to flavor it at the end. Mashed potatoes stay warm in a covered pot for a really long time. If your pot is oven-safe, you can even put the covered pot into the oven once you turn it off for the second phase of roasting and that will keep them warm. Or, do your mashed potatoes in the Instant Pot and then let them stay warm in there.
The final thing is to make that resting time work for you. Your roast is going to rest for 10-15 minutes minimum. If it’s a tenderloin or a small roast, then that is probably as long as you will want to go. A larger roast can rest for as long as 30 minutes and still be warm. If you make sure that your table is set prior to the resting time, and if many of your sides are already done and staying warm, you can then use these last 10-15 minutes to finish things off.
Get the gravy finished in this time or whip up this delicious creamy horseradish sauce. Also, if you made casseroles or side dishes ahead of time, these can be microwaved during this time, if you were short on oven space. Another idea is to do a vegetable side in the air fryer. The high heat gets those cooked quickly. You can have basic but delicious asparagus or green beans for 6-8 people done in the air fryer in under 15 minutes for sure. Those recipes make smaller amounts, but you can load them in there and then shake them around every 5 minutes until they’re all tender-crisp or well-roasted.
Podcast Episode On Cooking Roast Beef
Listen to learn how to make this recipe, along with some great tips from Christine:
Listen to more Recipe of the Day episodes here.
Print
Classic Roast Beef Recipe
- Prep Time: 15 minutes
- Refrigerate With Brine: 6 hours
- Cook Time: 60 minutes
- Total Time: 7 hours 15 minutes
- Yield: 4 servings 1x
- Category: Entrée
- Method: Roast
- Cuisine: American
DESCRIPTION
These are the steps to a perfect roast beef. We start with a dry-brine, followed by a simple 3-part cooking process that ensures juicy and tender meat. Don’t skip the resting step at the end. It’s critical to making this beef the juiciest possible.*
Ingredients
- A 2–8lb. beef roast**
- 1/2 tsp. coarse Kosher salt per pound of meat
- 1 Tbsp. cooking oil per pound of meat
- 1/4 tsp. black pepper per pound of meat
Instructions
- Rub all sides of the roast with salt. Put roast on an oven-safe rack on a pan and refrigerate uncovered for 6-24 hours.
- Remove from refrigerator. Leave it at room temperature for 45 minutes. Pat dry with paper towels.
- Heat oven to 350˚F. Rub roast with oil.
- Warm a large skillet over medium-high heat until very hot. Sear roast on all sides until golden brown, about 4-7 minutes per side.
- Remove pan from heat. Insert the probe of an oven-safe thermometer through one end so that it reaches the middle of the roast.
- Transfer the pan with the roast to the oven.*** Roast until the internal temperature reaches 115F (see chart above for timing). Leave roast in oven but turn oven off.
- Continue to roast with the oven off for 5-12 minutes per pound, until desired temperature is reached (see chart above for temperatures).
- Remove from the oven. Transfer roast to a rimmed plate. Allow tenderloins and small roasts to rest for 15 minutes, and larger roasts for 30 minutes.
- Use a sharp knife to carve into 1/4 inch slices and serve.
Love this recipe? I’d appreciate it if you could scroll down and add a *5 star rating* to help others know they’ll love it as well!
Notes
*This recipe was retested and thoroughly changed in October 2022. Comments below that are given before that apply to the older recipe.
**The ideal roasts for this method are Prime Rib 3-8lbs, Tenderloin 2-5 lbs, and Rump Roast 3-8lbs.
***If your skillet isn’t oven-safe, you can instead transfer the roast back to the oven-safe rack and pan that you used to dry-brine the meat.
This post originally appeared in November 2018 and was revised in February 2022.



What type of beef roast? Would an eye of round roast work?
Michelle
Thanks for the questions, Michelle. If you look at the section here, I actually suggest picking to pot roasts for eye of round. But I saw on another recipe you asked about rib roasts, which would be a good option here! There’s some great tips in the podcase episode right above the recipe if you want to give it a quick listen. Hope that helps!
This is now my go-to recipe. Turns out perfect every time!
That’s wonderful, Elizabeth, thank you!
This is one of my favorite recipes and one that I make a couple of times every month. It comes out perfect every time!
am using this recipe for a holiday dinner but want to offer a solution to timing – which can be really difficult. As a long time meat smoker I got used to resting meat after it was done in an ice chest wrapped first in foil, then in towels. the meat will stay very warm for at least an hour this way. Just make sure you rest it outside the oven for 10 minutes before you wrap it all up or it wil continue to cook in the ice chest!
Thank you for sharing your tips, Jeff!
I can’t get over how well this turned out! I was a bit nervous about the oven being turned off, but it worked! The meat was juicy and tender, as promised.
Cheryl, Yes, the oven trick is great, right? I’m so happy you liked it! Thanks for letting me know :-)
Tony is right & time/ lb would be helpful.
ID plan for at least 3 hours and probably 4.
Dry brining can be wrapped in plastic or left uncovered. For turkey, you would want to keep it uncovered to crisp the skin. It is the cooks choice which method they prefer.
I wrap mine and they turn out perfect.
This isn’t dry brining, wrapping it in plastic removes the “dry” from the brining process. Leave the roast uncovered in the refrigerator on a wire rack, above a pan to dry out the exterior and catch an falling debris. This actually concentrates the flavour on the exterior of the roast and tenderizes the whole thing..
Is there a roast time/pound estimate? I know the thermometer will be in the meat the entire roasting time, but it would help to plan for sides and when it could be served.