Not sure how long to brine your chicken thighs? I’ve done all the testing so that you can get right to the perfect results.
If you want to make the tastiest, juiciest chicken ever you’re in the right place! You all loved the results from my extensive testing on how to brine chicken breasts, so I decided to do the work to see how best to brine chicken thighs as well. Now chicken thighs are juicier than breasts, so it may not seem absolutely necessary to brine them. But if you set a little bit of time aside, I think you’ll be thrilled with how delicious and well seasoned they turn out.
Scroll down to read more about how it all comes together or click here to jump straight down to the recipe.
Video: How To Brine Chicken Thighs
How Does Brining Work?
Brining is the process of soaking your meat in a salt water solution before cooking it. Using a brine changes meat in three ways.
- Meats soak up salt water more easily than plain water. So you’re adding moisture to the raw meat, which, once it’s cooked, makes the meat itself seem more moist.
- The salt changes the texture of the meat. It’s a type of denaturing. So, meat that is brined also has a more tender texture.
- Finally, because we’re working with salt and because that salt is dissolved in water and then getting right into the meat, when you brine something, you are essentially seasoning it from the inside out.
All of that is going on and the result is meat (in this case, chicken thighs) that are juicier, more tender, AND more flavorful. If you’ve ever struggled with the results of cooking your chicken, using a brine may just make all the difference for you!
Note that there is another way that you can brine chicken and other meats. It’s called a dry brine and doesn’t use water. Instead, you generously sprinkle the meat with salt and leave it uncovered in the fridge. It’s actually a very convenient technique to learn, but is not what we’re talking about here today. If you’d like to learn more about dry brining, head over here. Note that dry brining is especially useful for large pieces of meat, like turkey, since you don’t need to find a large container to hold them and the water. Learn how to dry brine a turkey here.
What Goes In A Brine?
All that is actually required for a brine is salt and water. Sometimes additional seasonings or sugar are added as well. I used my standard brine recipe for testing, which yields enough brine to cover about eight chicken thighs.
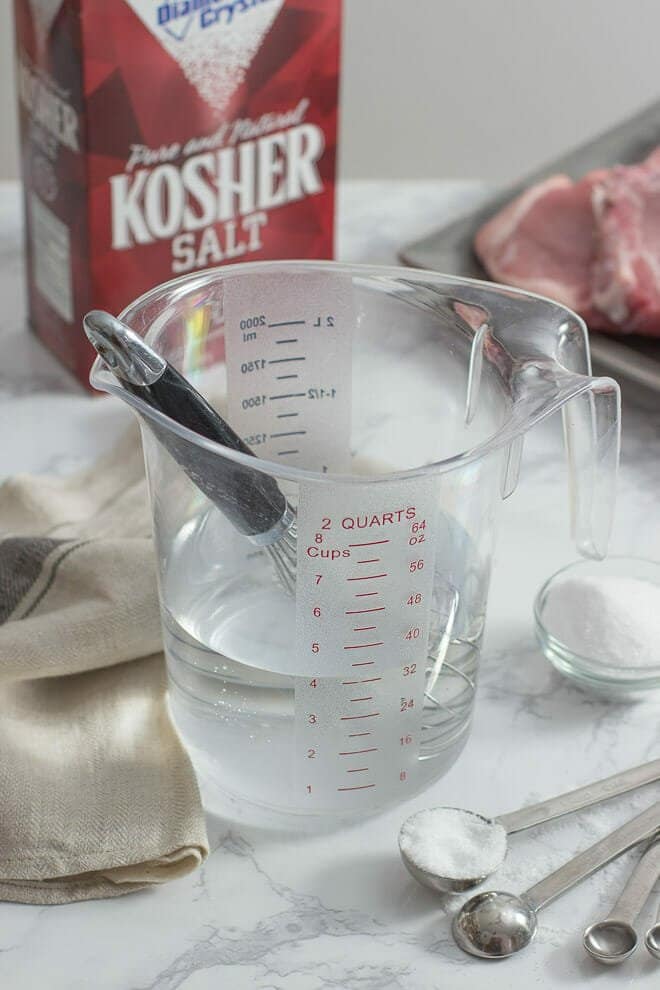
My standard brine recipe is essentially: 4 cups of cold water and 6 tablespoons Diamond Crystal kosher salt OR 4 1/2 tablespoons Morton’s kosher salt OR 3 tablespoons fine or table salt.
Note that it really matters that you pay attention to what kind of salt you have because that determines how much you use. The salt crystals in these types are all of different sizes and if you use the incorrect type or incorrect amount, you will end up with a brine that is either way too salty or not salty enough.
To make the brine, all you need to do is mix together the salt and the water. Hot water is not necessary, I actually find that cold tap water works better for my brines. It’s a large amount of salt though so it can take a minute or two for it to dissolve. Just stir it together and keep stirring until it’s less cloudy and there’s no more salt undissolved at the bottom.
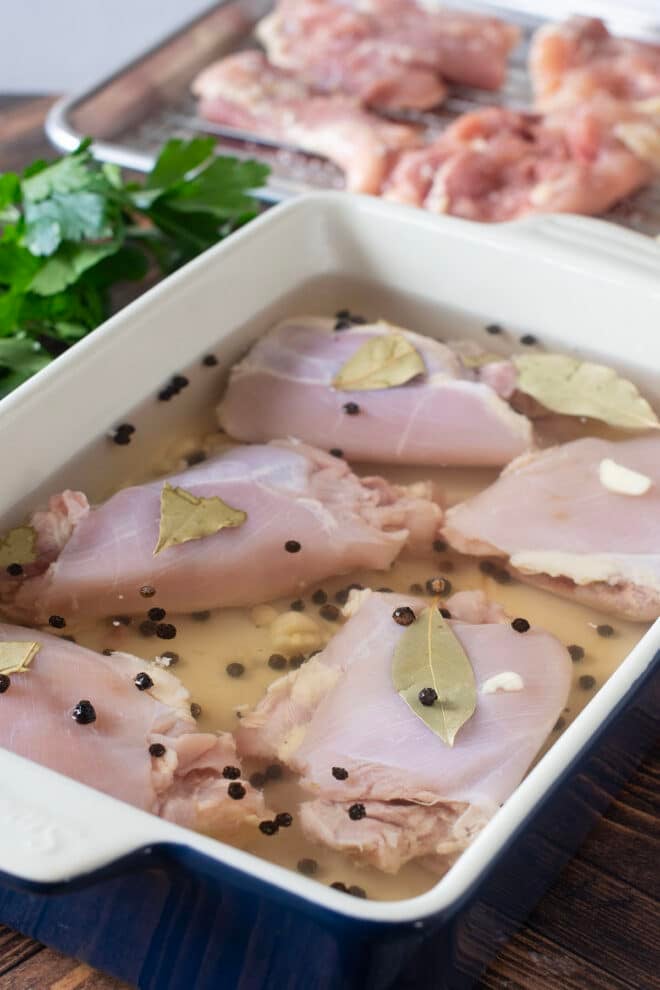
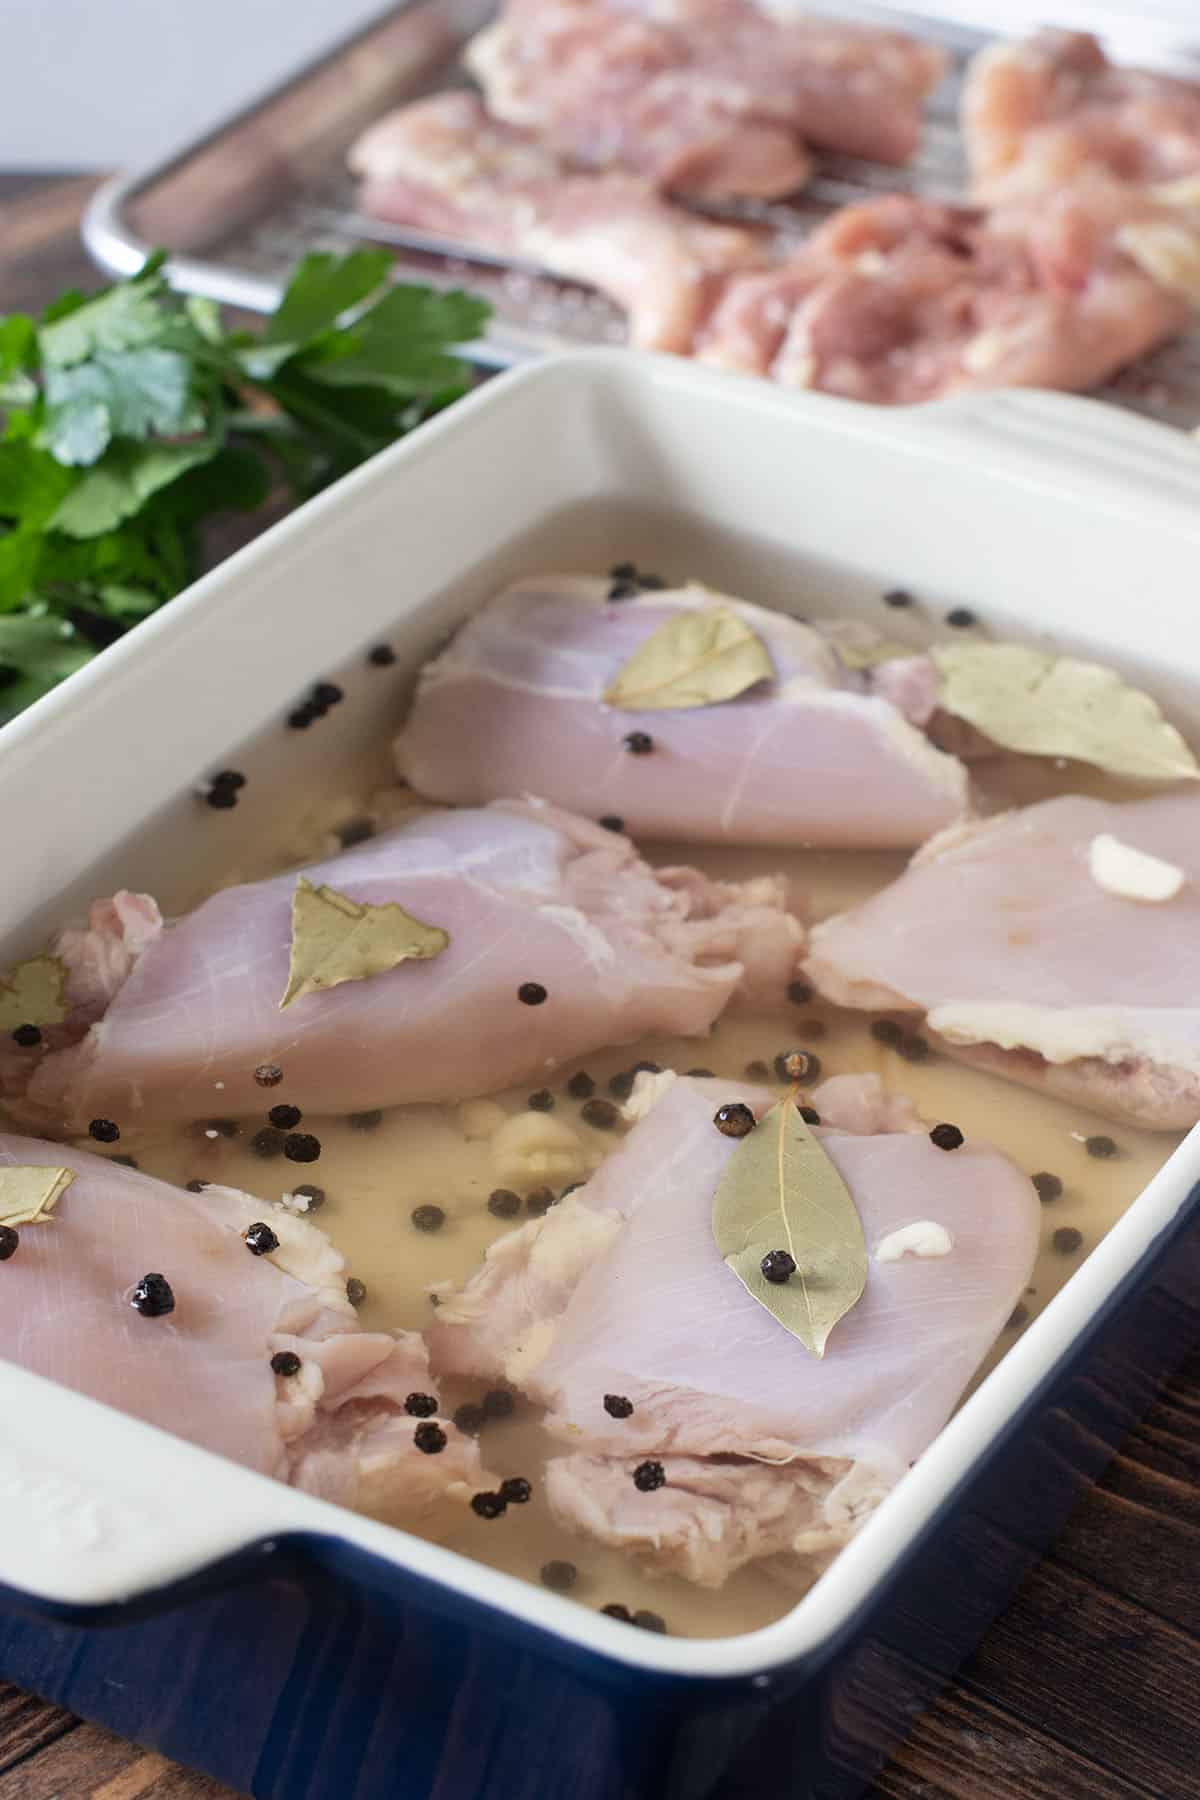
Some people like to add optional ingredients for flavor such as peppercorns, crushed garlic, rosemary, thyme and/or sage sprigs, bay leaves, whole cloves, or other herbs and spices. I don’t think it really adds much flavor to brined chicken thighs though, because it’s a shorter brine time than you would do for things like a whole chicken.
As you can see in the table below, I’ve found the sweet spot for brining chicken thighs is 30-60 minutes. If I know I’m going to have mine in the brine for a full 60 minutes, I add in 1 tablespoon of garlic granules. The full hour with the chicken in the garlicky salty brine is seriously amazing! Also, if I’m going to brine for 60 minutes and I want to impart even more flavor into the chicken, I’ll use my extra-flavorful food processor brine, which I developed for brining turkey. It’s the best turkey brine out there, full of onion, garlic, and fresh herbs, combined in a way that really gets the flavors into the meat.
How Long Should I Brine Chicken Thighs?
For this part of the brining experiments, I wanted to compare chicken thighs that had been brined for different amounts of time. The timing will be the same for boneless skinless chicken thighs as well as bone-in, skin-on thighs.
As mentioned, the brining solution I used for testing is my standard brine recipe, with cold tap water. I also tested with a dry brine of just salt. I’ve done similar tests for brining chicken breasts as well as brining pork chops and my pork tenderloin brine, so make sure to take a look at those results as well.
In the chart below, I share my results of testing the brine for various times. You’ll see that the sweet spot is between 30 minutes to one hour for the standard wet brine and 2 hours for the dry brine. I preferred the results from the wet brine though, because the chicken thighs were juicier with that method.
Chart: Chicken Thigh Texture and Flavor After Different Amounts of Time in Brine
| BRINING METHOD | BRINING TIME | RESULTS |
|---|---|---|
| Wet Brine | 15 minutes | Lightly salted flavor, no detectable change in texture. |
| Wet Brine | 30 minutes | Lightly salted flavor, slightly more tender than the 15-min brine, no detectable change in texture. |
| Wet Brine | 1 hour | Perfectly seasoned, juicy, tender, noticeable difference in texture and tenderness. Best option. |
| Wet Brine | 2 hours | On the edge of being overly salty, but not off-putting, especially if it will be served with a sauce or other things. Very juicy and tender. The texture is similar to the 1 hour brine. |
| Wet Brine | 4 hours | This is too salty for me. It might be okay if mixed with mayonnaise for a chicken salad, but in my opinion, it’s too salty to be eaten on its own. The texture is significantly different, more like deli meat. |
| Dry Brine | 1 hour | Didn’t taste very good. |
| Dry Brine | 2 hours | Great flavor and tender. Second best option. |
| Dry Brine | 3 hours | Too salty and not enjoyable. |
How To Cook Chicken Thighs After Brining
After the chicken has been brined, you don’t have to cook it right away. It can be removed from the brine and kept in the refrigerator, covered, for up to three days, or wrapped well and stored in the freezer for up to two months.
When you’re ready to cook, pat the chicken dry but don’t rinse it off. Why not? Rinsing the chicken doesn’t remove any salt from it. All that you really do when rinsing any kind of meat or poultry is increase the amount of bacteria in your sink and kitchen work area. The water bouncing off of the chicken has been shown to cause more bacteria than helping with anything.
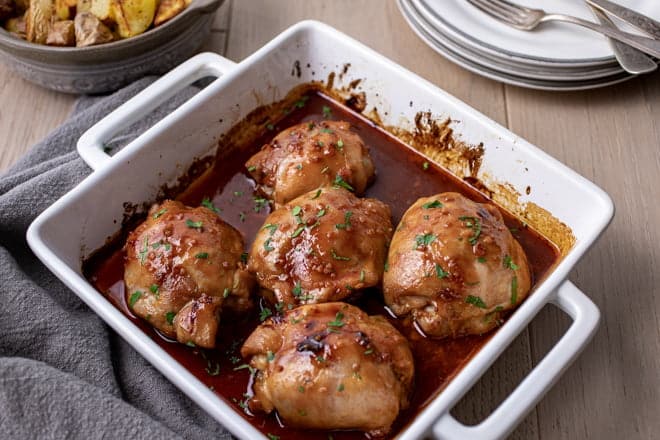
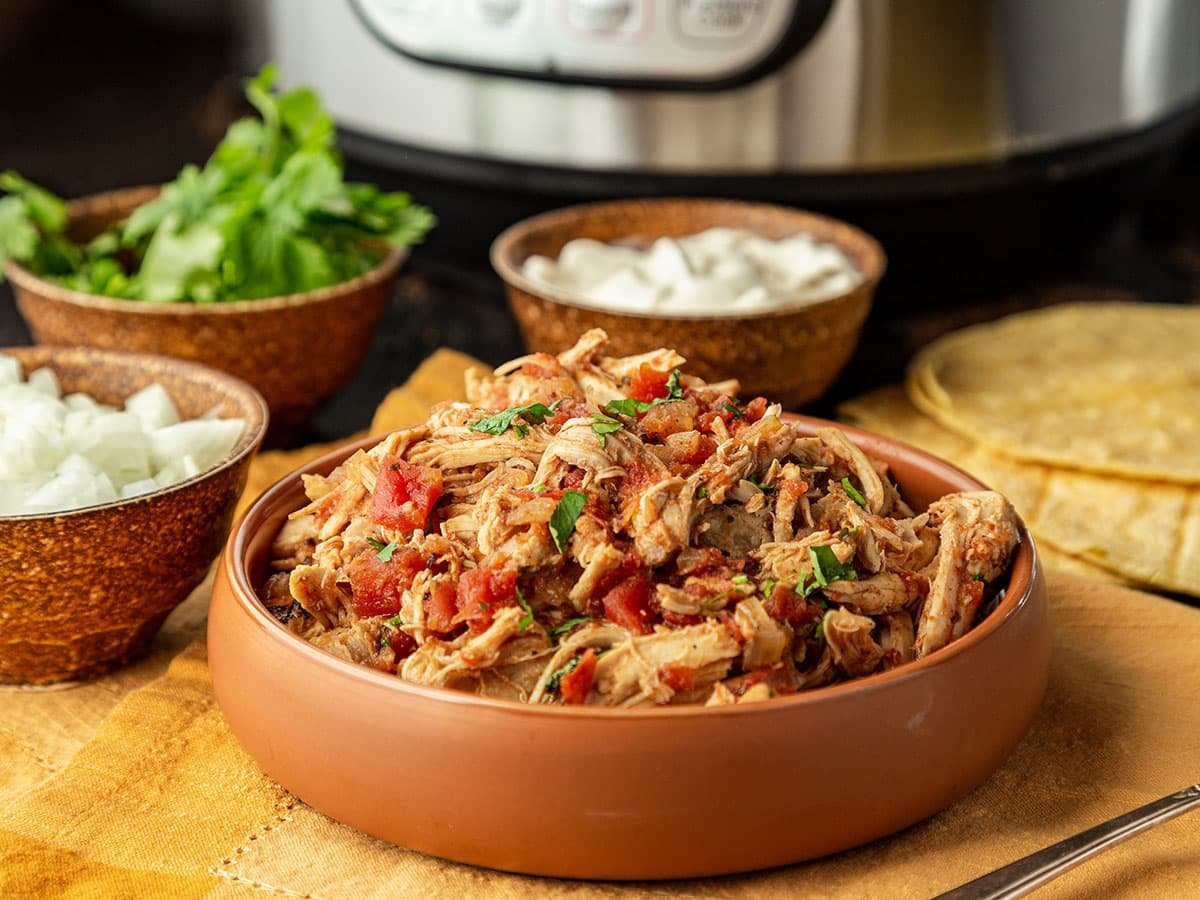
From there, you can bake, grill, or use whatever your favorite method for chicken is. I’ve got instructions for a few different methods for you here:
Remember though, you shouldn’t add any additional salt called for in the recipe since you brined first and the chicken is already well-salted.
I hope you learned a lot about brining chicken thighs and I can’t wait to hear how you enjoy the results. Plus, if you loved learning about my chicken thighs testing, you’ll also enjoy reading about my best brined chicken wings too. Have a great day!
Podcast Episode: Brining Chicken Thighs
Listen to me explain briefly about how to make these brined chicken thighs, along with some other great tips, by clicking the play button below:
Listen to more Recipe of the Day episodes here.
Print
How to Brine Chicken Thighs Recipe
- Prep Time: 5 minutes
- Brine Time: 1 hour
- Cook Time: 0 minutes
- Total Time: 1 hour 5 minutes
- Yield: 4 servings 1x
- Category: Entrée
- Method: Stir
- Cuisine: American
DESCRIPTION
This brine recipe makes enough for 8 chicken thighs, either boneless skinless or bone-in skin-on thighs, about 1.5-2 pounds total.
Ingredients
- 4 cups cold tap water
- 4 and 1/2 Tbsp. Morton’s kosher salt*
- 1 Tbsp. garlic granules (optional)
- 8 chicken thighs
Instructions
- In a medium-sized bowl stir together water and salt until salt is dissolved.
- If you are planning to brine for over 45 minutes, stir in the garlic granules (otherwise the flavor won’t penetrate).
- Add the chicken thighs. Make sure they’re all submerged. If not, use a narrower bowl or a zipper bag, or mix up additional brine solution.
- If brining chicken for more than 30 minutes, transfer brine and chicken to refrigerator. If brining for under 30 minutes, leave on counter.
- Allow chicken to sit in brine for 15 minutes to 2 hours. See chart above to determine optimum time. My preference is 1 hour.
- Remove chicken from brine. Discard brine. Pat chicken dry with paper towels.
- Cook chicken immediately, or refrigerate covered for 3 days, or wrap well for the freezer and freeze for up to 2 months, and then cook.
Love this recipe? I’d appreciate it if you could scroll down and add a *5 star rating* to help others know they’ll love it as well!
Notes
*Different kinds of salt have different sized crystals so you need different amounts depending on the type. Use 6 tablespoons of Diamond Crystal kosher salt, OR 4 and 1/2 tablespoons of Morton’s kosher salt, OR 3 tablespoons of fine or table salt.


Leave a Reply