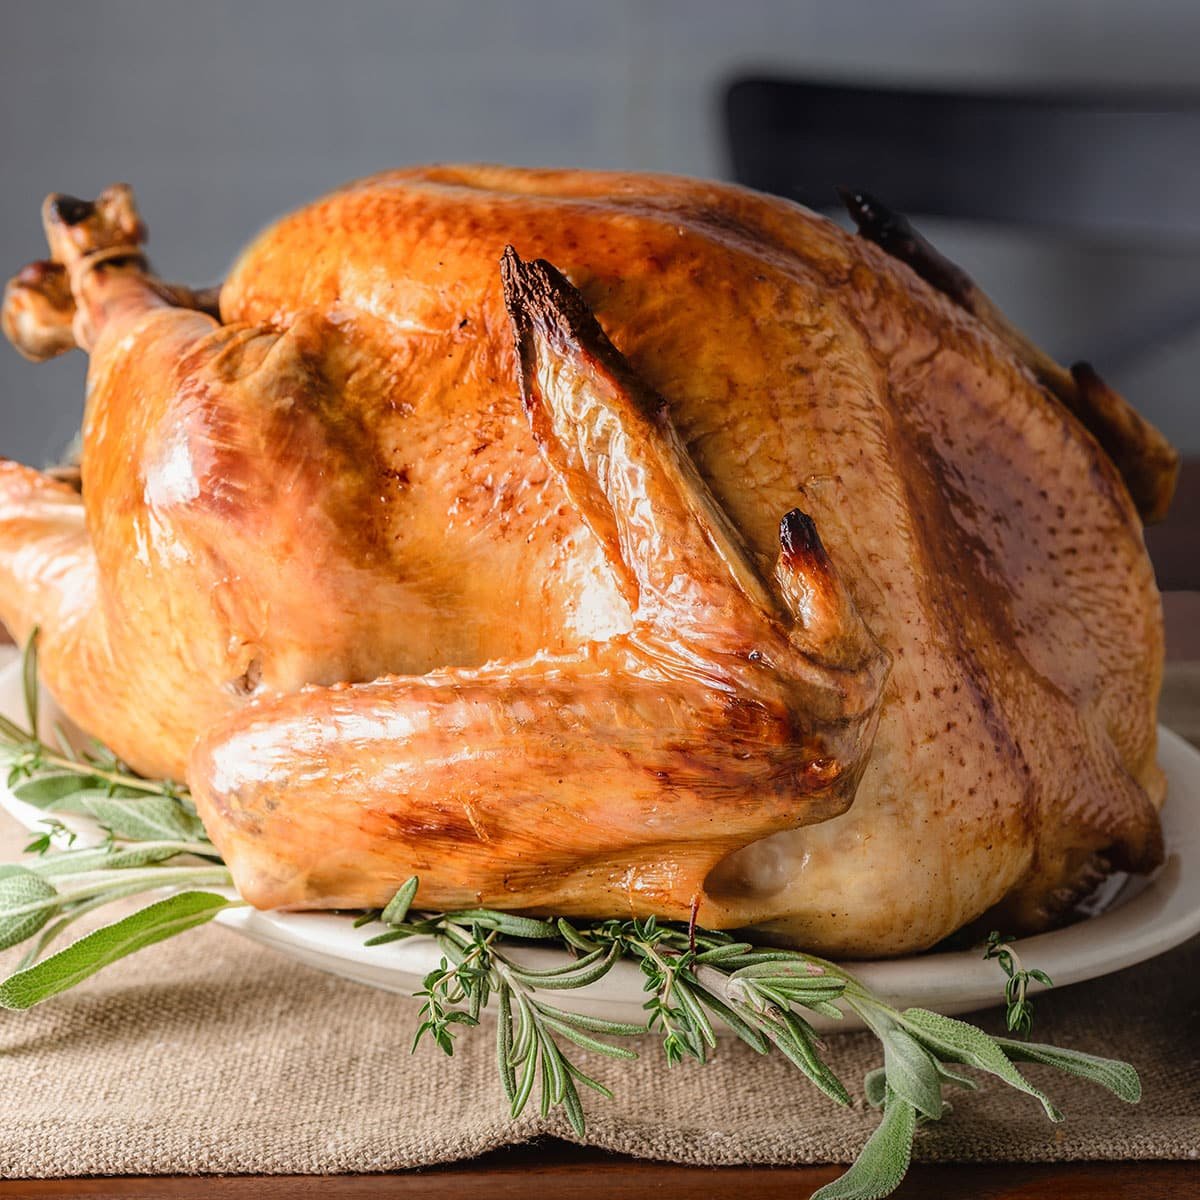
Try a dry brine for your Thanksgiving turkey! It adds flavor and moisture, plus gives you wonderfully crispy skin.
Not sure how to handle the turkey this year? Why not add flavor with a dry brine? There are lots of benefits and it’s so easy to do!
About Brining Poultry
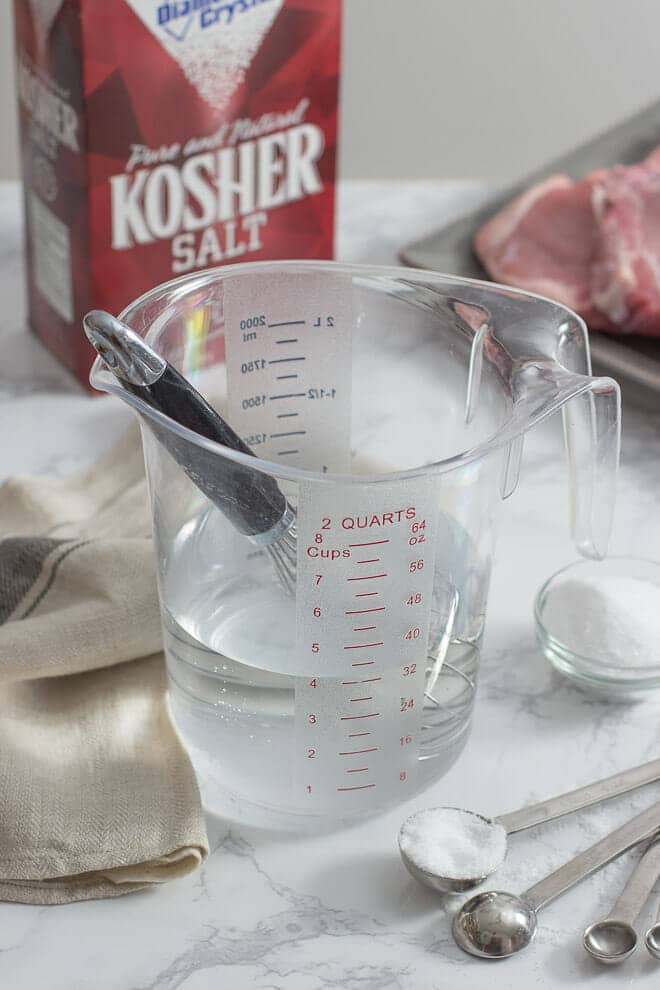
First of all, let’s talk about what a brine is. A brine is typically a mixture of salt and water that is used to infuse meat and poultry with flavor while also helping it to absorb more moisture. This is my basic brine recipe and how to use it.
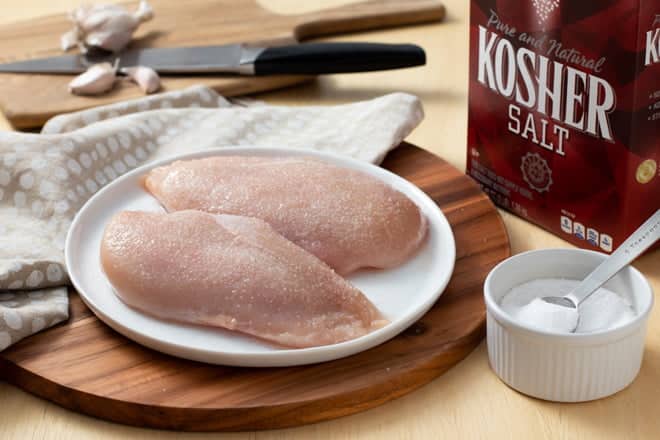
You might know that over the past few years I’ve become obsessed with brining and have become somewhat of an expert at it. In particular, I spent a good deal of time experimenting with chicken breasts to find the best way to brine them, and for the least amount of time, to get juicy chicken breasts, even on a weeknight. The results are, to summarize, that cold water works better than warm water, and that 45 minutes is the sweet spot for a wet brine on chicken breasts.
So now, I’ve turned to turkeys and I’m on a similar mission, to find out how to brine them in the most efficient way that yields delicious results. Our goal is to have juicy, flavorful turkey meat, with as little time and effort as possible.
To that end, I have developed an amazing wet brine for turkeys. It’s the easiest, most flavorful turkey brine out there, hands down. Why is that? You see, usually turkey brines involve boiling water with aromatics to infuse it all with flavor. Then you add the salt, and then you have to cool it down before adding the turkey. My brine instead has you put cold water, salt, and aromatics in the food processor to create an extra-flavorful slurry. It’s ready in moments and it adds an incredible amount of flavor to the turkey. You’ve gotta check that out.
Now, while I do think that that is the best brine out there, wet-brining a turkey with any brine does have some drawbacks. It can be a challenge to keep all that brine and a large turkey cold for long enough for the brine to have an effect. That’s why I highly recommend brining turkey pieces like this, instead of a whole turkey. And it’s also why I am recommending that you try dry-brining, which is what we’re going to talk about now.
What Is Dry-Brining?
A dry brine combines salt, herbs, and spices that are rubbed over the turkey before it’s cooked. Over time, the salt penetrates deep into the turkey muscles, loosening the fibers to keep the turkey moist, tender, and well-seasoned.
Although the herbs and spices aren’t necessarily carried through the muscle with the salt, they beautifully flavor the skin and create intensely-flavored pan drippings for turkey gravy. You can learn more about how a dry brine works here.
Benefits Of Dry-Brining
Crispy skin. Dry brining and wet brining in liquid can both result in a moist, tender turkey. But dry brining wins, hands down, when it comes to crispy skin. Dry brining takes a day or two to work its magic, but the crispy skin is well worth the wait.
No cooler needed. With a standard wet brine, the meat needs to be submerged in the salt water mixture. For a whole turkey, that usually means the fridge is out and you need to keep an eye on a cooler of ice water. With a dry brine, the turkey can be uncovered in the fridge which makes things easier.
Ready in advance. Because you can get it prepped up to 48 hours in advance, it can help spread out all the work over Thanksgiving week.
How To Dry Brine A Turkey
First, it’s important to choose a turkey that has not been previously brined or pre-seasoned. Avoid purchasing anything labeled “kosher,” “enhanced,” or “self-basting turkeys,” which are typically already brined or seasoned before packaging.
If it’s frozen, thaw the turkey completely in the refrigerator (or following the package instructions), which can take about three days. Then transfer the fully thawed turkey to a roasting rack placed inside a large roasting pan, like this one.
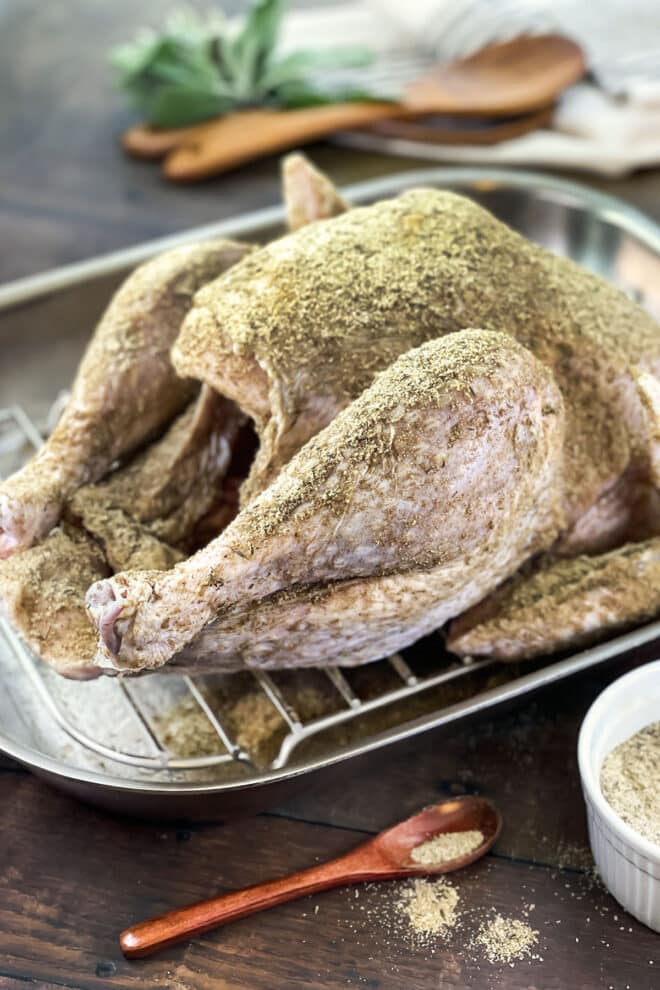
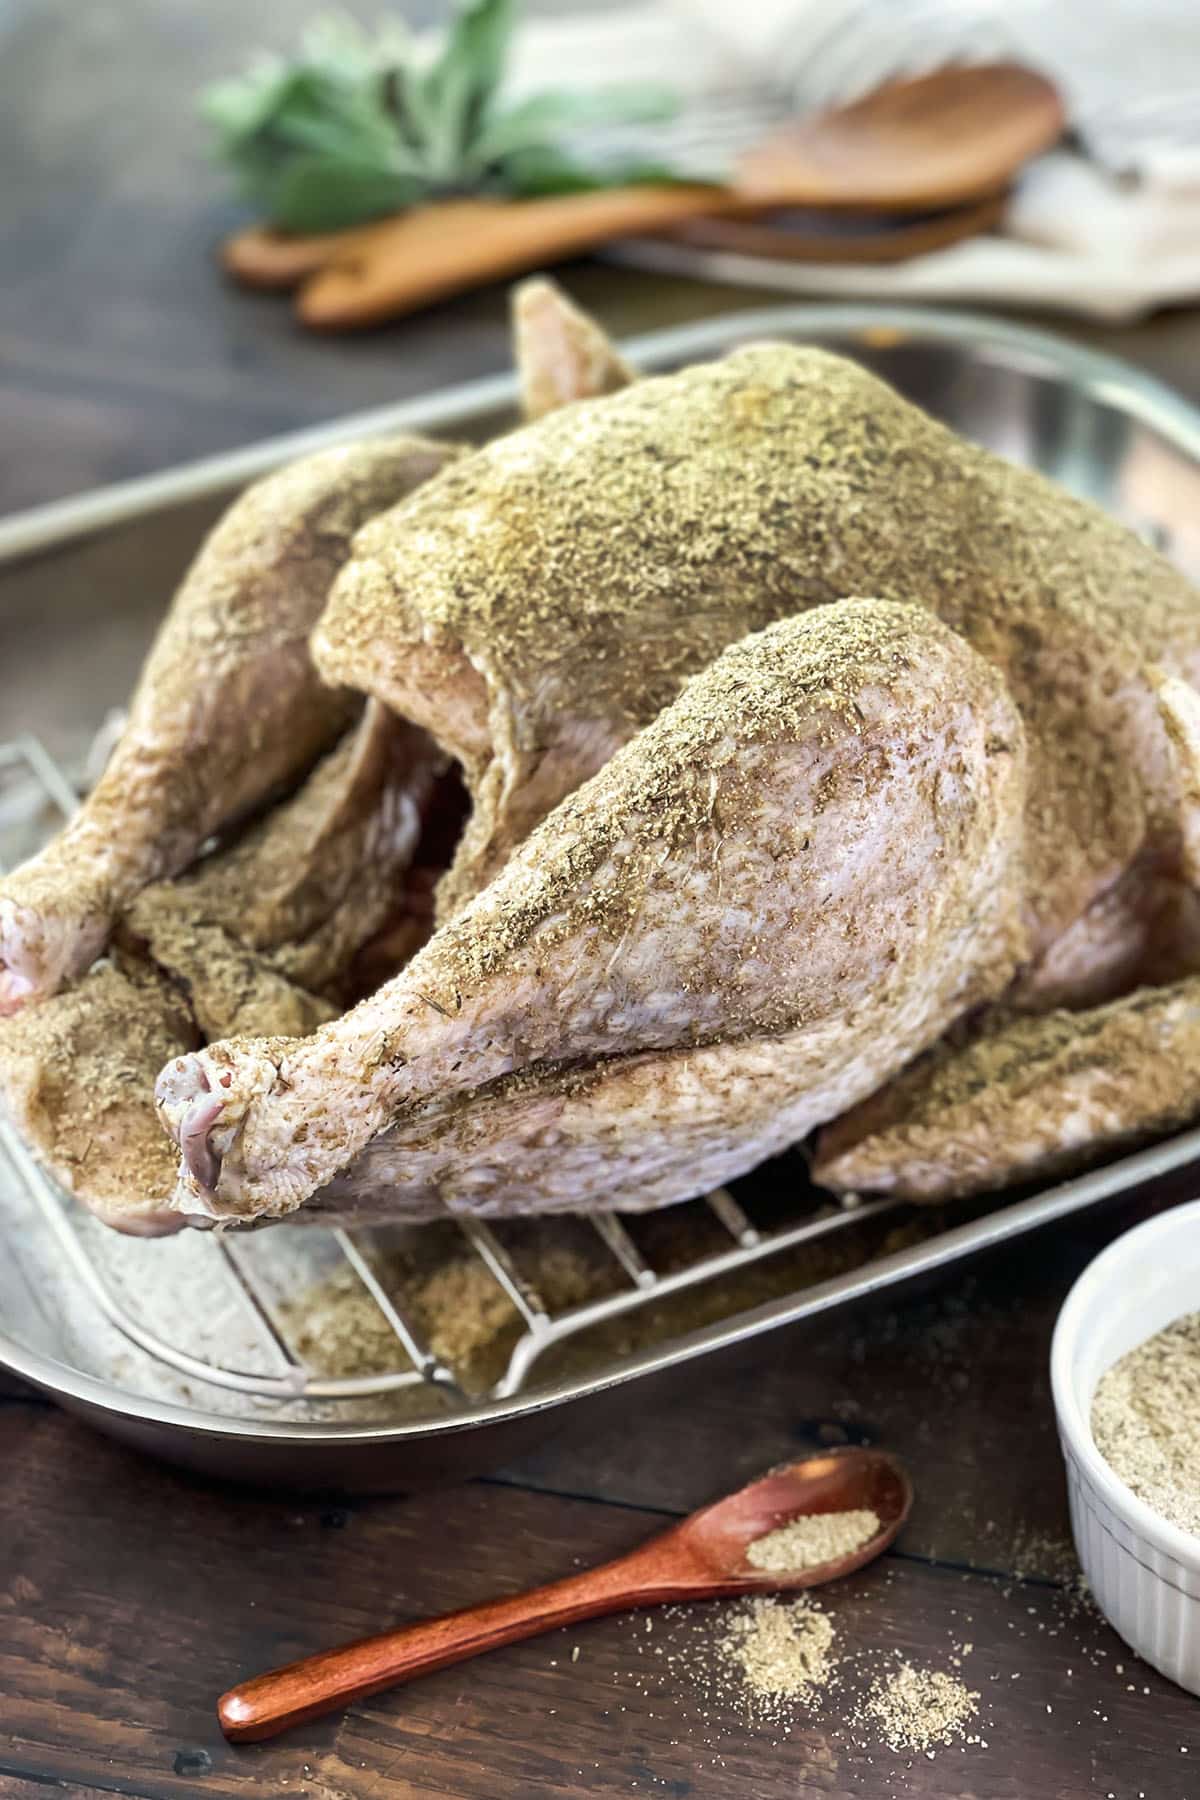
To make the dry brine, combine the kosher salt, onion powder, sage, thyme, garlic powder, and rosemary in a medium bowl until well-mixed. The dry brine should be distributed evenly, all over the bird, in every nook and cranny, even inside the cavity.
Note that dried herbs work much better here than fresh do. Also, you can skip the individual herbs and use poultry seasoning. You’ll need about 4 ounces of an unsalted seasoning blend, to which you’ll add the ¼ cup of kosher salt called for in the recipe. You can also make your own homemade poultry or homemade turkey seasoning.
I like to divide the mixture in half and season one half of the turkey at a time, which helps me not to over-season one part and skimp on another. I also like to reserve some of the salt mixture to place under the skin of the breast and inside the cavity.
When the entire turkey has been well covered in the dry brine, transfer the roasting pan with the turkey into the refrigerator. Let this rest in the fridge uncovered for 24 to 48 hours prior to cooking.
During this time, the turkey skin will begin to dry (which is what will create the extra crispy skin), and the salt will begin to penetrate deep into the turkey muscles.
After the turkey has brined for a day or two, let it sit at room temperature for about an hour. Then it’s ready to cook. This technique works well with turkey pieces, and chicken, too.
Do You Rinse Off Turkey?
You actually should never rinse off a turkey, or any kind of meat or poultry. The reason is that the water bounces off of the raw turkey in a fine mist that you can’t even see and potentially contaminates surfaces in your kitchen. So you’re not going to do that.
You might also be wondering if you should wipe off the dry brine before cooking it. I know the picture at the top of this page looks like there’s a lot of seasoning on there and that you would for sure want to wipe it off. However, that picture was taken mid-process and once you rub the seasoning in all over, and once it sits on the turkey for a long time, it is the thinnest of layers. Leave it on there to further season the turkey. It’s going to be delicious, trust me.
The only real issue with that seasoning on there has to do with the salt getting into your drippings which you might want to use to make gravy. I’ll explain what to do about that below.
Cooking The Turkey
After dry brining, you can cook the turkey with your favorite method and recipe. I like to roast my turkey with these instructions. But if you’d just like a quick guide, here’s what you need to know:
Generally, you’re looking at 13 minutes in the oven at 350°F per pound of turkey. For a 12 pound bird, that’s a little over 2 and 1/2 hours. An instant-read thermometer should get a reading of at least 165F from the middle of the breast and the middle of the thigh, don’t touch the bone with the thermometer. If the turkey skin gets too brown before it’s ready, you can tent it with foil. And then, I love to serve it with this delicious compound butter for turkey.
Making Gravy For Brined Turkey
Sometimes the pan drippings from a wet-brined or dry-brined turkey can be too salty. The best thing to do is to have some unsalted chicken stock on hand in case your drippings aren’t usable.
If your drippings taste fine, then you can make gravy the usual way, like in this gravy recipe. If your drippings are too salty, you can make gravy without drippings using the chicken stock. Since the chicken stock isn’t salted, you then can add some of your salty turkey drippings to your gravy as seasoning. Just note that if you’re going to be simmering your gravy for awhile, the salt will concentrate and you may need to add water to get it back to the original flavor. I can’t wait for you to try dry-brining a turkey. If you do, let me know what you think in the comments below. Enjoy!
Podcast Episode: Dry Brining Turkey
Listen to learn how to make this recipe, along with some great tips from Christine, by clicking the play button below:
Listen to more Recipe of the Day episodes here.
Print
How to Dry Brine a Turkey Recipe
- Prep Time: 15 minutes
- Rest Time: 48 hours
- Cook Time: 0 minutes
- Total Time: 48 hours 15 minutes
- Yield: About 6 oz. 1x
- Category: Spice Blend
- Method: Brine
- Cuisine: American
DESCRIPTION
Try a dry brine for your Thanksgiving turkey! It adds flavor and moisture, plus gives you wonderfully crispy skin.
Ingredients
- 1/4 cup kosher salt
- 2 Tbsp. onion powder
- 2 Tbsp. dried sage
- 1 Tbsp. dried thyme
- 1 Tbsp. garlic powder
- 1 Tbsp. ground rosemary
- 1 (10-12 lb.) whole turkey*, thawed
Instructions
- In a medium bowl whisk together kosher salt, onion powder, sage, thyme, garlic powder, and rosemary until well combined.
- Place turkey on rack in roasting pan. Rub salt mixture all over turkey, including inside the cavity.
- Refrigerate, uncovered, for 24 to 48 hours.
- Proceed to cook your turkey with your favorite recipe.
Love this recipe? I’d appreciate it if you could scroll down and add a *5 star rating* to help others know they’ll love it as well!
Notes
*Avoid purchasing a turkey labeled “kosher,” “enhanced,” or “self-basting,” which are typically already brined before packaging.



Leave a Reply