Learn about quinoa and get instructions for how to get fluffy, perfectly cooked quinoa on the stovetop.
I’m sure you’ve heard of quinoa but have you tried to cook it at home? This pseudo-grain is full of fiber and protein and can be used in so many ways. Try it as a rice substitute, in soups and salads, or in veggie burgers.
Scroll down to read more about how it all comes together or click here to jump straight down to the recipe.
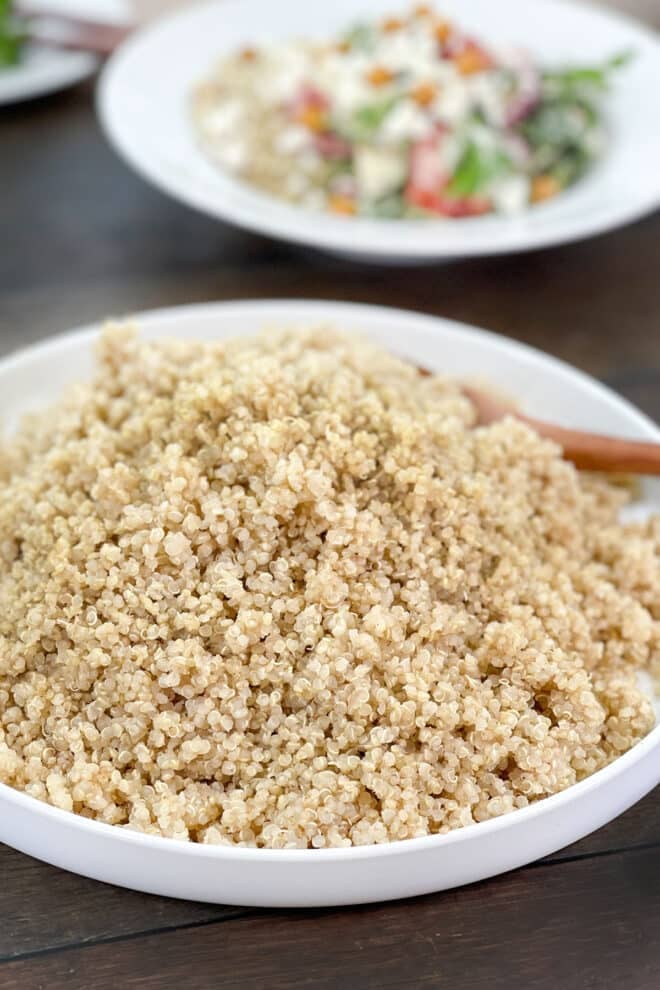
What Is Quinoa, Anyways?
Quinoa (pronounced keen-wah) is a gluten-free seed from the grassy Chenopodium quinoa plant. Although it’s considered to be a whole grain, it’s classified as a “pseudo grain,” meaning that it’s not truly a whole grain, but acts like one.
Quinoa gained popularity due to its plant-based protein content. Although significantly lower than the same amount of animal protein, it contains all nine of the essential amino acids that our bodies require to maintain good health.
Quinoa is available in grocery store aisles where rice and stuffings are sold. It comes in a variety of colors, like white, yellow, red, black, and purple. Sometimes you’ll find a mix of different colors in one package. Each tastes and cooks slightly differently, with the darker colors providing more of a chewy, firmer texture than the white or yellow varieties.
The flavor is sometimes nutty, mild, and distinct, meaning it doesn’t really taste like any other grain you may have tried. The word “bitter,” might also be used to describe quinoa, which happens when it’s not rinsed well before cooking.
Should I Rinse Quinoa?
Yes. As with other seed/grains like millet, quinoa contains a bitter natural coating, called saponin, which should be rinsed off before cooking to prevent the entire batch of cooked quinoa from tasting too bitter.
Quinoa will always have a slightly bitter taste, similar to the type of bitterness that spinach or greens have, but it should only be mild. If you’ve tried rinsing before and still taste a strong bitterness, you may not be rinsing the quinoa well enough or long enough.
How Long To Rinse It?
When testing this recipe, I tried a quick rinse, about 30 seconds, a two-minute rinse suggested by The Kitchn, and a five-minute rinse. After cooking, I found the 30-second and two-minute rinses to be slightly more bitter than the five-minute rinse. And the rinse should not be gentle.
How To Rinse It
Using a fine mesh strainer, or a colander lined with cheesecloth or a cloth-like, sturdy paper towel add the quinoa and run it under cold water for at least five minutes. Rub it with your fingers every now and then to help remove the bitter coating. The stream of water should be as strong as you can make it. I like to use the spray nozzle on my faucet, which produces a much stronger stream of water.
You’ll see the quinoa change from chalky-looking and dry to shiny and wet, to saturated.
How To Toast Quinoa Before Cooking
Quinoa is nutty tasting on its own, but to enhance this, toasting the quinoa before cooking can draw out more of a deep nutty flavor. However, it’s hard to toast a soaking wet grain after it’s been thoroughly rinsed. Most recipes suggest rinsing and then going straight to a pan with oil, but I found the quinoa to be quite oily afterward. The water repels the fat and so the oil never quite incorporates into the grain the way it should.
You could dry the rinsed quinoa on the counter, which can take several hours. Or it can go into a low-temp oven for a while. You could also purchase “sprouted” quinoa, a process where the quinoa is soaked and germinated, then dried and packaged, and doesn’t require rinsing.
The quickest and easiest option though is to dry-toast the quinoa in a saucepan without oil. After the quinoa has been well rinsed, add it directly to the saucepan, without any fat, and allow the heat of the pan to evaporate the water. Stir this frequently, and as the water evaporates, the quinoa will begin to toast. At first, it will stick to the bottom of the pan a little but will release itself as you continue to stir. When you hear the quinoa begin to pop like popcorn, it will be perfectly toasted. Now it’s time for the cooking liquid.
Tips For Cooking Quinoa
Vegetable broth, chicken or beef broth, or water can be used as the cooking liquid. I’m a big fan of adding flavor wherever I can in a recipe, so I always opt for broth instead of water. The salt and seasonings go into the pan at this time as well.
From this point, the quinoa just needs to come to a rolling boil and then vigorously simmer for a good 12 to 15 minutes, depending on how you like your quinoa. For quinoa that’s a little toothy and al-dente, remove the pan from the heat at the 12-minute mark. If you like soft and fluffy quinoa, like I do, let it simmer for the full 15 minutes. If you’re ever in doubt about whether the quinoa is fully cooked, look for little white rings.
You’ll notice a tiny white ring around each grain of quinoa, which is the germ of the seed where most of the important nutrients are found. Unlike rice or wheat whose germ is on the inside, quinoa’s germ is on the outside. As the quinoa cooks, the germ separates from the seed. When you see a majority of the rings have separated, it’s an indication that the quinoa is fully cooked.
As the quinoa is cooking and the liquid is being absorbed, it will go through several stages of what I call “thickness.” It starts out very watery, and as it cooks, the liquid becomes thicker and the quinoa becomes plumper. Toward the end of the 15-minute cook time, there shouldn’t be any liquid left in the pan. The quinoa should start to sound like it’s drying on the bottom of pan and might even stick a little bit. Once this happens, cover the pan and remove it from the heat. Let the quinoa sit, covered, for at least 10 minutes to finish absorbing any residual moisture.
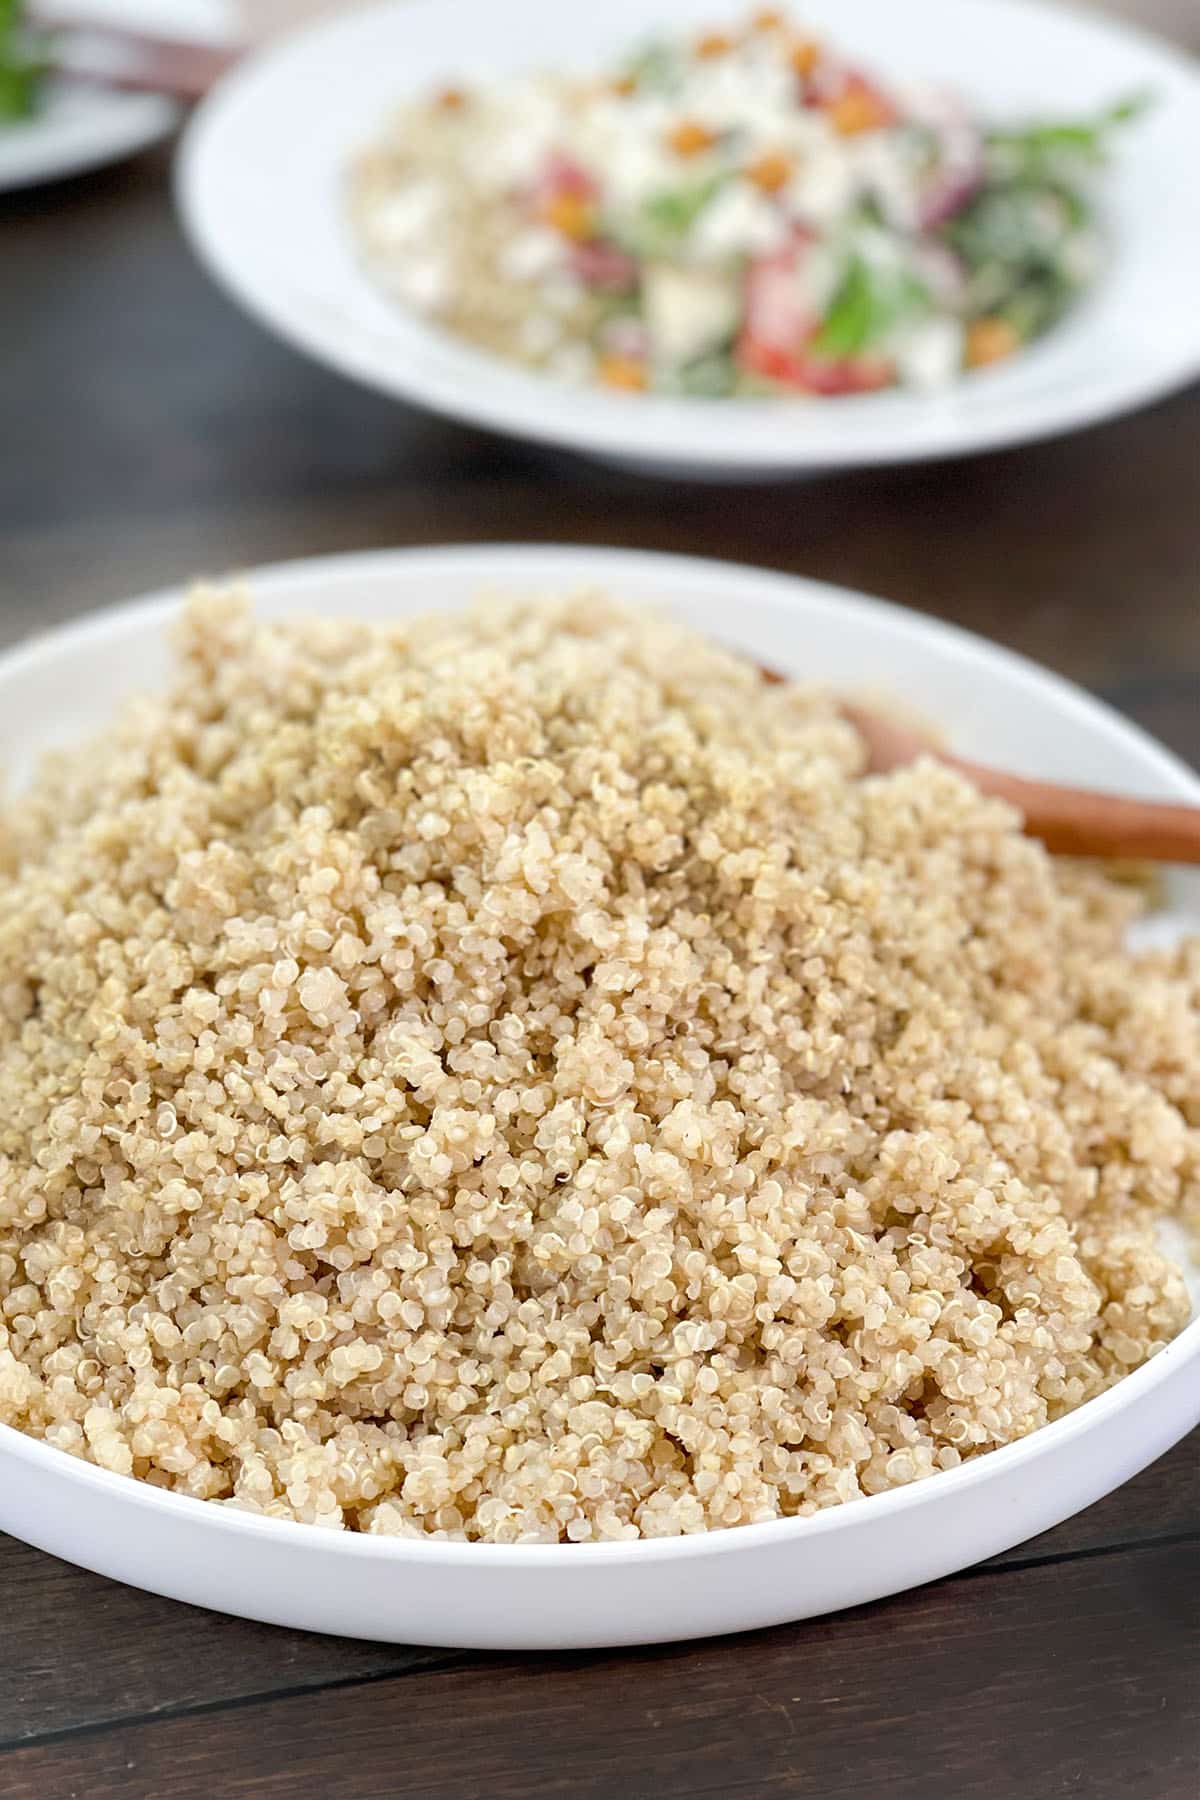
Finally, uncover the quinoa and fluff it with a fork. Enjoy your quinoa as a side dish or in salads, like my Quinoa Salad with Lemon Hummus Dressing. It’s also a great base for veggie burgers and stuffing.
Store cooked quinoa in the refrigerator, in an air-tight container, for up to 5 days.
More Quinoa and Grainy Recipes
If you’re like me, you’re always looking for healthy side dish recipes. I’m linking to a few of my favorites below, and you should definitely go and browse through all of my side dish recipes over here.
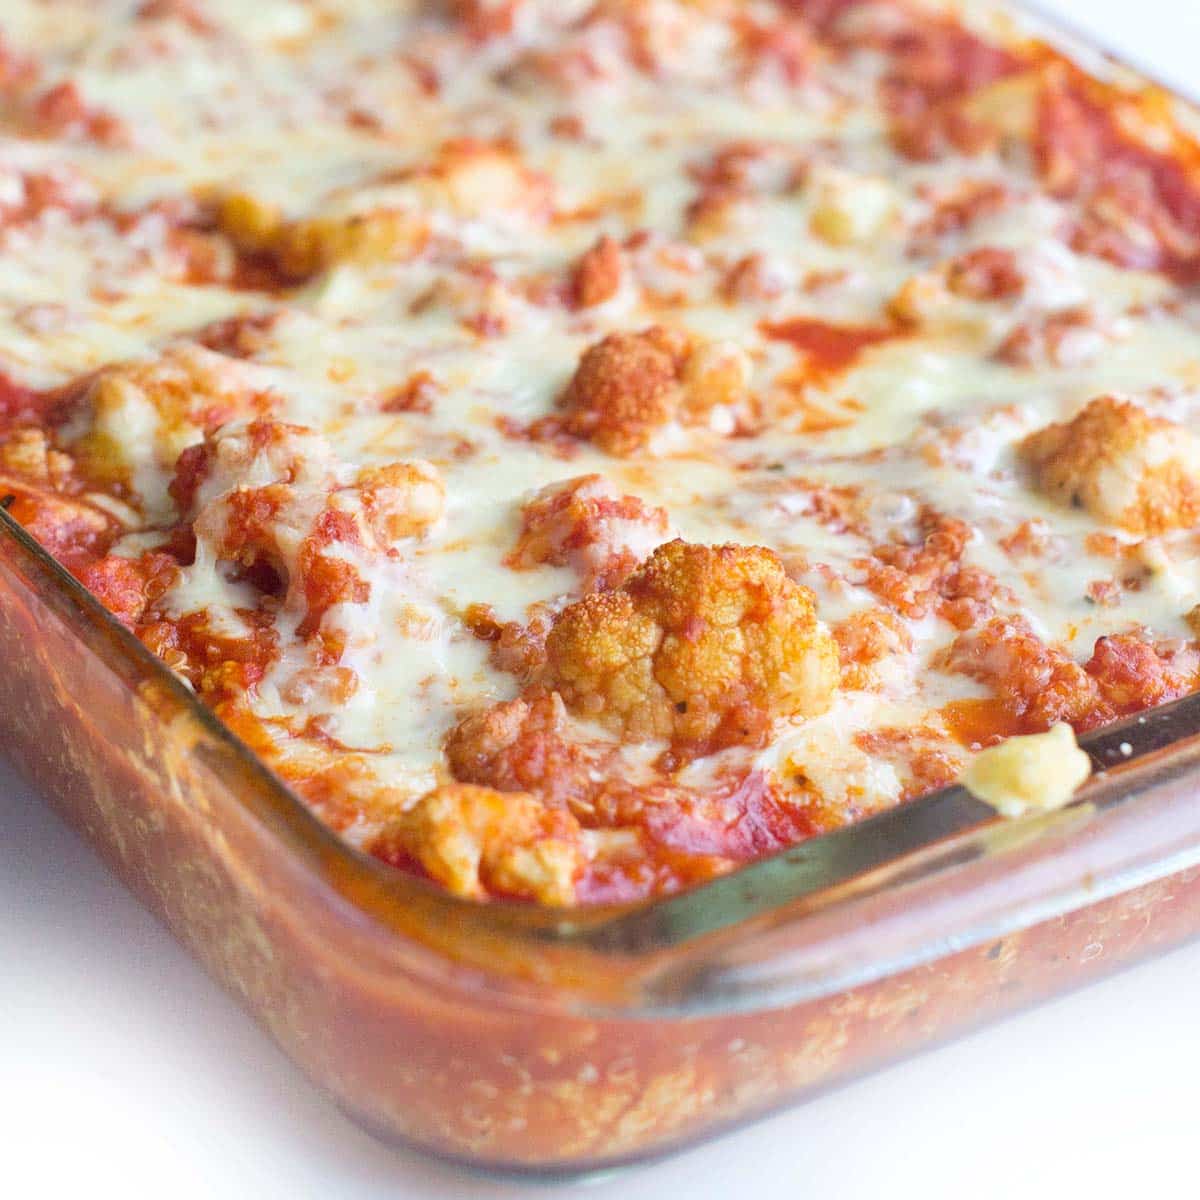
- Cauliflower and Quinoa Bake
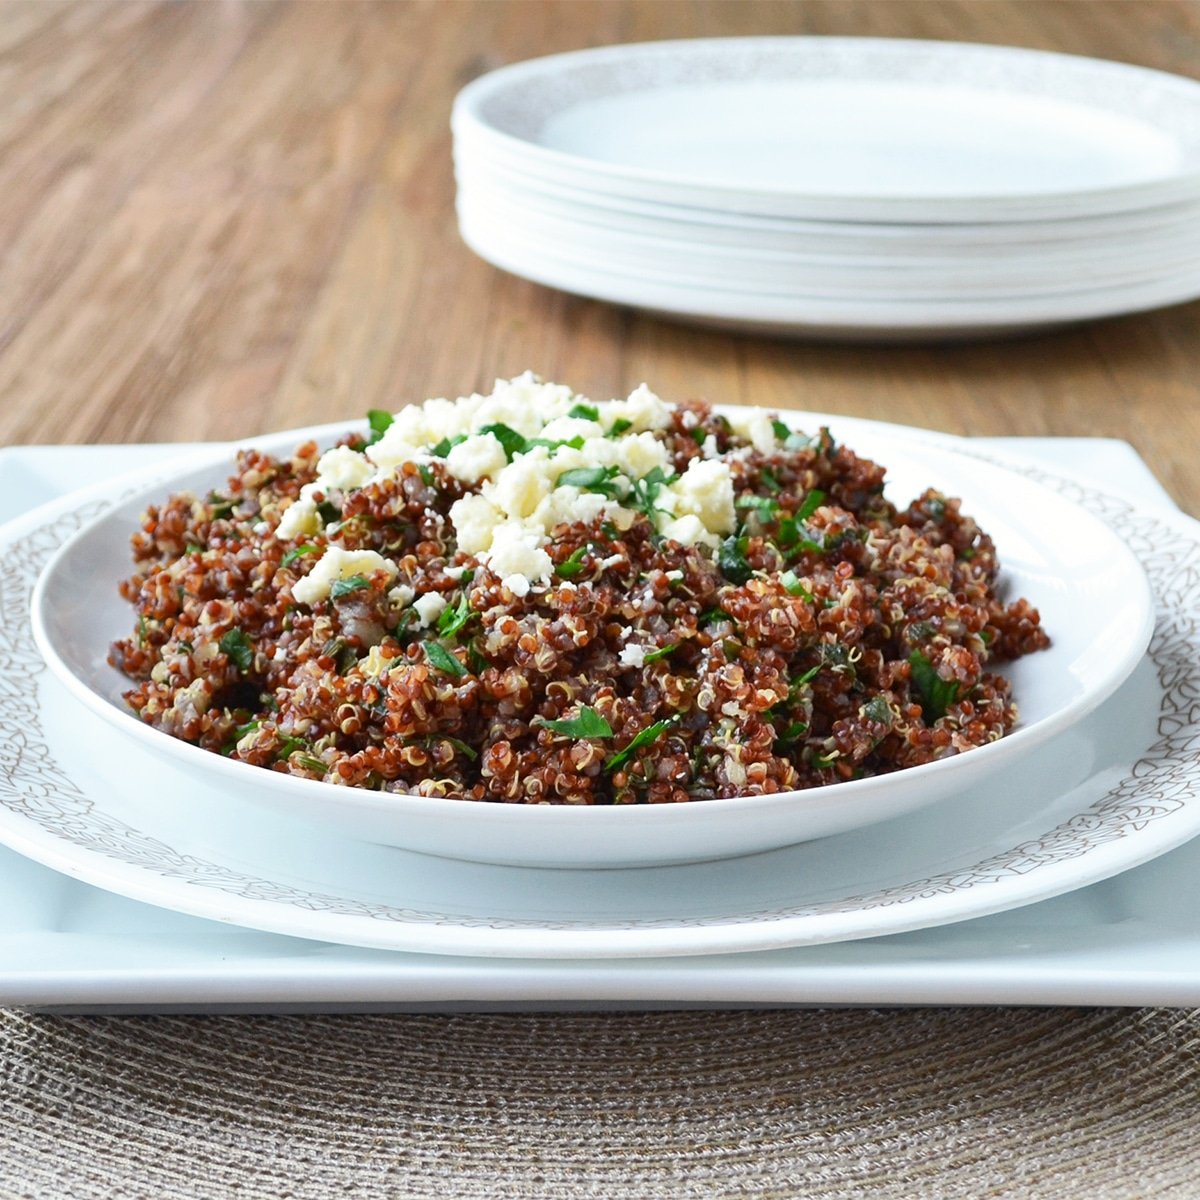
- Quinoa and Feta Side Dish
- Quinoa Salad Bowl
- How to Cook Farro
- Beef and Farro Soup
- Creamy Farro Side Dish
- Instant Pot Rice
Podcast Episode On Cooking Quinoa
Listen to me explain briefly about how to make this quinoa, with some great tips along the way, by clicking the play button below:
Listen to more Recipe of the Day episodes here.
Print
How to Cook Quinoa on the Stove (Recipe)
- Prep Time: 10 minutes
- Rest Time: 10 minutes
- Cook Time: 15 minutes
- Total Time: 35 minutes
- Yield: 3 cups 1x
- Category: Side Dish
- Method: Stovetop
- Cuisine: American
DESCRIPTION
You can find my advice for rinsing quinoa in the post above.
From here, quinoa can be enjoyed in so many different dishes. Enjoy! -Christine xo
Ingredients
- 1 cup dry quinoa, rinsed well
- 2 cup vegetable broth, chicken broth, or water
- 1 tsp. salt
- 2 tsp. garlic or onion powder
Instructions
- In a dry, medium saucepan add rinsed quinoa. Toast, stirring frequently, over medium-high heat until water has evaporated and quinoa begins to crackle and pop, about 5 minutes.
- Add broth, salt, and garlic powder. Bring to boiling, reduce to a simmer.
- Cook, stirring occasionally, 15 minutes* or until quinoa has absorbed all of the water, just begins to stick to pan, and bottom of pan is dry.
- Remove from heat. Cover pan, let stand 10 minutes.
- Uncover pan, fluff quinoa with fork. Serve immediately or store in the refrigerator, covered, up to 5 days.
Love this recipe? I’d appreciate it if you could scroll down and add a *5 star rating* to help others know they’ll love it as well!
Notes
*For a firmer, al dente quinoa, cook for 12 minutes.



Exactly what I needed! Worked great.