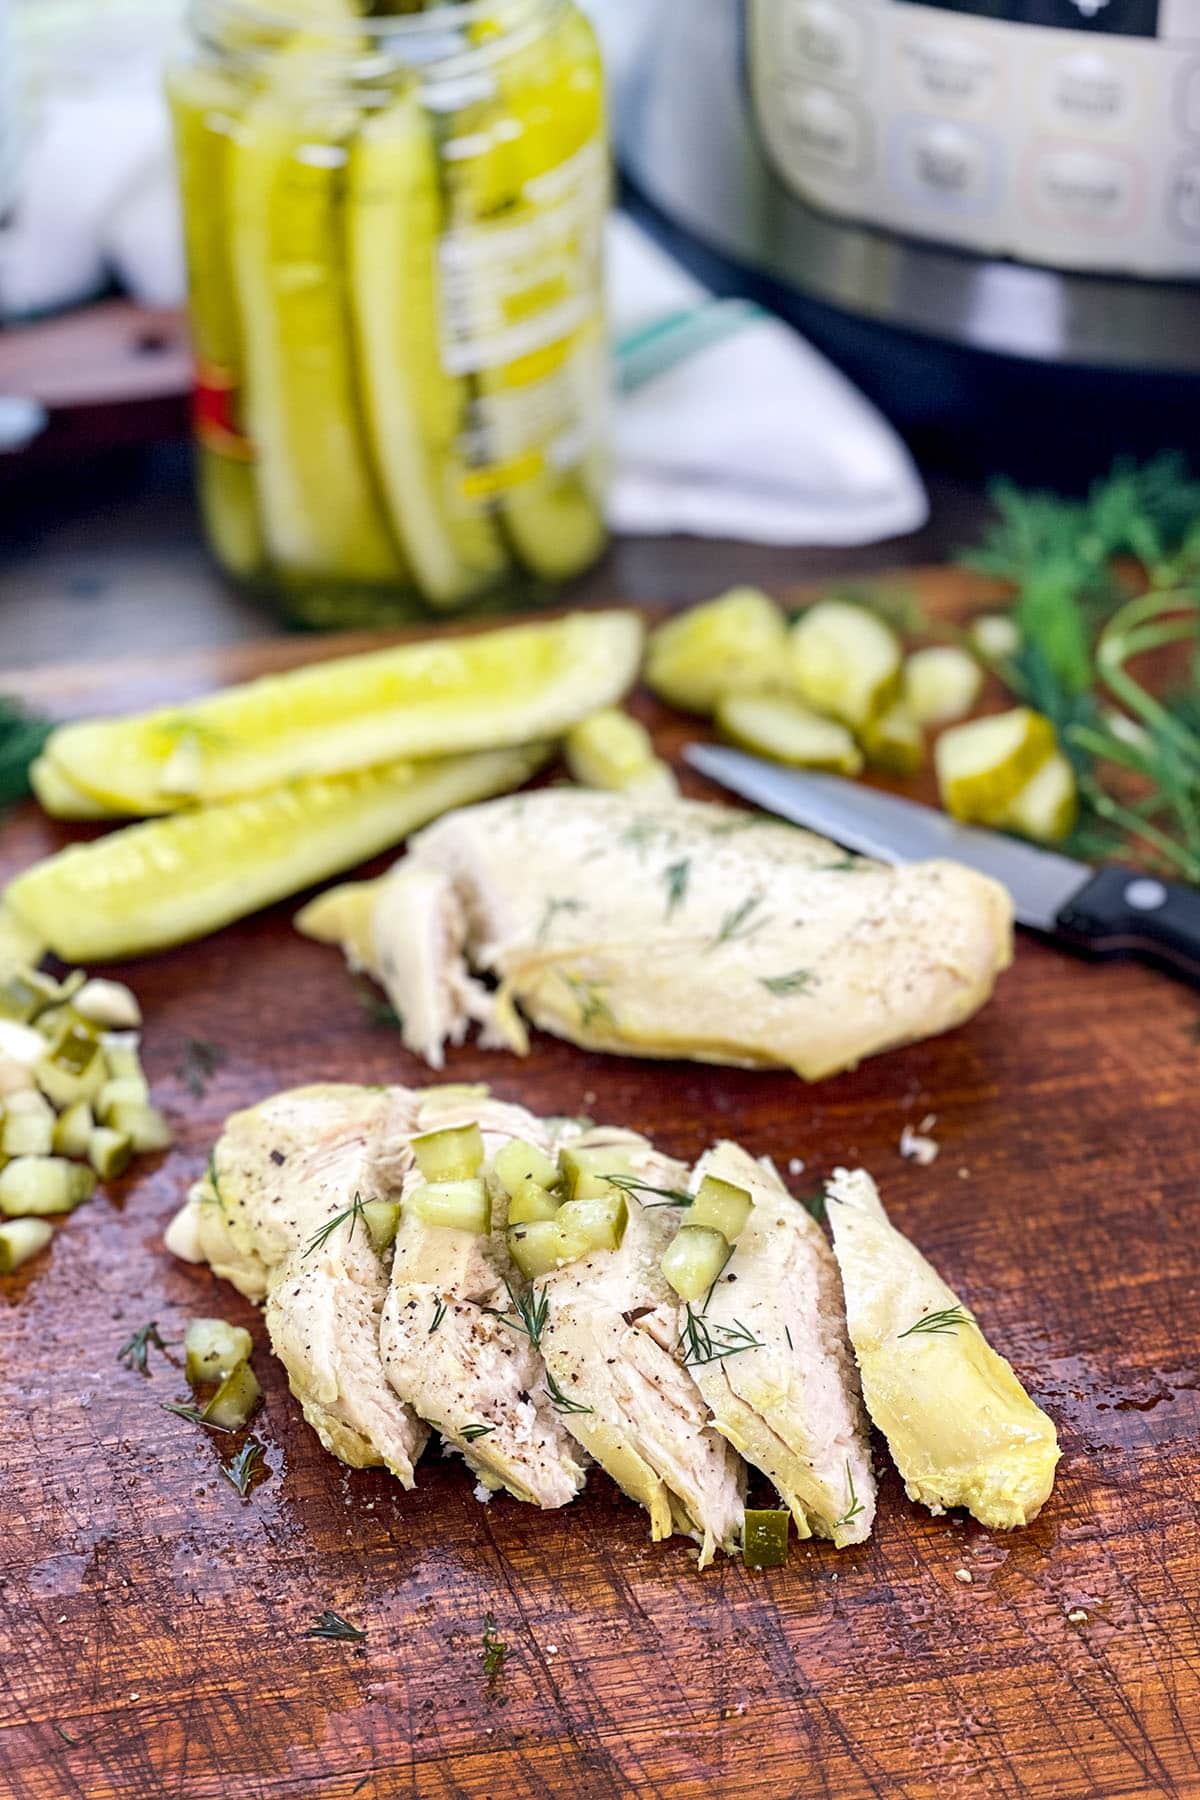
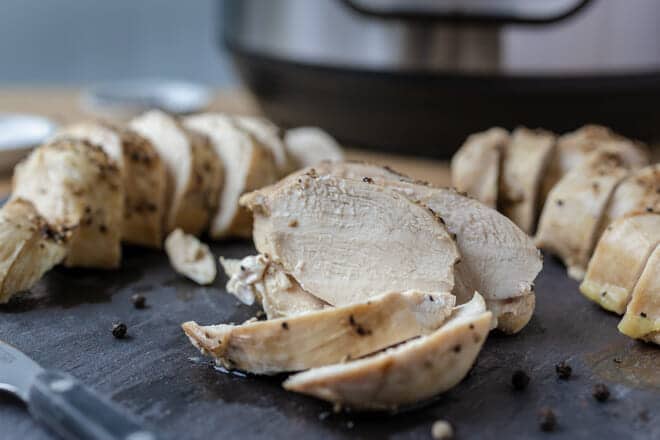
Dill Pickle Chicken Breasts? You heard right! Tender chicken made in the pressure cooker, full of tasty pickle flavor.
Dill Pickle Chicken and using pickle juice as a brine isn’t a totally new idea. But when I looked for a recipe, I saw lots that basically had you dumping out a new jar of pickles into and around a whole chicken. Now, I don’t always have or want to cook an entire chicken, but boneless skinless chicken breasts are a staple.
So, here’s what I came up with. Five ingredients and the Instant Pot is all you need.
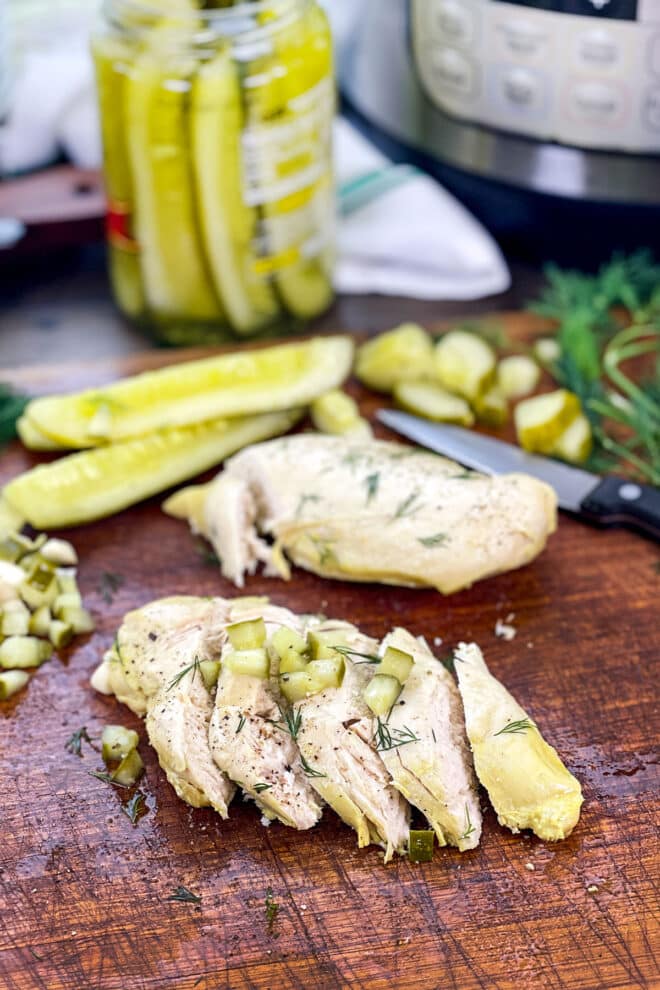
Why Brine With Pickle Juice?
Dill pickle juice makes an excellent brine for chicken with the perfect blend of vinegar, garlic, dill, and spices already in the jar. I added more garlic, salt, and fresh dill to amp up the fresh flavor.
The brining can take place directly in the Instant Pot before being cooked, so there’s no need to brine in a separate container. This Pickle Juice Chicken can all be made directly in the Instant Pot.
How Long Can Pickle Juice Be Saved?
Pickle juice can be saved in the freezer for an indefinite amount of time, however using it within six months is best to prevent odors from the freezer transferring to the liquid over time. This recipe uses 1 and ½ cups, which will be about the equivalent of the liquid from two (24 oz.) jars of pickle slices or spears.
If using the pickle juice from new jars and don’t think you’ll use up all of the pickles, the pickles can be stored, tightly covered, in the refrigerator up to 5 days without the brine, or in salt water up to 7 days.
Sometimes when I make this recipe using new jars of pickles, I add the entire jar, brine and pickles, to the Instant Pot, and use the pickles as a garnish.
Making Instant Pot Dill Pickle Chicken Breasts
To make the Pickle Brined Chicken Breasts, add your ingredients to the inner pot of the Instant Pot. That’s the chicken breasts, pickle juice, salt, garlic, and 1 tablespoon of the fresh dill. I prefer fresh dill in this recipe, but dried works just as well if it’s all you have on hand. The same amount of fresh called for in the recipe can be substituted with dried dill.
Let this brine for about ten minutes, turning the chicken halfway through. The chicken can brine for up to one hour, but anything longer than the ten minutes should be done in the refrigerator for food safety reasons. Brining for longer than two hours could produce a chicken breast that’s too salty. So keep an eye on the brine time!
Place the lid on the Instant Pot and lock it in place. Set the valve to Sealing, select the Pressure Cook button, and set the timer for 7 minutes. After the cook time is complete, immediately switch the valve to Venting to quick release the pressure. Remove lid and transfer chicken to a serving plate.
Garnish with remaining tablespoon of fresh dill and pickles, either chopped, sliced, or whole. The cooking liquid can be strained and saved for dipping, too.
Want more pickle chicken goodness? Try this Pickle Fried Chicken, perfect for a chicken sandwich.
Podcast Episode: Making Dill Pickle Chicken
Listen to me explain briefly about how to make this chicken, with some great tips along the way, by clicking the play button below:
Listen to more Recipe of the Day episodes here.
Print
Instant Pot Dill Pickle Chicken Breasts Recipe
- Prep Time: 13 minutes
- Cook Time: 22 minutes
- Total Time: 35 minutes
- Yield: 4 servings 1x
- Category: Entrée
- Method: Instant Pot
- Cuisine: American
DESCRIPTION
Dill Pickle Chicken Breasts are tender and full of the pickle taste you love. Can’t get enough? Add in the pickles as well or use some for garnish.
Ingredients
- 4 (6 oz.) boneless, skinless chicken breasts
- 2 cups dill pickle juice (about 2 [24-oz.] jars spears or sliced pickles)
- 1/2 tsp. salt
- 2 cloves garlic, peeled, minced
- 2 Tbsp. chopped fresh dill, divided
Instructions
- To the inner pot of the Instant Pot add chicken breasts, pickle juice, salt, garlic, and 1 tablespoon of the fresh dill. Let brine 10 minutes, turning chicken breasts halfway through.
- Place lid on pot, lock in place. Set the valve to Sealing. Select the Pressure Cook button and set the timer for 7 minutes.
- After cook time is complete, immediately switch valve to Venting to release pressure.
- Remove lid. Transfer chicken to serving plate. Garnish with remaining 1 tablespoon of fresh dill.
Love this recipe? I’d appreciate it if you could scroll down and add a *5 star rating* to help others know they’ll love it as well!
Notes
The same amount of dried dill can be used in place of fresh.



Leave a Reply