Pork tenderloin is lean and delicious. Here’s how to make the juiciest version ever on the grill.
Unlike pork butt and pork shoulder, which roast up nice and juicy, pork tenderloin has a reputation for being dry. That’s because it’s such a lean cut of meat. Cooking it can, therefore, be challenging. And grilling, with the direct heat blasting away at the meat, can be especially difficult. It’s not impossible though. There are just a few things you need to do to get seriously juicy pork tenderloin.
Scroll down to read more about how it all comes together or click here to jump straight down to the recipe.
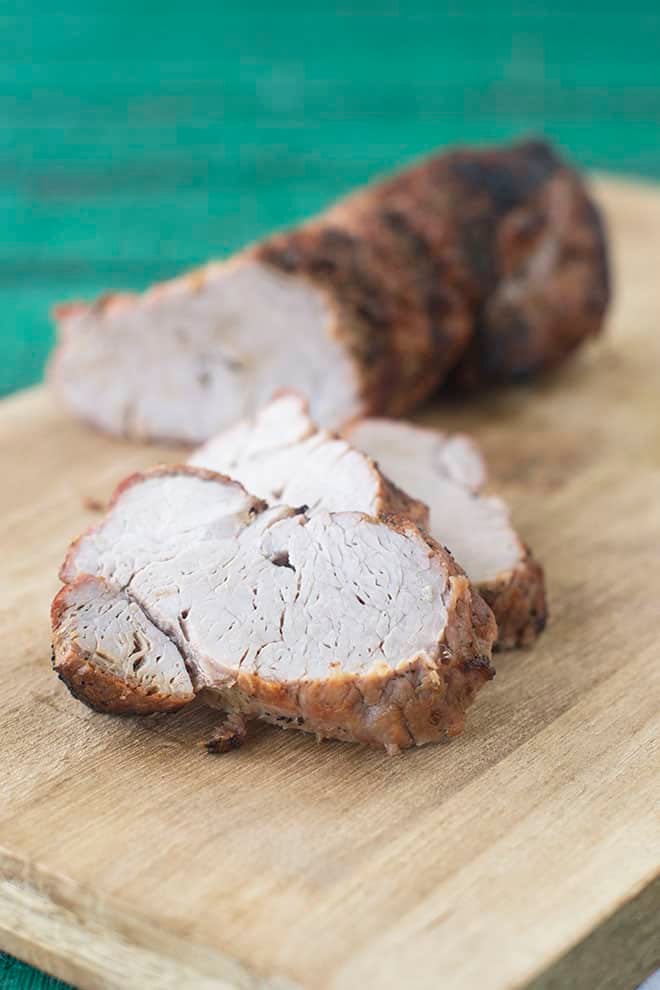
Pork Tenderloin Vs. Pork Loin
First, let’s make sure we’re discussing the same cut of pork. While the names are similar, they are different in size and cooking needs.
Pork tenderloin is a thin and tender cut of meat that runs from the hip to shoulder of the pig and weighs about a pound. A pork loin, on the other hand, is a larger piece of meat from the back of the pig and can be anywhere from two to five pounds. Because of these differences, you cannot substitute one for the other in recipes.
If you already have a loin, try my Grilled Pork Loin recipe instead of this one.
Preparing Pork Tenderloin For The Grill
Step #1: Remove the Silverskin
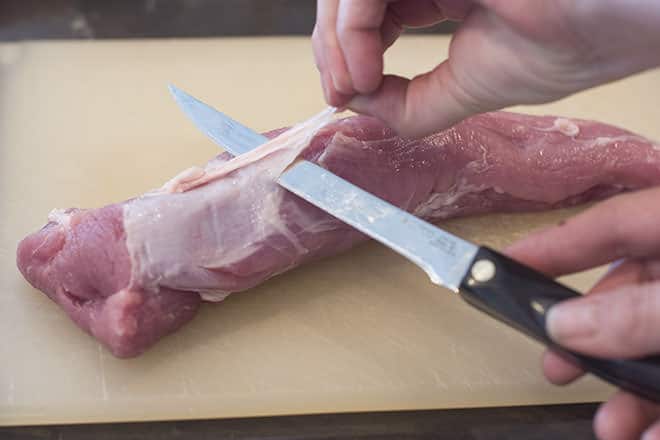
There’s a bit of sinew on the outside of pork tenderloin that ends up tough when cooked. You need to remove it. It’s easy to do. Learn how to remove the silverskin here.
Step #2: Brine the Tenderloin
This is not a marinade. A marinade only imparts flavor to the outside surface of the meat. A bring on the other hand has a high salt content and it penetrates the meat and makes it juicier. Here’s how I brine pork tenderloin. The basic key though is to use about 1 + 1/2 tablespoons of table salt per cup of water. You need enough to completely submerge the meat, which will be about 4-5 cups of water for a tenderloin.
In a large bowl or ziptop bag, dissolve the salt in the water. Add the tenderloin. Cover and refrigerate for at least 30 minutes but ideally 2 hours. Some people go as long as 24 hours but I find that to be overkill. Remove the tenderloin from the liquid and proceed.
Step #3: Make the Tenderloin an Equal Thickness
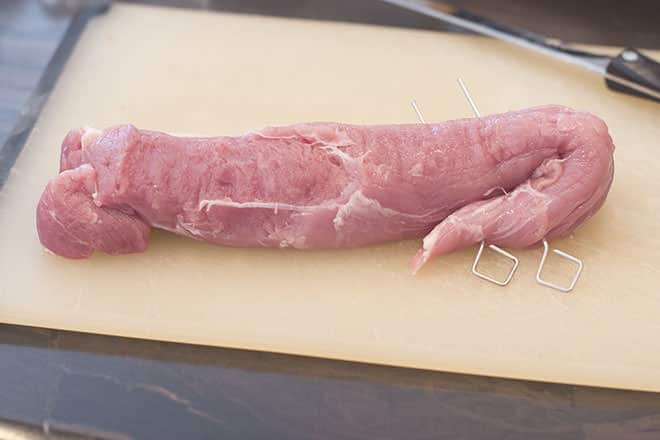
Usually, a pork tenderloin is much thinner on one end than the other. If you grill it as is, the skinny side will end up really dry and overcooked before the thicker side is done. That’s no good. So tuck the skinny side up a bit and secure it with metal skewers.
Seasoning Tenderloin
Step #4: Season
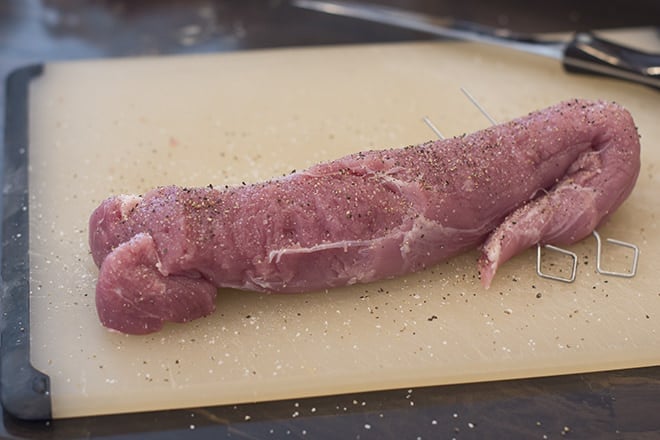
Season with salt, pepper, and whatever else you’d like – garlic powder, onion powder, paprika, cumin, herbs. Just remember that you already brined the tenderloin in salt so only go in with a little bit of salt here.
Grilling Pork Tenderloin
Step #5: Time to Grill it!
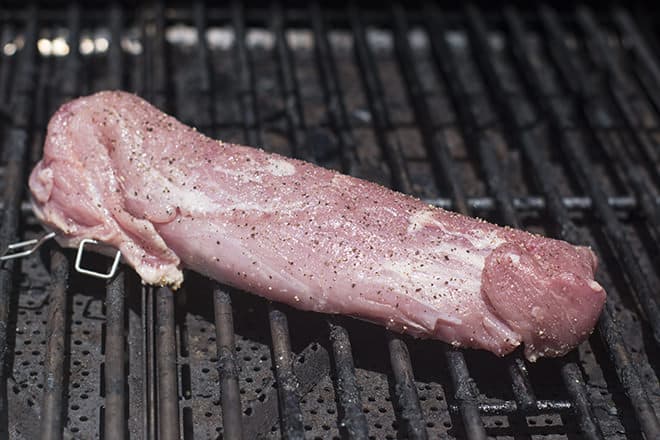
Prepare your grill for direct cooking over medium-high heat. Put the tenderloin on and close the lid. Leave it for 3-4 minutes.
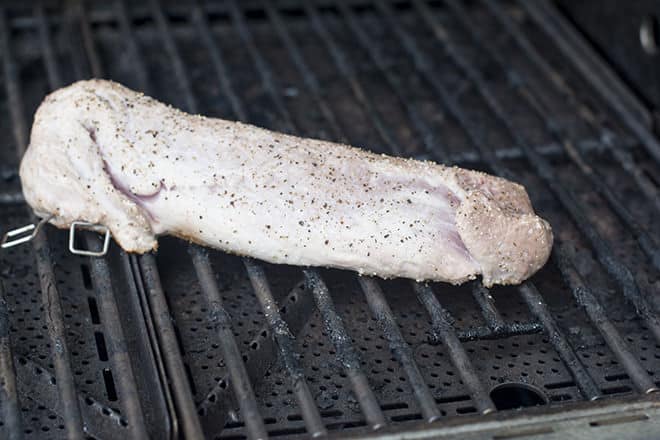
There should be grill marks underneath. Flip the tenderloin, cover, and grill for another 3-4 minutes.
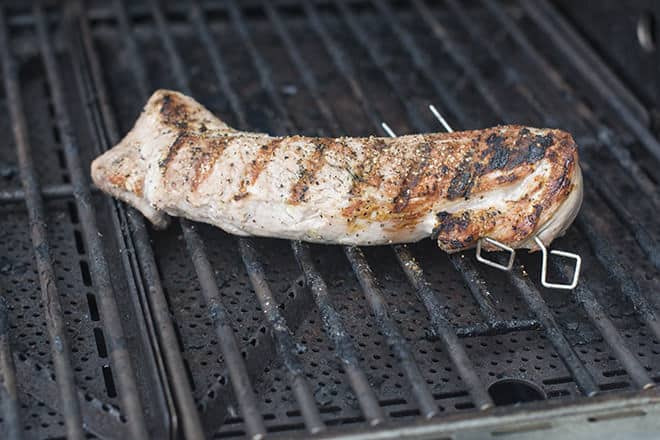
Now you’ve grilled 2 sides of your tenderloin cylinder. What you want to do is to try to get the tenderloin grilled in spots that haven’t yet been in contact with the grill grate. So go ahead and roll it just a bit, not flipping it all the way over but just flipping it halfway. Grill for another 3-4 minutes and then repeat and do another roll to an un-grilled spot. Grill for another 3-4 minutes. It should be evenly crusted on the outside now.
Use an instant-read thermometer to check the internal temperature. You want to take it off when it’s 145°F. Keep grilling a minute or so per side until then.
Step #6: Let it Rest
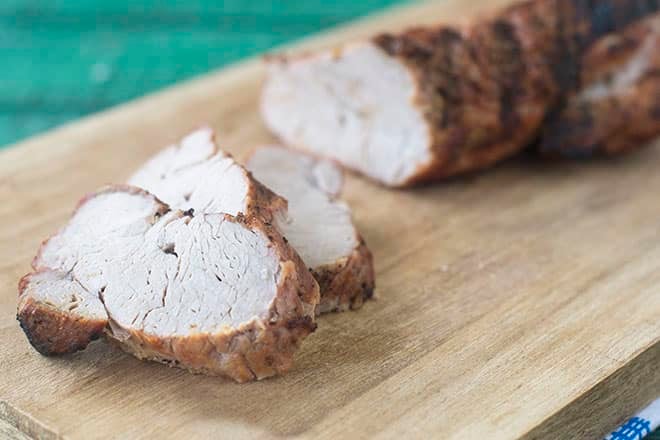
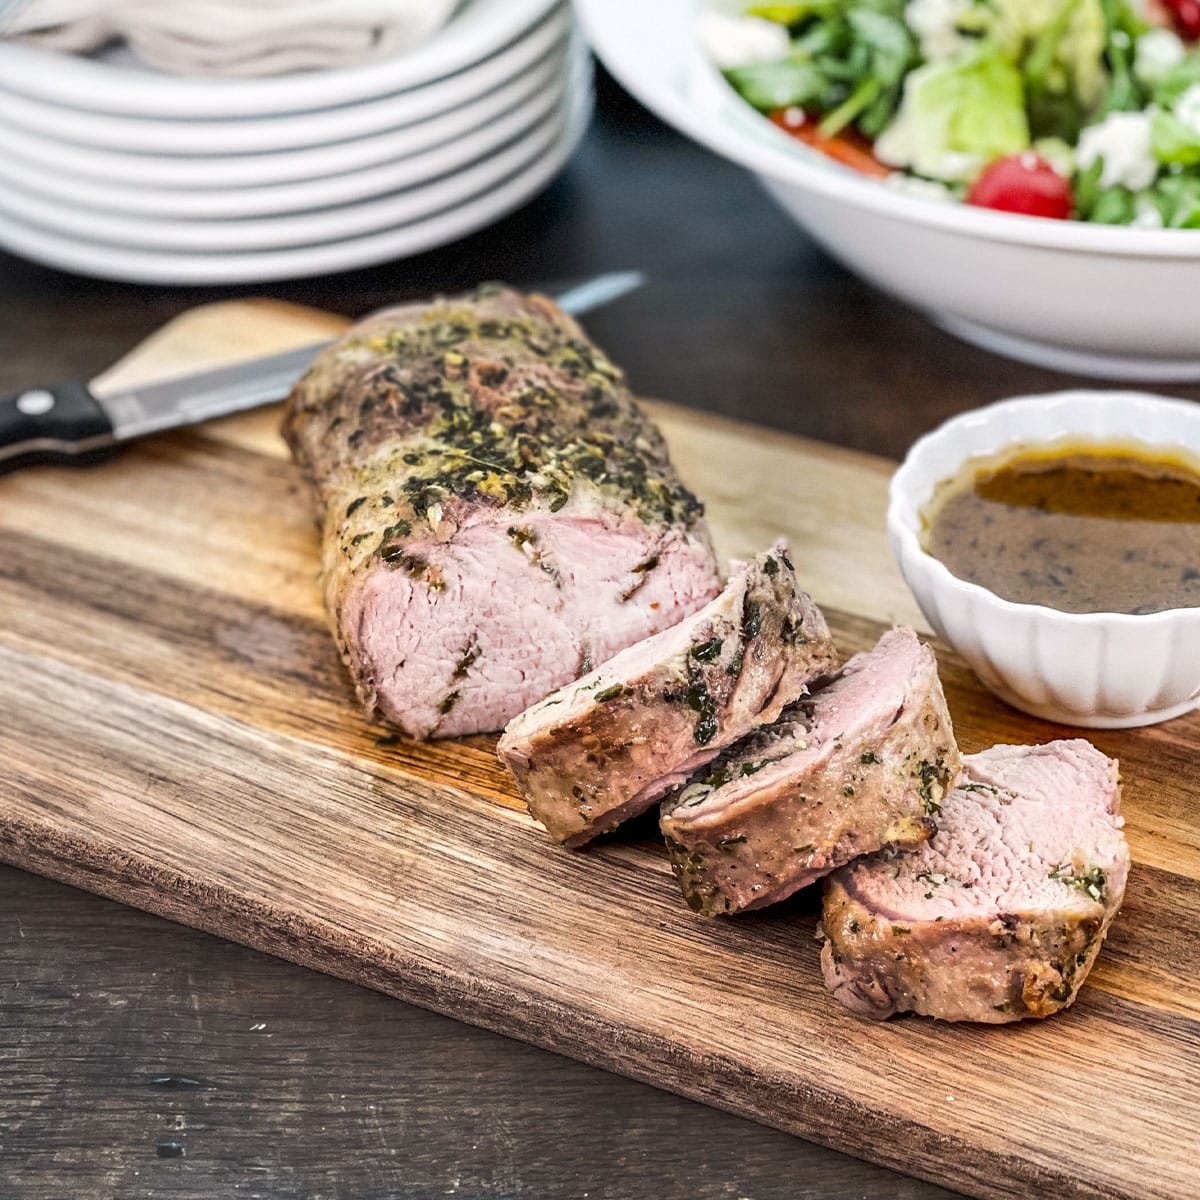
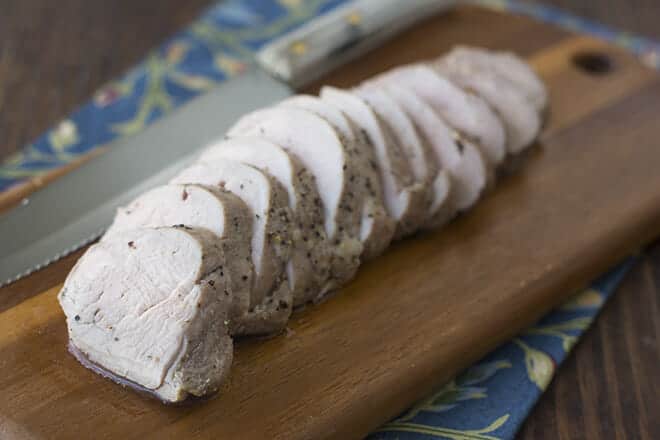
Remove the tenderloin from the grill and transfer it to a clean cutting board. Let it rest there for 7 minutes so the juices can resettle inside the meat. Then slice it thinly. And eat!
You can store any leftovers in an airtight container in the fridge for three days.
More Pork Tenderloin Recipes
I have so many amazing pork recipes for you, but if you want more tenderloin, try the recipes below.
- Tenderloin in the Oven
- Air Fryer Pork Tenderloin
- Instant Pot Pork Tenderloin
- Asian Pork Tenderloin
- BBQ Pork Tenderloin Recipe

How To Grill Pork Tenderloin Recipe
- Prep Time: 10 minutes
- Cook Time: 15 minutes
- Total Time: 25 minutes
- Yield: 3–4 servings 1x
- Category: Entrée
- Method: Grilled
- Cuisine: American
DESCRIPTION
Pork tenderloin is lean and delicious. Here’s how to make the juiciest version ever on the grill.
Feel free to add additional seasonings or serve with BBQ sauce.
Ingredients
- 1 lb. pork tenderloin
- 4 cups water
- 6 Tbsp. + 1/2 tsp. table salt, divided
- 2 metal skewers
- 1/2 tsp. black pepper
Instructions
- Remove the silverskin from the pork tenderloin.
- In a large ziplock bag or bowl, combine the water with 6 tablespoons of the salt and mix until salt dissolves. Add pork and refrigerate for 30 minutes to 2 hours.
- Remove pork from liquid. Discard liquid.
- Prepare grill for direct cooking over medium-high heat.
- To make tenderloin of even thickness, fold the skinny end of the pork a bit and secure it with metal skewers.
- Season with remaining 1/2 teaspoon of salt and the pepper.
- Put tenderloin on grill and close the lid. Leave it for 3-4 minutes. There should be grill marks underneath. Flip the tenderloin, cover, and grill for another 3-4 minutes.
- Flip it halfway such that parts of the loin that were not previously touching the grill are now touching the grill. Grill for another 3-4 minutes and then repeat and grill on another previously ungrilled part of the meat. It should be evenly crusted on the outside now.
- Use an instant-read thermometer to check that the temperature is 145°F. Keep grilling a minute or so per side until then.
- Remove tenderloin from grill and transfer it to a clean cutting board. Let it rest for 7 minutes then slice thinly and serve.
Love this recipe? I’d appreciate it if you could scroll down and add a *5 star rating* to help others know they’ll love it as well!
Disclosure: This post contains an Amazon affiliate link meaning that if you click on it and buy something I will receive a small commission. This is at no additional charge to you. All opinions are my own.
This post originally appeared in September 2017 and was revised and republished in July 2023.





Simple and delicious, I appreciate the step by step help.
Glad it helped out, Beth!
Yum, yum, yum! Totally making this!