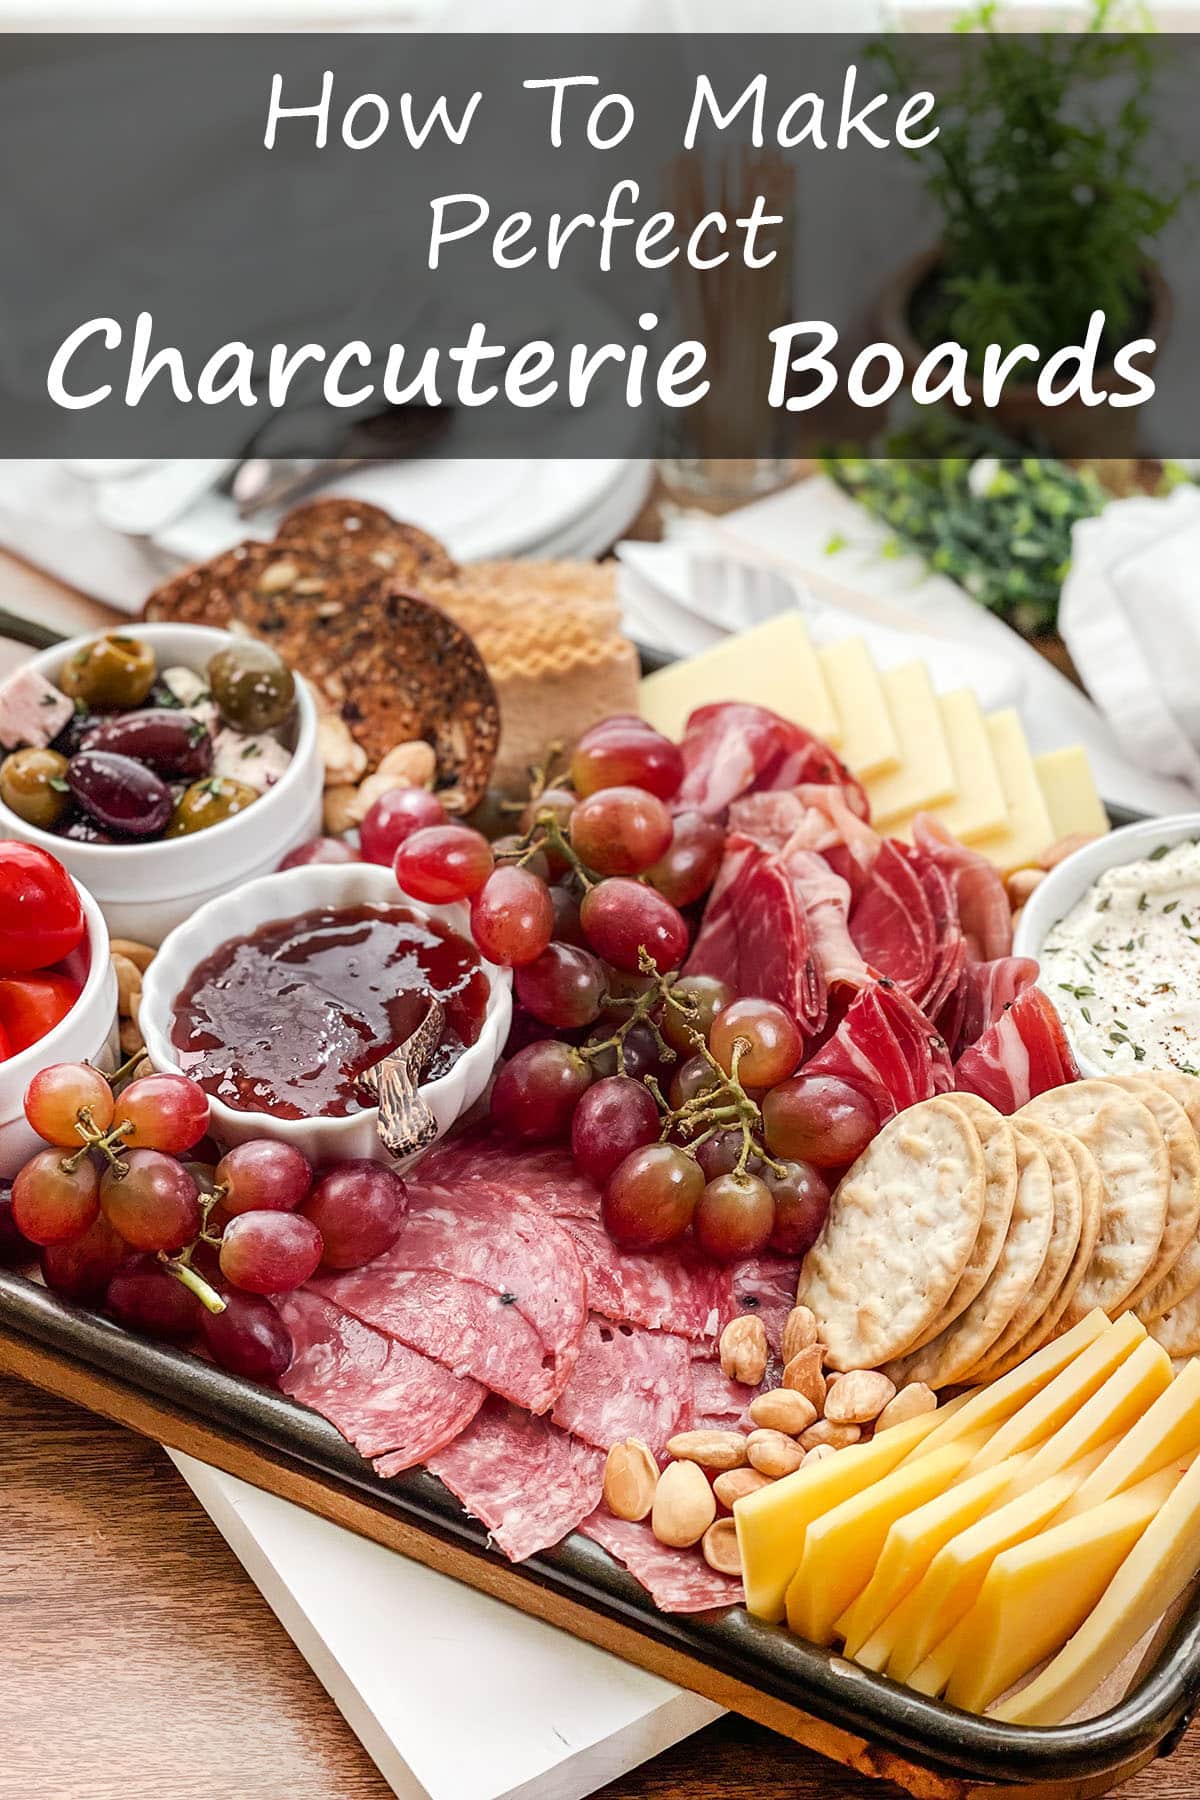
Get my tips for creating a perfect charcuterie board, including templates for placement!
Charcuterie boards are an easy way to feed a crowd, especially on game days, but with so many varieties of cheese, meat, dip, crackers, fruit, and nuts, making one can feel overwhelming. It can also get expensive, but I’ve figured a way to make it look amazing, taste amazing, and still be budget-friendly.
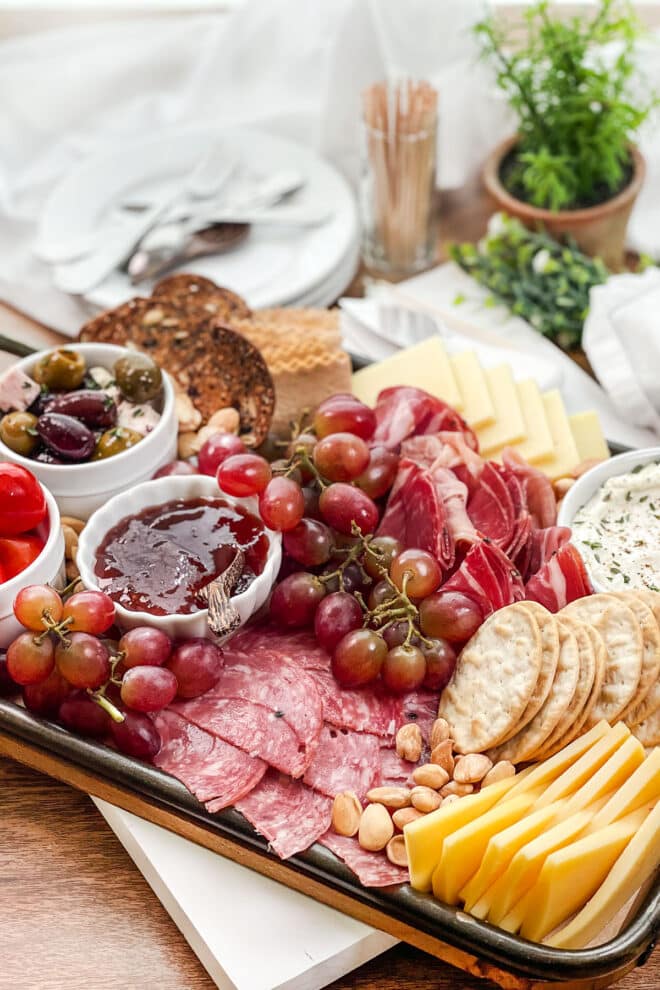
What Goes On A Charcuterie Board?
While there are no hard and fast rules for building a charcuterie board, there is an easy formula I follow, and this, along with some shortcuts, and best practices will help you create something that looks fancy, but is incredibly unfussy (and affordable), and looks amazing on the table.
Let’s start with the two most important parts to the board: choosing serving pieces and ingredients.
Choose your serving pieces:
The foundation for your board can literally be a wooden board, a cheese board, or a cutting board, but it doesn’t have to be. Serving platters, large plates, or sheet pans can also be used. I’ve even used unconventional things like picture frames and decorative serving trays as a base.
If using something that isn’t made for food and that doesn’t have a food safe surface, like the decorative serving tray I mentioned, place a piece of parchment paper, that’s been cut to fit, onto the tray and then lay ingredients on the parchment.
You’ll also need small spoons, forks, or knives for any dips or spreads, along with some toothpicks so everyone can easily grab their favorites from the board without using their fingers.
Choose your ingredients:
This seems like the hardest part, but it’s really the easiest. You only need 7 ingredients, artfully arranged, to wow your game day guests:
- Two different medium/sliceable cheeses
- One spreadable cheese
- Two different cured meats
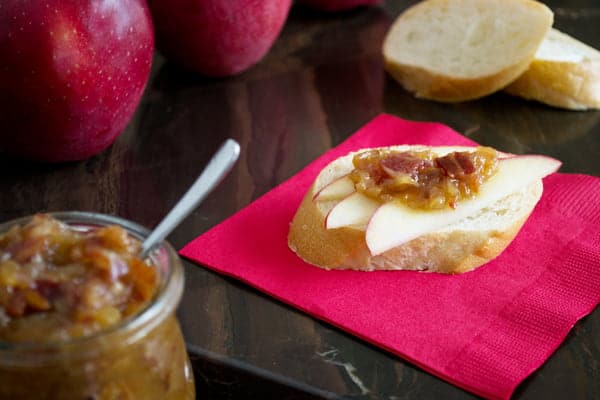
- A jam or mustard
- Crackers
- Olives and/or pickles
- Fillers, like almonds, cashews, dried fruits, or grapes
That’s it. And although I’ve called out specific types of cheese and meat in the recipe, everything listed can be changed so it’s exactly what you prefer.
If you’re not a fan of Gouda, swap it out for Swiss. If prosciutto isn’t your thing, swap it out for chorizo. Same goes for the crackers, and other ingredients; pick your favorites and you can’t go wrong.
How Do I Build A Charcuterie Board?
Once you’ve selected a serving board and ingredients, you’re ready to place everything on your board. When I first started making these, I found this part daunting—I never knew where to place everything. I ruined a lot of meat and cheese while repositioning them, trying to make them look nice.
I started creating maps, like these Downloadable Charcuterie Maps, which helped me visualize the landscape of the board and how everything would fit. I also learned (the hard way), to start with the big stuff and work my way down to the small stuff, like I’ve listed below, in order of how they are added to the board:
- Add bowls and ramekins (with olives, spreadable cheeses, etc.)
- Add cheese (fan this out and curve it around bowls)
- Add meats (fold/crinkle and fan out around bowls)
- Add crackers (fan these out in remaining spaces)
- Add fillers to remaining spaces (like red grapes, dried fruits, nuts, etc.)
Create Themed Charcuterie Boards
I love to plan themed charcuterie boards for game days that aren’t necessarily team or sports related, but still offer game day favorite flavors. Give some of these a try:
- Make it a Potluck Charcuterie Board (my favorite because everyone is sharing the cost). Ask everyone to contribute to the board by bringing their favorite cheese, cured meat, pickle, olives, or dip and build the board as guests arrive.
- Buffalo Board with ranch dip, crumbled bleu cheese, celery, and Buffalo Deviled Eggs.
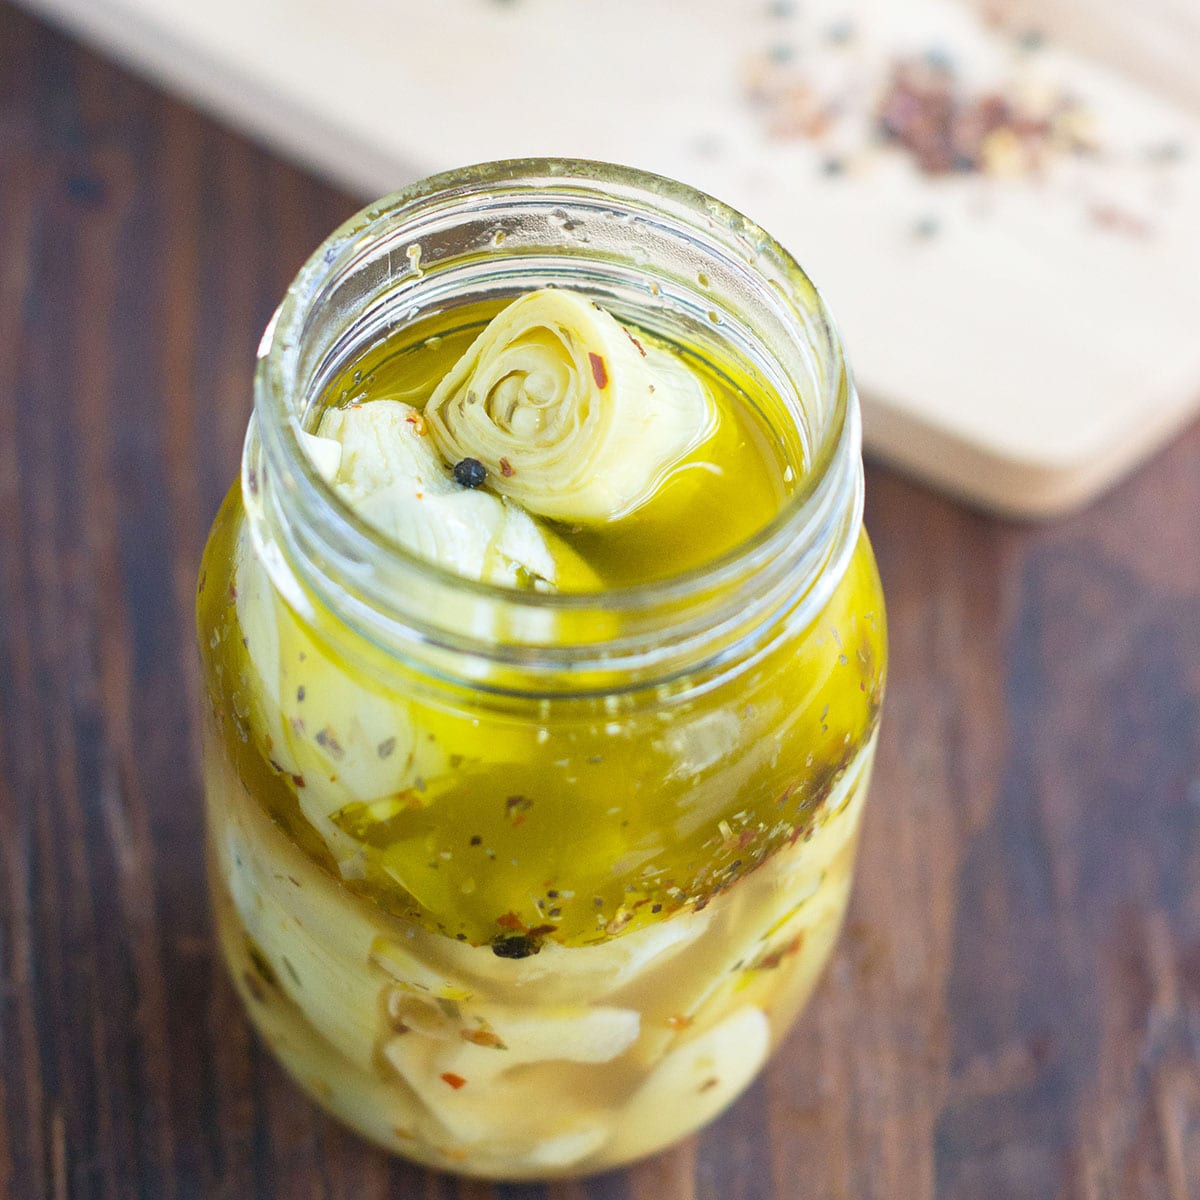
- Italian (Antipasti) Board with marinated mozzarella, roasted red peppers, marinated artichokes, salami, capicola, olives, and slices of Italian bread or a baguette to make crostini.
- Hoagie Board with folded deli meats and cheeses, pickled red onions, Spinach Artichoke Dip, and a sliced baguette and crackers.
- Try a Butter Board! This is a bit different than a charcuterie board but so very similar that I had to include it here. Butter boards are somewhere between a bread and butter course and a cheese or charcuterie tray. It’s butter topped with amazing flavors served with bread or crackers. Learn how to make butter boards and get flavor ideas and recipes for them them here.
Things I’ve Learned About Making Charcuterie Boards
Through lots of delicious trials and errors, my best advice for making your own boards is to have fun with it! Along with some of these best practices:
- As tempting as it is, avoid placing blocks of cheese with a knife on the board—it’s never easy to cut and makes a mess.
- Make it easy for people to access and enjoy by keeping everything bite-sized or at least no larger than a standard-sized cracker.
- Have extras on hand for replenishing.
- Don’t be afraid to rearrange to fill in gaps as people graze.
- Avoid placing wet ingredients, like olives, pickles, or cut fruit, directly on the board, which will make the other ingredients soggy.
Tag me on social at @cookthestory when you post your boards so I can see your masterpieces!
Podcast Episode On Creating Beautiful Charcuterie Boards
Listen to learn how to make this recipe, along with some great tips from Christine:
Listen to more Recipe of the Day episodes here.
Print
How To Make A Perfect Charcuterie Board
- Prep Time: 20 minutes
- Cook Time: 0 minutes
- Total Time: 20 minutes
- Yield: 10 servings 1x
- Category: Appetizer
- Method: No Cook
- Cuisine: American
DESCRIPTION
Follow my easy formula for perfect charcuterie boards using my downloadable templates.
Ingredients
- 4 oz. softened goat cheese or Boursin cheese
- 1/2 cup assorted olives
- 1/4 cup favorite jam or mustard
- 10 thin slices Gouda
- 10 thin slices cheddar
- 10 thin slices Genoa salami or pepperoni
- 10 thin slices prosciutto or other cured meat
- 30 assorted crackers
- 1 small bunch red grapes, snipped into small bunches
- 1/2 lb. almonds, cashews, or favorite nut
Instructions
- In small separate bowls or ramekins add goat cheese, olives, and jam or mustard.
- Using the COOKtheSTORY Charcuterie Maps as a general guide, place bowls on serving platter according to the shape board you’re using.
- Arrange gouda and cheddar on platter by fanning around bowls.
- Cut salami or pepperoni in half; arrange on platter by fanning around bowls.
- Fold or crinkle prosciutto and arrange on platter.
- Arrange crackers on platter by fanning around ingredients in leftover spaces.
- Fill remaining spaces with red grapes and almonds.
Love this recipe? I’d appreciate it if you could scroll down and add a *5 star rating* to help others know they’ll love it as well!
Notes
- This recipe is designed for a 9×12-inch platter or serving board. For larger platters or serving boards, the recipe can be easily doubled, tripled, or quadrupled.
- Quantities of cheese and meat are listed in slices rather than ounces or pounds since this can vary greatly, depending on how thick the slice is.
- Pre-sliced cheeses and meats can be found in a variety of places throughout your grocery store, including the dairy section, hot dog/bacon section, specialty cheese section, or specialty cured meats section. The deli counter will also have cured meats like salami, pepperoni, and prosciutto that you can buy by the slice.
*Nutrition information will vary based on the specific ingredients you choose.








Sounds yummy :) Going to pin it. Thanks for sharing the amazing recipe.
Hi. I’ve made a few of your recipes All are fab❤️ Made ur pork butt/shoulder last nite. Amazing. Thanks💙
Thanks so much, Kim! You can sign up for our newsletter if you’d like like to keep up with the newest ones. :)