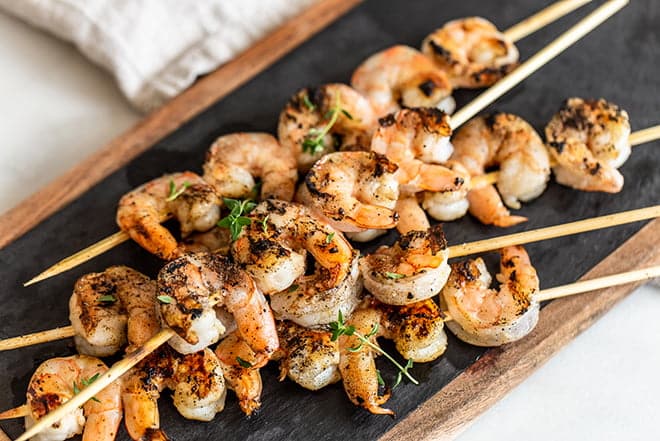
Easy to make and easy to love, Grilled Garlic Butter Shrimp is a great way to celebrate summer and make a delicious meal in minutes.
Grilled. Garlic. Butter. Shrimp. The name of the recipe alone has all the best food words, right? How could you not love it?
Now factor in that Grilled Garlic Butter Shrimp is super simple to make—with just a few, mostly on-hand ingredients—and it comes together in minutes. How could you not adore this grilled shrimp recipe???
But because the recipe is so simple, quality ingredients and a perfect cook can really make a difference. So let’s break it down.
Scroll down to read more about how it all comes together or click here to jump straight down to the recipe.
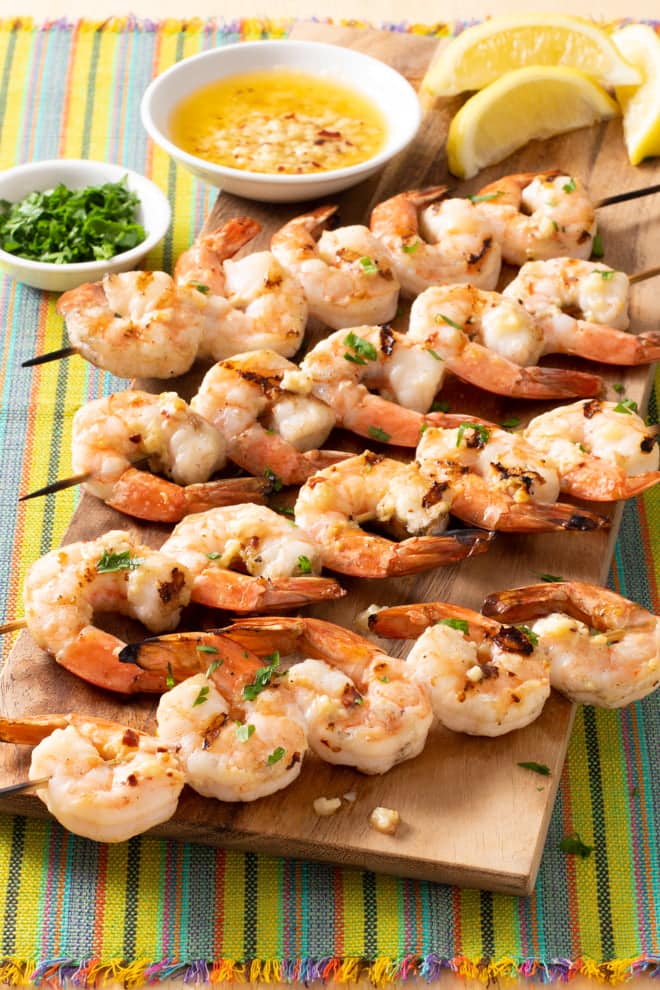
Shrimp, Glorious Shrimp
As any regular visitor to COOKtheSTORY knows, I love seafood, especially shrimp. Juicy, tender, and flavorful, it’s delicious in so many recipes, from alfredo to fried rice.
Shrimp is also quick-cooking—so it’s a busy cook’s best friend. For that reason, I almost always have some on hand. I recommend frozen because the shrimp are frozen right on the boat when they’re caught, making it about as “fresh” as you can get.
Often I even cook it straight from frozen—but for this recipe, because the shrimp are skewered, you’ll need to thaw it first (here’s how).
A Cooking Sauce That’s Also A Dipping Sauce
There’s only one sauce here, and it’s made with—you guessed it—garlic and butter. Some gets brushed onto the shrimp as it’s cooking and the rest gets served at the table for dipping or drizzling.
(Note that the sauce gets divided, though, so the batch you serve at the table isn’t the same as the one that’s had the basting brush going back and for the between the sauce and the raw shrimp.)
One key to the garlic butter sauce is setting it aside for a few minutes after the butter melts. This allows the garlic to infuse into the butter, becoming not just butter with garlic—it’s garlic-flavored butter. I like to add some red pepper flakes for a little warmth, and that warmth infuses into the butter, too. You could also add a squeeze of fresh lemon juice.
Another key is to chop the garlic pretty finely, because smaller pieces will more easily release their flavor. I like a garlic press for that, but a fine chop with a knife will work as well.
Do I Need To Soak The Skewers?
If you’re using bamboo skewers, soak them in water 30 minutes prior to grilling so they don’t burn on the grill. You can also use metal skewers, which are great as they can be reused and don’t need to be soaked. But they will be quite hot, so be careful when serving and eating.
How Long To Grill Shrimp
As I mentioned earlier, shrimp cook quickly. So if you grill them on a not-very-hot fire, they can get overcooked on the inside before they get any of that deliciously smoky charring on the outside. With a medium-high fire, though, they’ll get some charring and be perfectly cooked. Large shrimp only need two or three minutes each side.
Add a crisp green salad and some warm bread and a perfect summer meal is served.
More Amazing Grilling Recipes
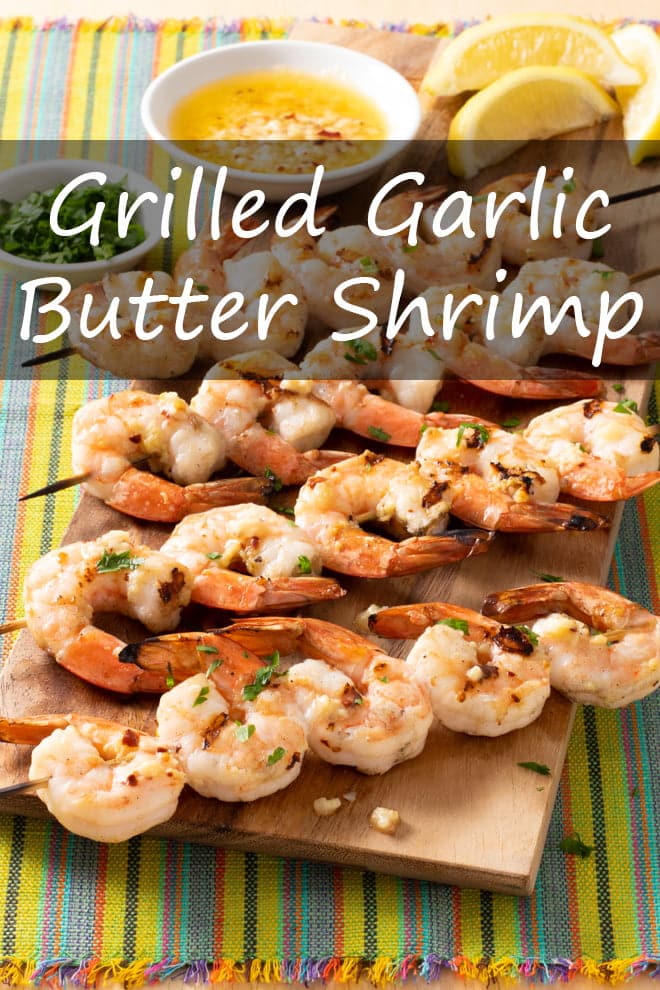
Grilled Garlic Butter Shrimp Recipe
- Prep Time: 12 minutes
- Cook Time: 20 minutes
- Total Time: 32 minutes
- Yield: 4 servings 1x
- Category: Entrée
- Method: Grilled
- Cuisine: American
DESCRIPTION
Easy to make and easy to love, Grilled Garlic Butter Shrimp is a great way to celebrate summer and make a delicious meal in minutes.
Serve with chopped fresh parsley and lemon wedges.
Ingredients
- 8 Tbsp. (1 stick) unsalted butter
- 8–10 garlic cloves, finely chopped or pressed through a garlic press
- 3/4 tsp. salt
- 1/2 tsp. red pepper flakes
- 1 1/2 lbs. large raw shrimp (20–40 per pound, peeled, deveined, with or without tail on)
- 5–6 skewers
Instructions
- If you’re using wooden skewers, 30 minutes prior to grilling soak them in water so they don’t burn on the grill.
- In a small saucepan over medium heat, combine the butter, garlic, salt, and red pepper flakes. When the butter is melted, set the saucepan aside for about 10 minutes.
- Meanwhile, preheat the grill to medium-high heat. Pat the shrimp dry and arrange them on the skewers. Put the skewers in a single layer on a rimmed baking sheet.
- Divide the butter mixture in half, setting one half aside. Brush the other half onto both sides of the shrimp.
- Grill the shrimp for 2-3 minutes per side.
- Serve sprinkled with parsley, with the reserved sauce and lemon wedges on the side.
Love this recipe? I’d appreciate it if you could scroll down and add a *5 star rating* to help others know they’ll love it as well!
This post originally appeared in August 2020 and was revised and republished in May 2024.

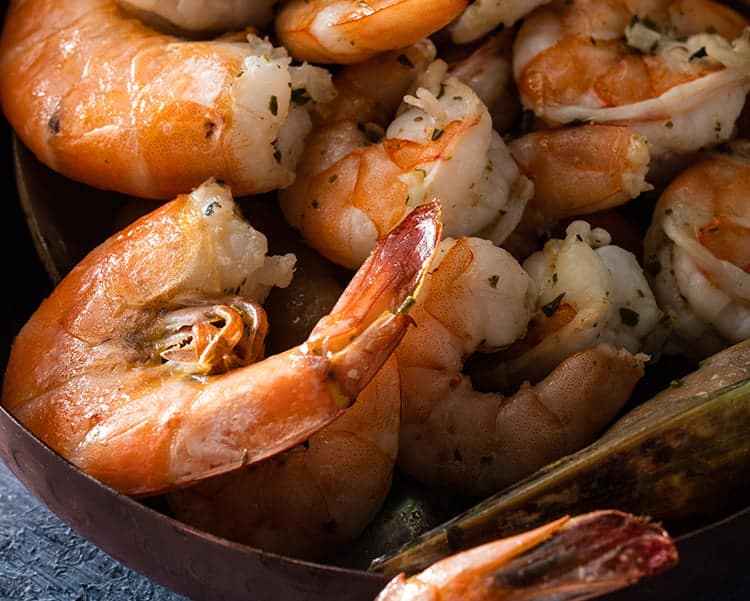


SO GOOD! Thanks for the recipe, I was worried I was going to overcook them, but I followed the instructions and they came out perfect.