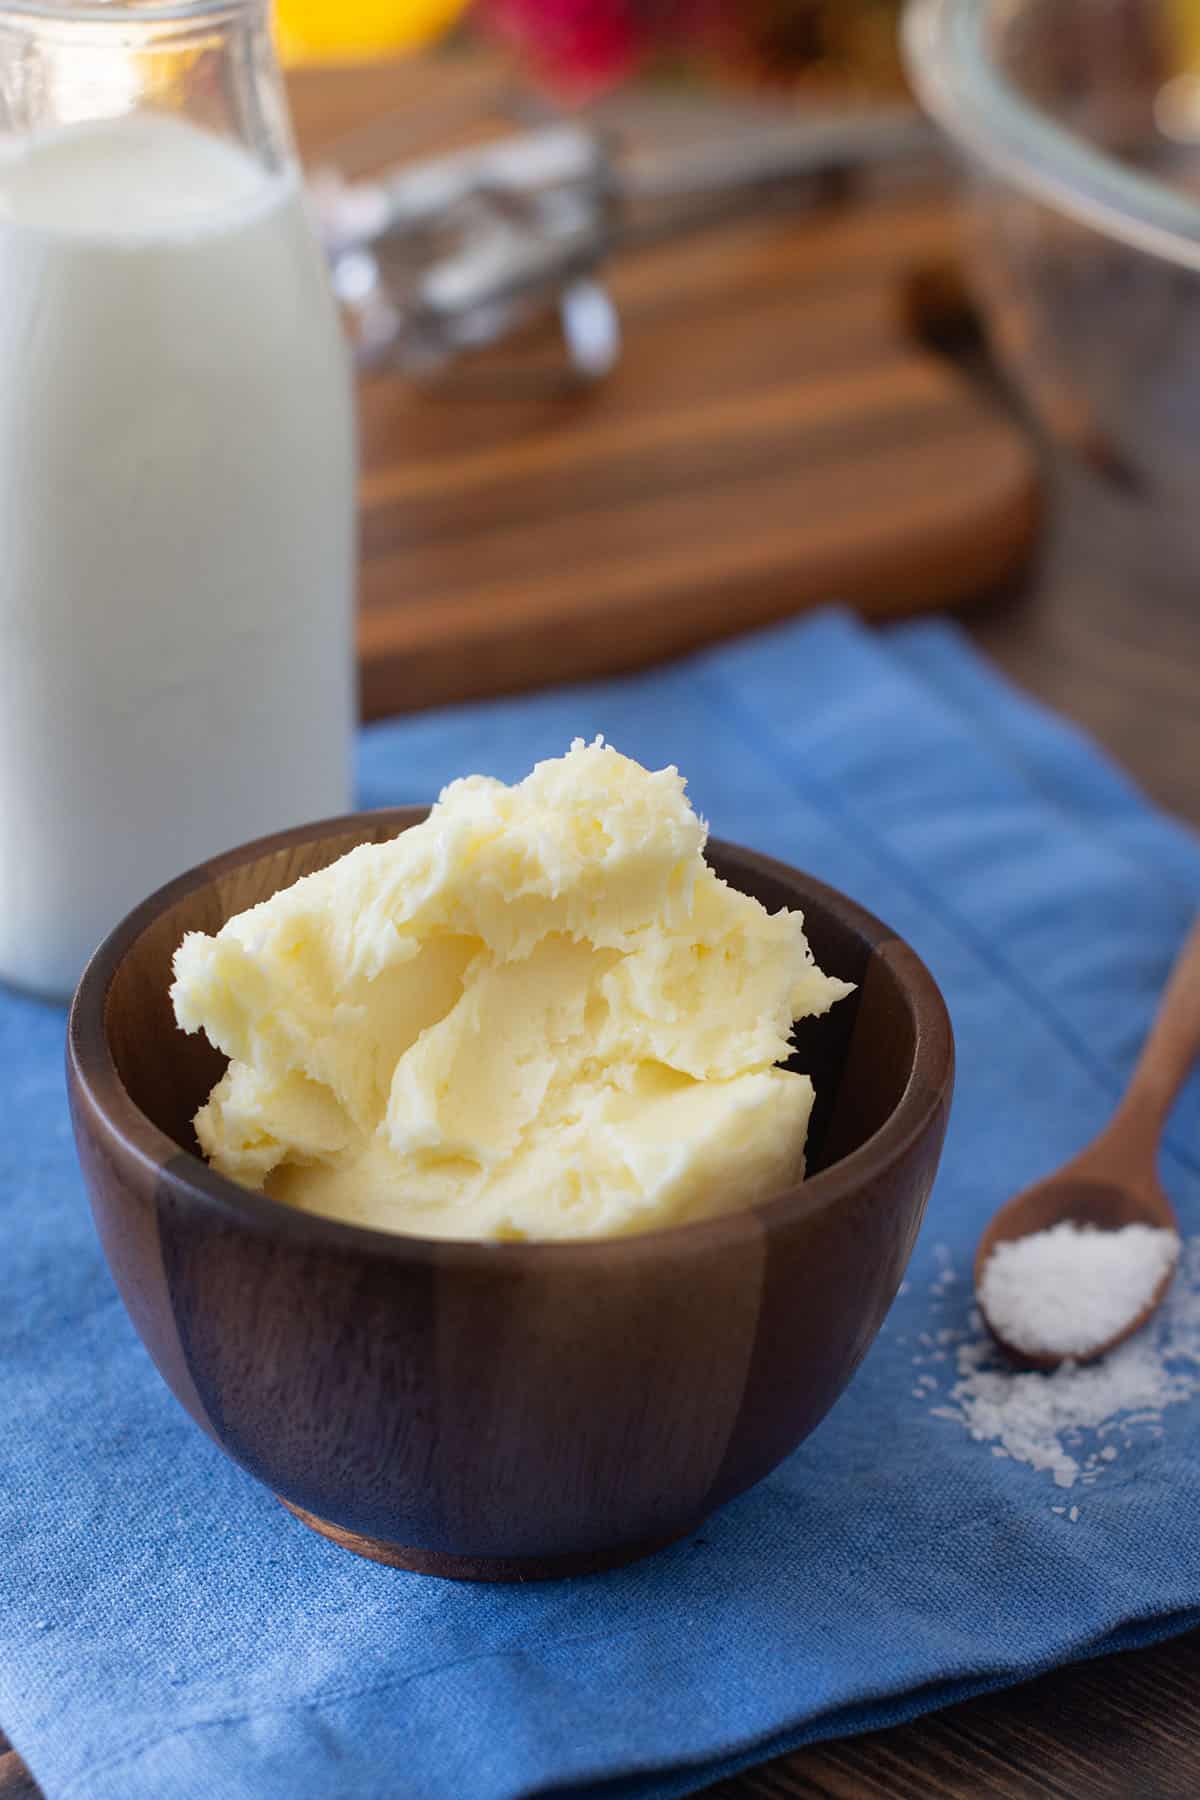
No need for a butter churn, nor for shaking a jar forever. We’re making EASY homemade butter with this recipe! It uses only one required ingredient (cream), but salt is great in there too. Ten minutes later you have the most amazing butter ever.
Have you ever wondered how butter is made or why some butters taste better than your standard grocery store fare? I love butter, especially when it’s got extra flavor like my Compound Butter for Turkey, so I was curious about making even the base, the butter part, on my own. It’s actually quite simple to make at home and I’ve got the best method here for you.
Scroll down to read more about how it all comes together or click here to jump straight down to the recipe.
- Video: Making Easy Homemade Butter
- How Is Butter Made?
- Why Should I Make Homemade Butter?
- Do I Need Special Equipment?
- Using A Jar To Make Butter
- How To Make Homemade Butter With A Mixer
- Do I Need To Store Homemade Butter In The Fridge?
- What Do I Do With The Leftover Liquid?
- Flavoring Homemade Butter
- Podcast Episode About Making Homemade Butter
- Homemade Butter Recipe

Video: Making Easy Homemade Butter
How Is Butter Made?
You know how you beat heavy whipping cream to make whipped cream? To make butter, you do the same thing but continue beating past that point, until the fat separates and forms butter, leaving the liquid buttermilk behind. So you’re basically whipping the fat out of the liquid.
The only ingredient you need for my homemade butter recipe is heavy cream. (If you’re in the UK, look for double cream. You want 36% – 50% fat content in order to make butter). You can optionally add salt or other flavors, but you’ll do that at the end.
Why Should I Make Homemade Butter?
Simply put, because it tastes so fresh and is extra delicious! It’s probably not worth it to make all the time or to use for every cooking recipe. But as a spread on fresh bread or on homemade biscuits? You’ll notice the difference in quality and flavor over store-bought butter for sure.
Plus, you can adjust the salt levels and even add in seasonings at the end to create your own compound butters.
Do I Need Special Equipment?
For my method, you need a stand mixer or a hand mixer for the butter making process. I’ve seen other recipes use a blender, but that didn’t work out well for me at all, and believe me, I tried. I really really wanted it to work. But for me, a stand mixer with the paddle or whisk attachment is the easiest method. If you don’t have a stand mixer, a hand mixer is the second choice for ease and success.
If you don’t have any of these kitchen gadgets, you can technically also shake it up in a mason jar. I will warn you though, it takes a bit longer and will give you an arm workout before the butter is ready! It is a fun thing to do with kids though.
Using A Jar To Make Butter
Fill a mason jar that has a tight-fitting lid halfway full with the cream. Do not fill it more than halfway. It needs room to move in the jar as you shake it. If you’re doing this with kids, using a small jar is best because it fits more easily in their hands.
Screw on the lid. Shake it and shake it and shake it. I find this easiest to do with a small group of people, so you’re taking turns. I’ve actually even done this at a dinner party where I’ve had people pass around the jar as we’re sipping on our pre-dinner cocktail. It was a big hit!
After about 5 minutes of shaking, whipped cream will form. Another minute or two after that, you’ll see that the fat has separated. Then you proceed with the recipe below where you squeeze the remaining liquid out of the fat.
Generally when I’ve made the jar-method, it’s to eat the butter right away. In that case, don’t worry as much about squeezing all the buttermilk out or rinsing it out. Those steps are done primarily to help the butter stay fresh for longer. If you’re eating it right away, that’s not an issue. Just pluck the butter curds out of the liquid, squeeze them a bit, and then start kneading in the salt. Then spread it on some bread!
How To Make Homemade Butter With A Mixer
To make your own butter using a stand mixer or hand-held mixer, measure out the heavy cream into a large mixing bowl or the bowl of your stand mixer. You want your bowl to be on the larger side so that your cream has room to really move around. And I’ll say that it’s not worth making butter this way unless you start with at least 2 cups of cream. Once that cream is in the bowl, beat it on low until the cream starts to thicken.
Increase the mixing speed to high and beat until stiff peaks form and it’s looking like whipped cream. Continue to whip past this point. It may seem like it’s taking a long time, but don’t worry. After another 3-5 minutes, liquid will start to appear in the bottom of the bowl as the fat separates and becomes butter.
Keep going and you’ll see that even more liquid appears. Once there’s quite a bit of liquid in the bottom, clump the solids together and then knead and squeeze them well to remove as much of that buttermilk liquid as you can. You can skip ahead to adding the salt and then eating the butter immediately, if you’d like. But if you want your butter to keep for longer, proceed with the next steps to remove more liquid.
Removing more liquid helps the butter to stay good for longer. So, if you’re hoping for your butter to keep for the next few days or longer, I urge you to not skip the next two liquid-removing steps:
Remove more liquid by putting the butter solids into a fine mesh sieve or cheesecloth and push to squeeze out more liquid. Discard the liquid or retain for another use. After that, you can do another liquid-removing step:
Remove even more liquid by adding the butter to a bowl of ice water and kneading it and squeezing, rinsing out more of the liquid. Rinse until the water around the butter is clear, so you may need to refresh the ice water a couple times for best results. Note that the reason you’re using ice water is so that the butter fat doesn’t melt into the water. You want to retain as much of that fat as possible, while rinsing out as much liquid as possible.
Whether you’ve rinsed the butter using the extra steps above to preserve it longer or not, next you knead in the salt, if desired. I suggest adding a small amount of salt, kneading it in, and then tasting it before you add more. It’s amazing how quickly butter can become overly salty. Once it has the saltiness you like, you can eat it immediately or chill it for a bit first before serving.
If you removed a lot of the liquid, you can instead shape the butter however you’d like and then store it in a sealed container in the refrigerator for two weeks. If it starts to have a sour smell, it’s gone bad. You can also freeze homemade butter if you’re making more than you need immediately. It will keep in the freezer for 2 months.
Do I Need To Store Homemade Butter In The Fridge?
If you’ve added salt, technically no, it can be left out in a butter dish on the counter instead of refrigerating. But if your house regularly gets warmer than 75°F, or if you didn’t thoroughly rinse the buttermilk out of the butter solids, it’s going to spoil quickly. So, my recommendation is to be on the safe side and always store it in the fridge. That’s what I do with mine. Then just take it out 30 minutes before serving and it will become spreadable.
What Do I Do With The Leftover Liquid?
The liquid by-product of making butter is buttermilk. But it’s not the same as buttermilk purchased from the store. This is because we’re starting with pasteurized cream which does not contain the pro-biotics of cultured buttermilk.
If you want the tang and thickness of the buttermilk you’re used to, you need to add live cultures to it to ferment it. You could add lemon juice or vinegar for the tang, however this still won’t create true buttermilk. But you can still use this leftover liquid in your cooking. Try using it in your pancakes or waffles!
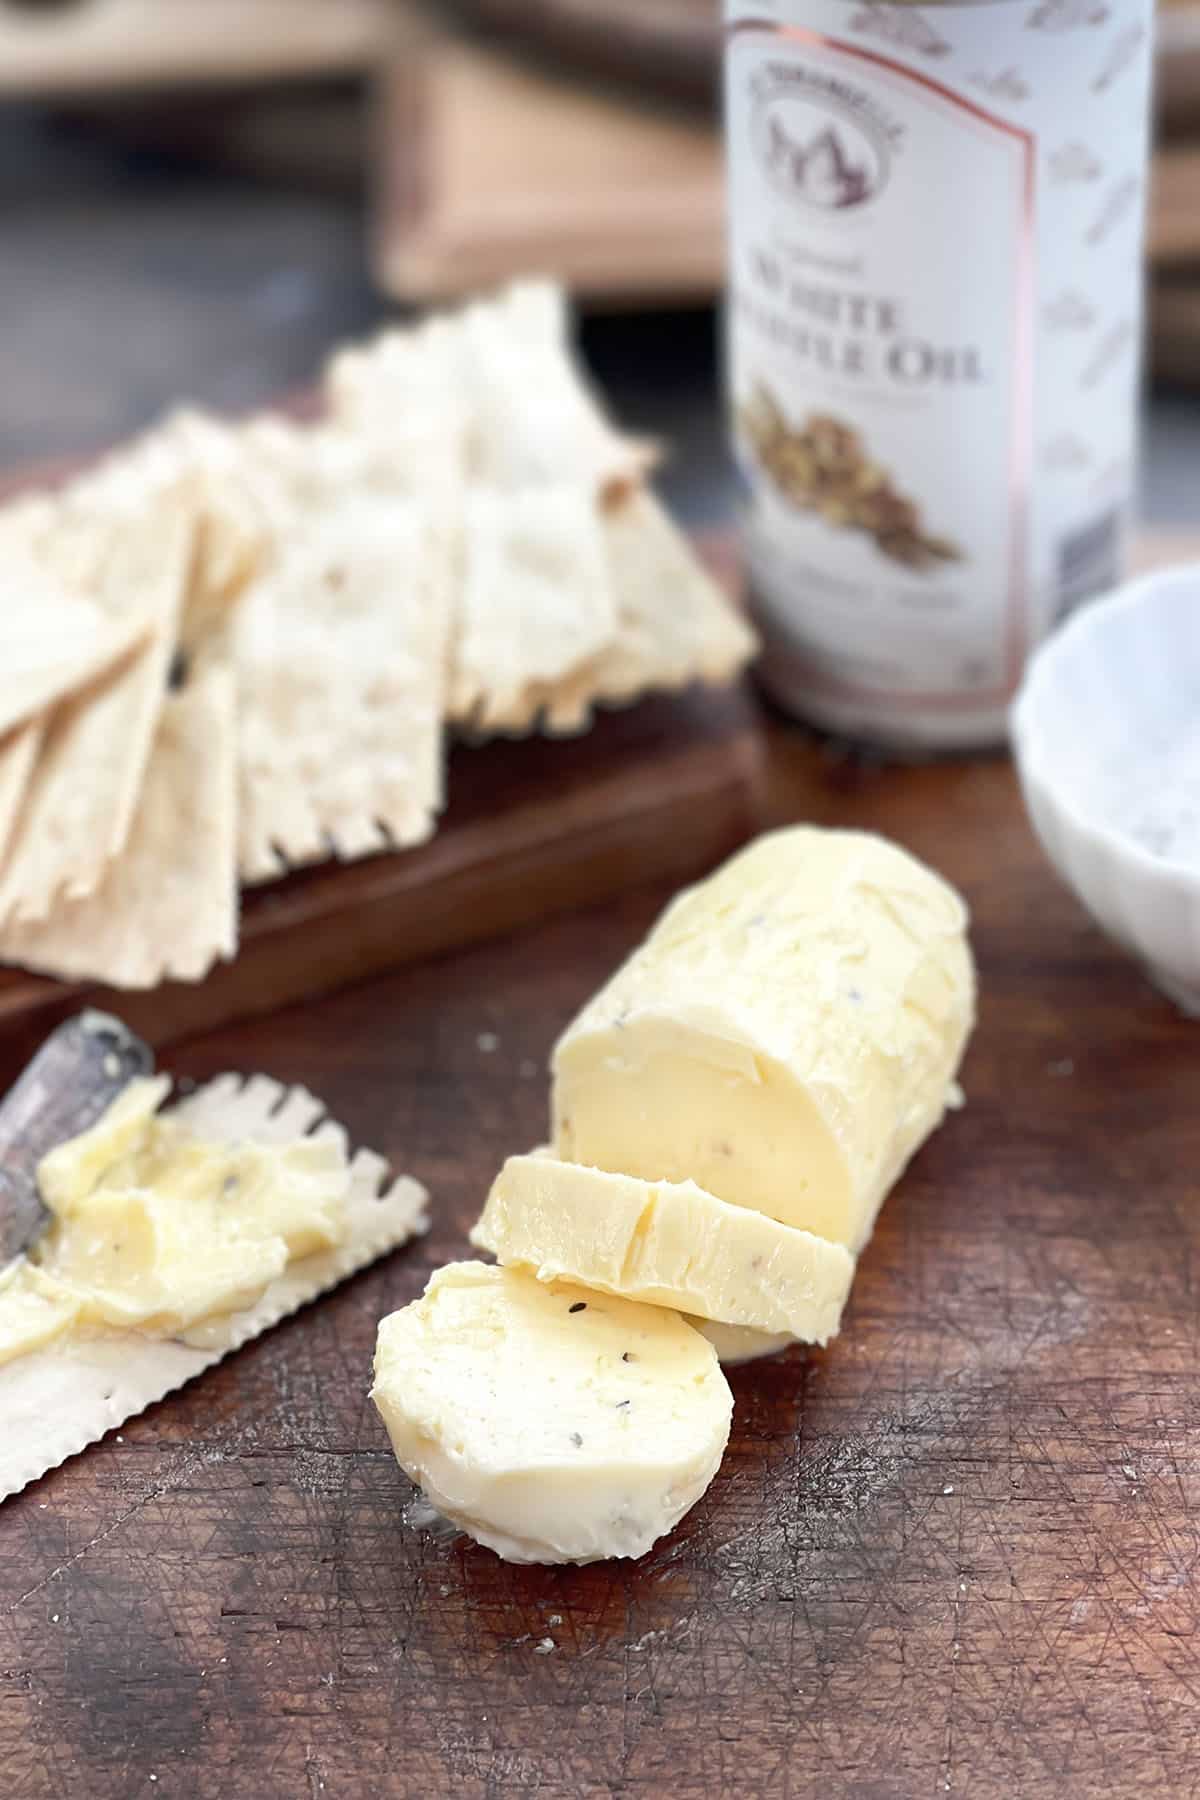
Flavoring Homemade Butter
In my butter recipe, I’ve only called for salt to be added for flavor. But you can absolutely turn this into an amazing compound butter as well, like my Steak Butter with fresh herbs or my amazing Garlic Butter recipe.
Try adding sea salt and fresh cracked pepper, herbs such as rosemary or thyme, or even citrus zest. You could even go in a sweet direction, similar to my Spiced Pumpkin Butter Spread, by adding cinnamon and sugar.
Podcast Episode About Making Homemade Butter
Listen to me explain briefly about how to make this butter, along with some other great tips, by clicking the play button below:
Listen to more Recipe of the Day episodes here.
Print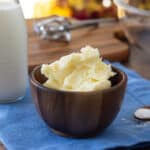
Homemade Butter Recipe
- Prep Time: 10 minutes
- Cook Time: 0 minutes
- Total Time: 10 minutes
- Yield: 16 servings 1x
- Category: Side Dish
- Method: Mix
- Cuisine: American
Ingredients
- 2 cups heavy cream
- 1/4 to 1/2 tsp. salt (optional)
Instructions
- Measure cream into a large bowl. Using a hand mixer with egg beaters or a stand mixer (with paddle attachment), beat on low until it starts to thicken.
- Increase speed to high and beat until stiff peaks form, like whipped cream. Continue to whip. After another 3-5 minutes, liquid will start to appear in the bottom of the bowl. Keep going until there’s liquid separated from solid butter.
- Clump the solids together and knead and squeeze well to remove as much liquid as possible.
- Put the solids into a fine mesh sieve or cheesecloth and push to squeeze out more. Discard the liquid or retain for another use.
- Fill a large bowl with ice cold water and then knead and squeeze the butter in the cold water it, rinsing out more of the liquid.
- Remove butter from water and pat dry. Knead in the salt, if desired. Shape and store in a sealed container in the refrigerator for 2 weeks.
Love this recipe? I’d appreciate it if you could scroll down and add a *5 star rating* to help others know they’ll love it as well!


Leave a Reply