Learn how to make chicken cutlets. You start with chicken breasts that you pound flat. Then you move on to breading them, frying and then baking them until crisp. I’ve included lots of tips and tricks to make things less messy and easier as well. Enjoy!
Breaded chicken cutlets are great on their own with a sauce. I really like them with mushroom gravy or in dishes like Chicken Parmesan. Beyond that, you can also slice them and put them on salads and pasta dishes or use them in sliced or whole in sandwiches (especially in subs!).
How To Make Chicken Cutlets
Because chicken cutlets are so versatile, knowing how to make your own is really useful. They’re not particularly hard to make but there are several steps involved. First, you need to pound them to an even thickness. Then you bread them, fry them and finally, you bake them. Here are detailed instructions with pictures.
Step #1
Put a chicken breast between two pieces of plastic wrap. This makes things less messy (it catches some of the chicken spatter).
Step #2
Working from the middle outwards, use the flat side of a meat tenderizer to flatten the chicken breast to an even 1/4 inch thickness.
Step #3
Now we’re going to bread the chicken cutlets. To bread them we’re going to first dip the chicken in flour, then in egg, and finally in breadcrumbs. This process (the flour, egg, crumbs) is called “to paner” in French cooking. What is the purpose of doing this? The flour sticks to the slight dampness of the chicken. Then the egg adheres to the flour. If you skipped the flour, the egg would coat the chicken a bit but it wouldn’t stay on very well. Finally, you go in with the breadcrumbs, which are going to stick nicely to the egg.
Do you need to do this whole thing? To make a classic chicken cutlet, yes. If you’re doing it the traditional way, let’s proceed with those instructions…
Get out three shallow bowls or pie plates. Into the first, put all-purpose flour. Into the second, put eggs and beat lightly. Into the third, put dry plain breadcrumbs and seasonings.
Step #4
Lay the flattened chicken on the flour. Move it around a little and flip it over so that it is evenly covered. Lift it up and shake it a bit to get off any excess flour.
Step #5
Lay the chicken in the egg. The egg is going to stick nicely to the flour. Move the chicken around and then flip it over so that it’s evenly coated. Lift it up and shake it lightly to let extra egg drip away.
Step #6
Lay the chicken onto the breadcrumbs, which we want to have stick to the egg. Use your fingers to get breadcrumbs from around the chicken and mound them on top. Spread them around and then push down on them all over. Flip the chicken over and push down again. The pushing helps the crumbs stick to the egg.
Transfer the chicken to a plate and repeat with remaining chicken pieces.
Step #7
Preheat the oven to 400°F.
Get out a large skillet. I like my really big cast iron one for this job. Set the skillet over medium heat. Add enough oil to coat the bottom of the pan about 1/8 of an inch deep. You should use an oil with a high smoking point here, such as vegetable or grape seed oil. When the oil is so hot that it’s shimmering, add two cutlets to the pan. The oil should sizzle when the cutlets touch it.
Step #8
Cook on one side until browned underneath, 2-4 minutes. Use tongs to lift up chicken and check if it’s brown underneath.
Step #9
Once brown underneath, flip them over and cook until browned on the other side, anouther 2-4 minutes.
Step #10
Transfer to a rack that is set on top of a baking sheet. If cooking more cutlets, add more oil to the skillet and repeat the above frying process. Once the rack is filled with cutlets, transfer them to the oven. Bake until no longer pink inside and until firm on the outside, 8-10 minutes.
Step #11
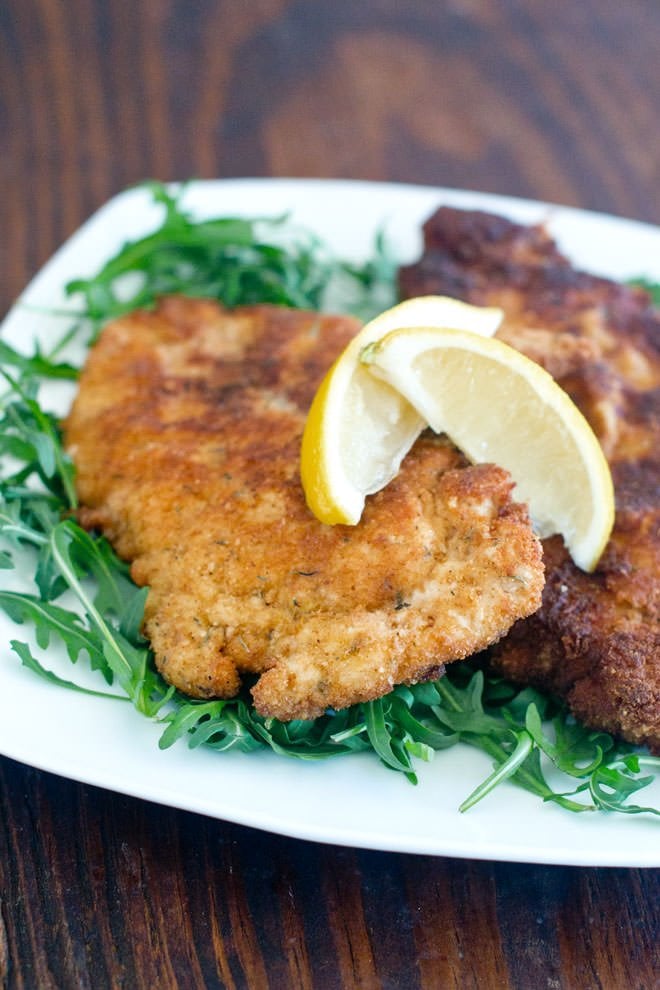
Serve with lemon wedges, homemade chicken gravy or mushroom gravy. Or use the cutlets as a basis for another recipe, like Chicken Parmesan. Enjoy!
PrintBreaded Chicken Cutlets Recipe
- Prep Time: 30 minutes
- Cook Time: 10 minutes
- Total Time: 40 minutes
- Yield: 4 servings 1x
- Category: Entrée
- Method: Stovetop
- Cuisine: American
DESCRIPTION
Learn how to make chicken cutlets. You start with chicken breasts that you pound flat. Then you move on to breading them, frying, and then baking them until crisp.
Ingredients
- 4 (6 oz.) boneless skinless chicken breasts
- 1 and 1/2 cups plain dry breadcrumbs
- 1 tsp. dried thyme
- 1/2 lemon, zested
- 1/2 tsp. salt
- 1/4 tsp. ground black pepper
- 1/2 cup all-purpose flour
- 2 eggs
- Vegetable oil
Instructions
- Preheat oven to 400°F.
- Put a chicken breast between two sheets of plastic wrap. Use a flat meat mallet or a rolling pin to pound it to an even ¼-inch thickness. Repeat with remaining chicken breasts using new plastic wrap for each one.
- In a medium shallow bowl or pie plate, combine breadcrumbs, thyme, lemon zest, salt, and black pepper. Into another shallow bowl, crack eggs and beat to combine. Into another shallow bowl, add flour.
- Dredge a chicken piece in flour, coating it lightly on all sides. Then put it into the eggs, coating it fully. Place it onto the breadcrumb mixture. Use your fingers to mound breadcrumbs on top of the chicken piece then press down to adhere crumbs to the chicken. Flip and make sure all of the chicken is covered in crumbs. Place chicken on a plate and repeat with the rest of the chicken pieces.
- Set a wire rack over a baking sheet. In a large skillet add enough vegetable oil to cover the bottom completely by about ⅛-inch. Heat skillet over medium until shimmering. Add two chicken breasts and cook until brown underneath, about 2-3 minutes minutes. Flip and brown on the other side. Transfer to the wire rack. Repeat this cooking step with the other two breasts.
- Transfer chicken, rack and baking sheet to the oven and bake until cooked through and firm, about 8-10 minutes.
Love this recipe? I’d appreciate it if you could scroll down and add a *5 star rating* to help others know they’ll love it as well!
This post originally appeared in March 2017 and was revised and republished in October 2021.